
How to configure and setup Microphone redirection for Windows VPS/RDP?
Obviously, you can not plug in your microphone to Windows VPS/RDP. (Sorry for the lame joke here). In this case, Windows offers Microphone redirection for your VPS/RDP. Let us dive into the details of how you can setup Microphone redirection for Windows VPS/RDP.
First, let us configure our Windows VPS/RDP to allow Microphone redirection.
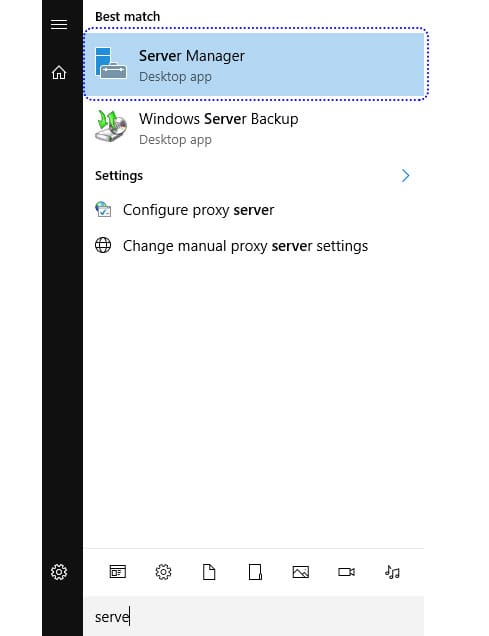
Login to Windows VPS/RDP >> Search and Open Server Manager.
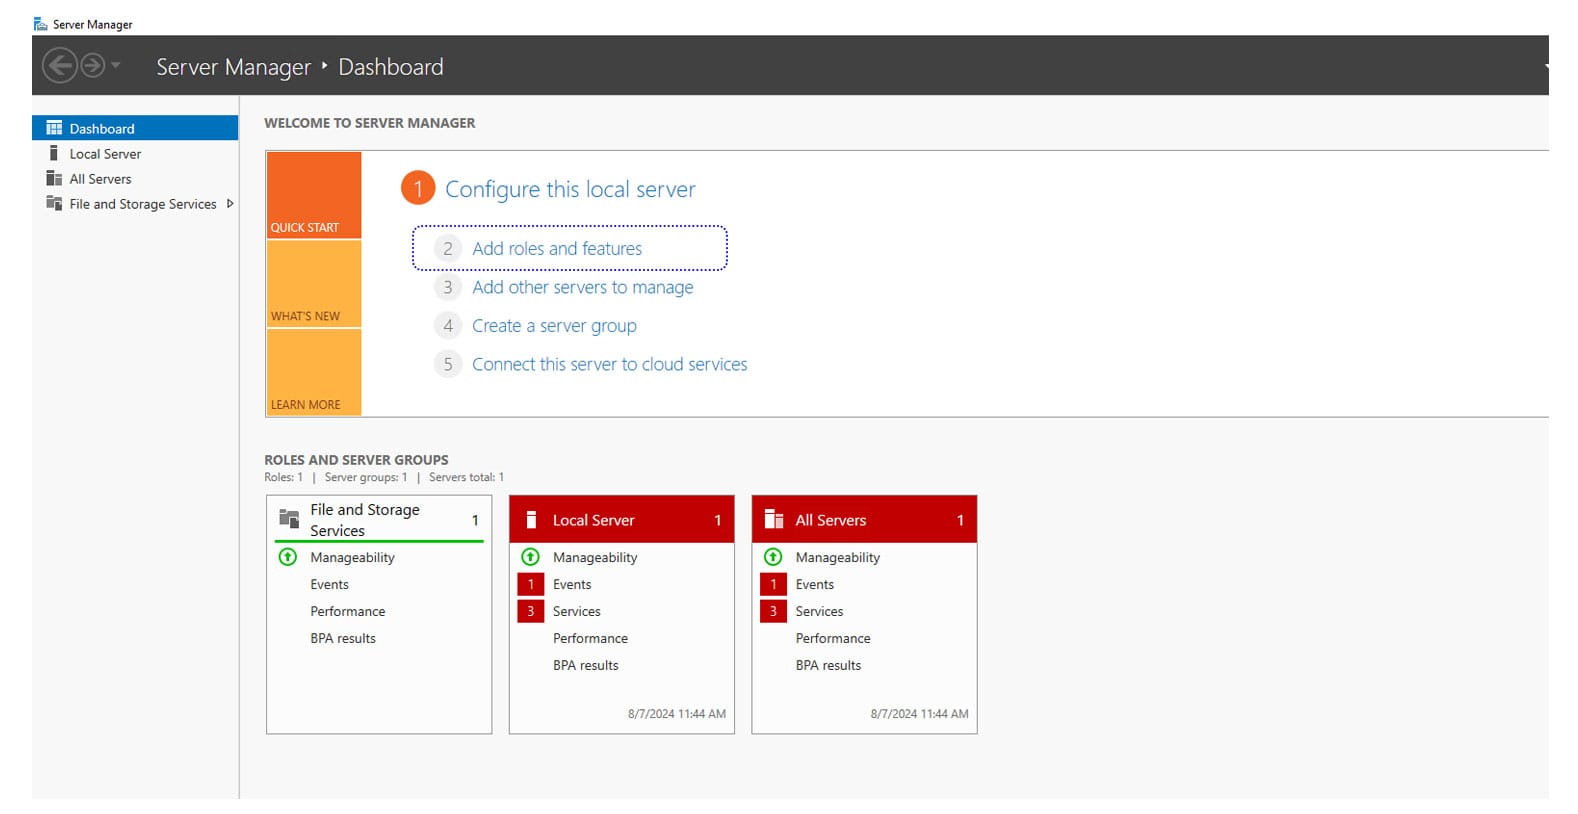
Click on Add roles and features.
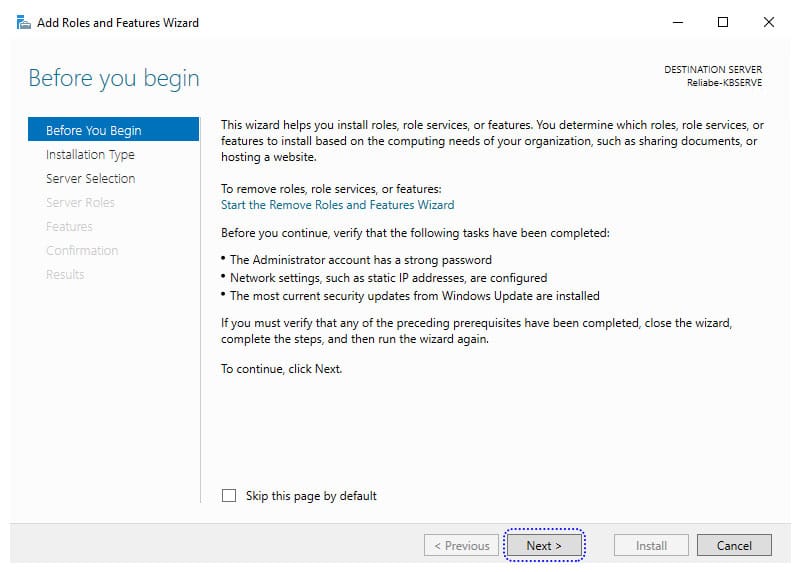
In the Before you being tab, click Next.
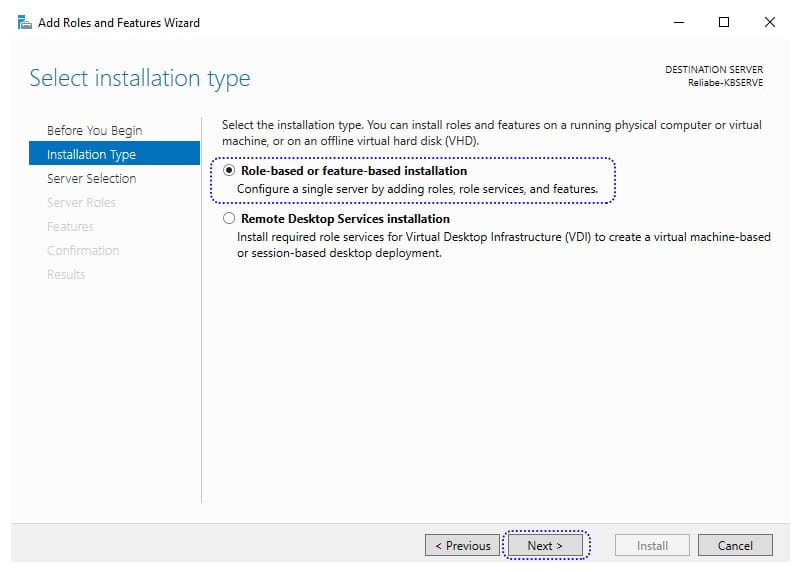
Installation Type, select Role-based or feature-based installation. (It should be selected by default)
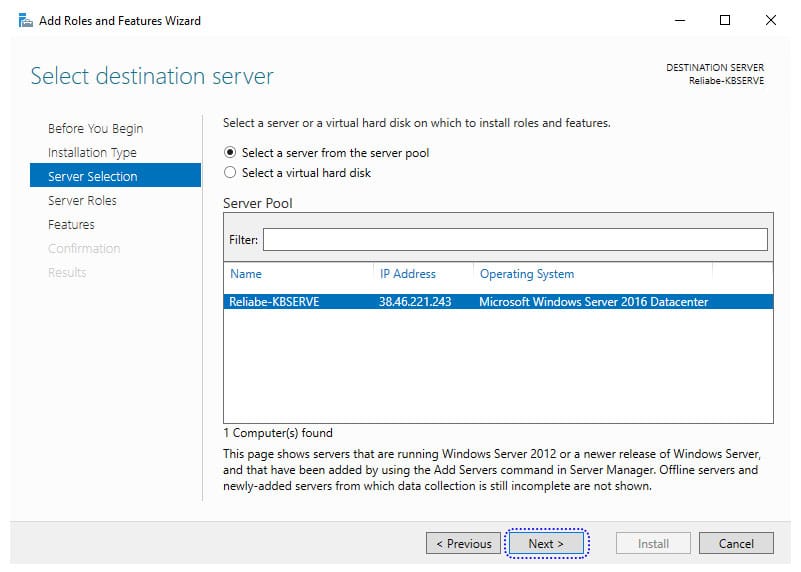
Server Selection: if the server isn't added to the pool, you will have your Windows VPS/RDP selected by default. If the server is added to a pool, you will have to select the correct Windows VPS/RDP from the list.
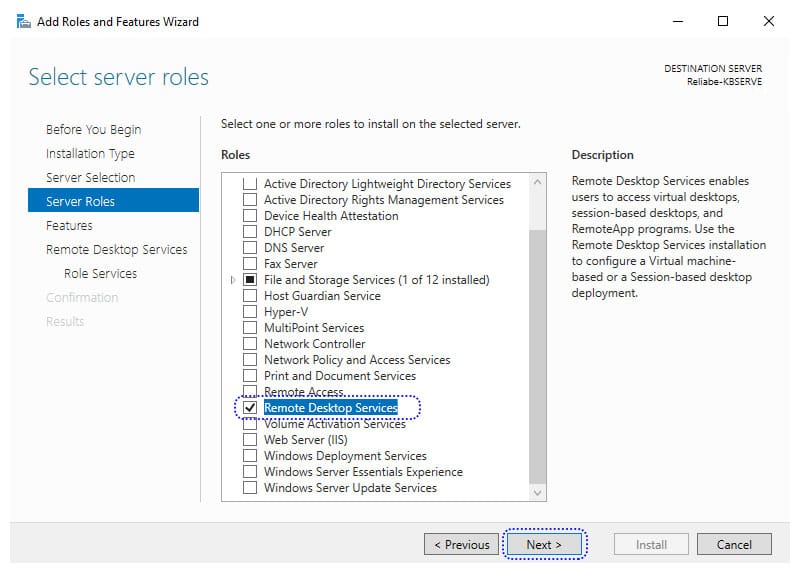
Server Roles, select the Remote Desktop Services >> Click on Next.
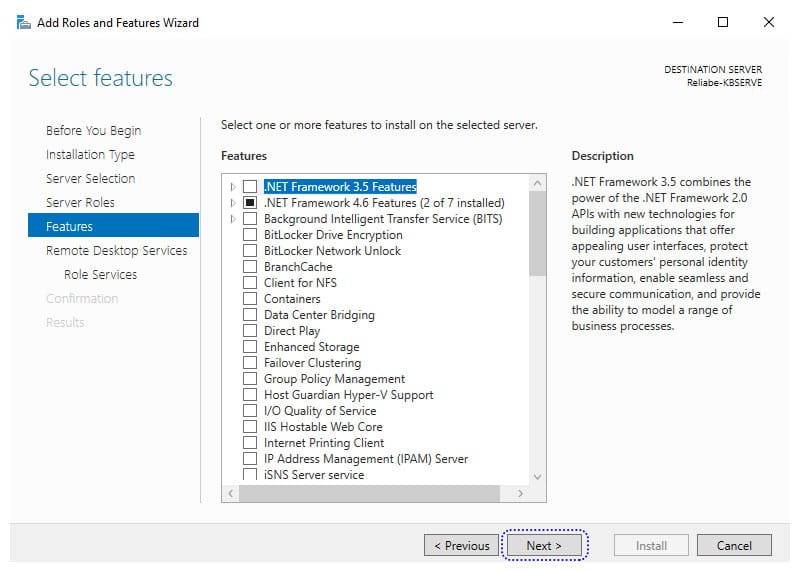
Features, click on Next.
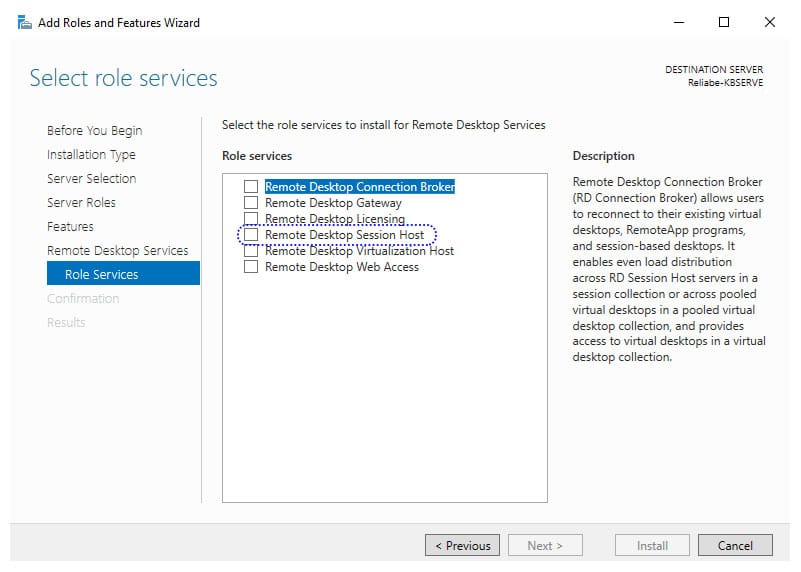
Remote Desktop Services >> Role Services: Select Remote Desktop Session Host.
Confirmation: Click on Install.
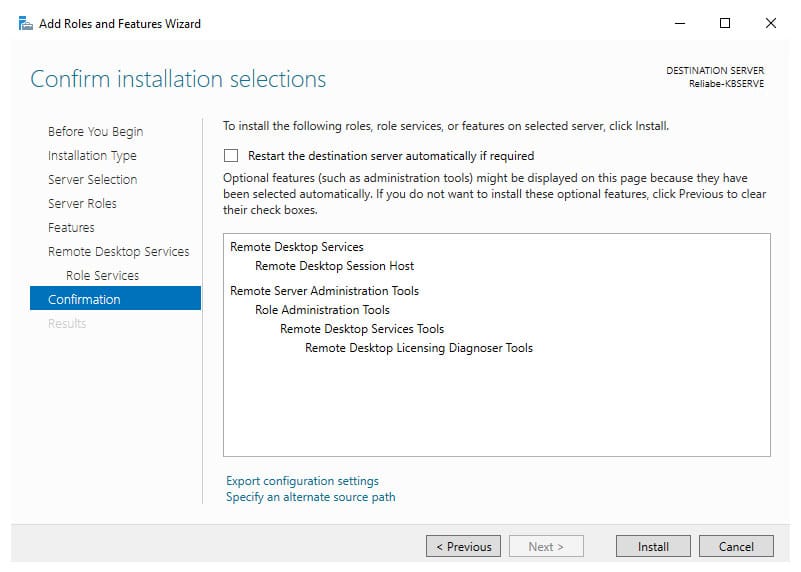
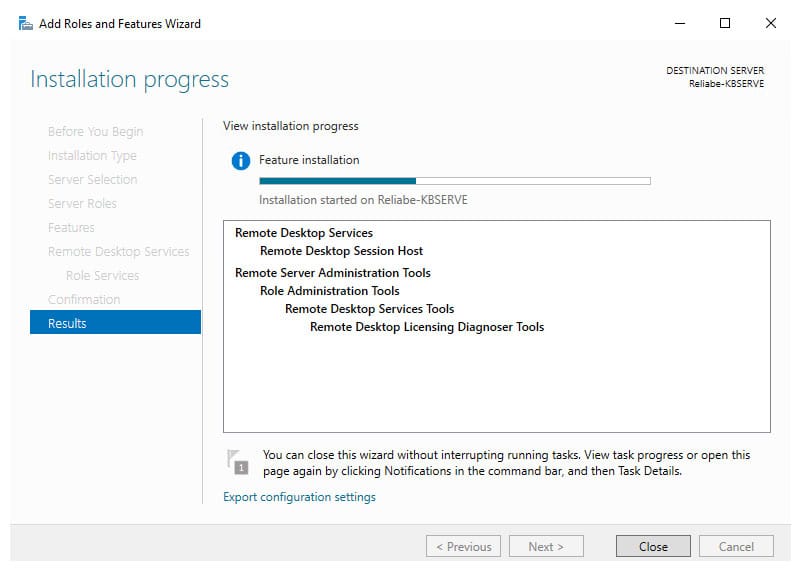
Installation will take few minutes.
Now that we have completed the Server Part, follow the below steps to allow Microphone or Audio device redirection.
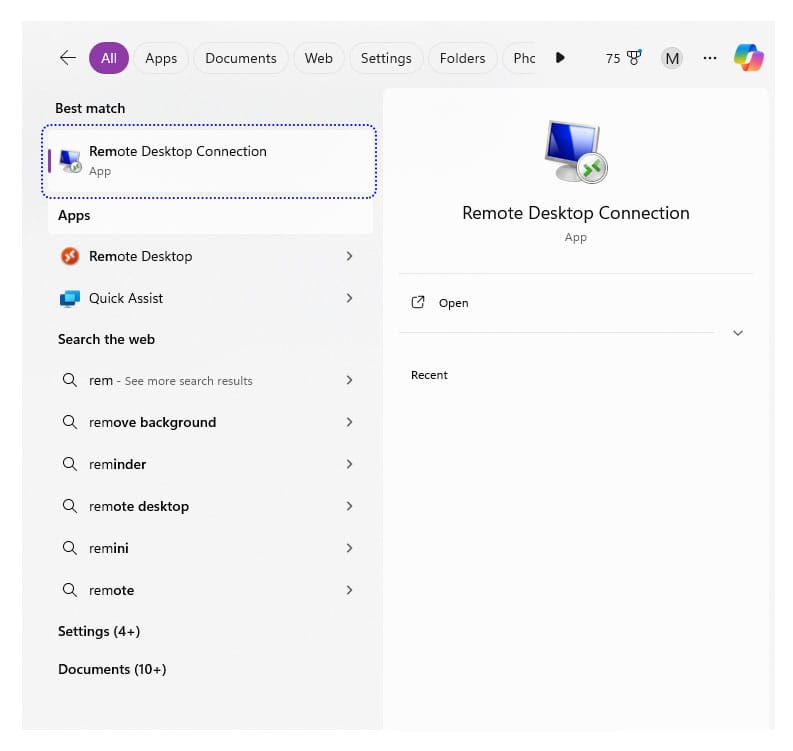
Open the Remote Desktop Connection application or open Run (Win + R) and Enter "mstsc".
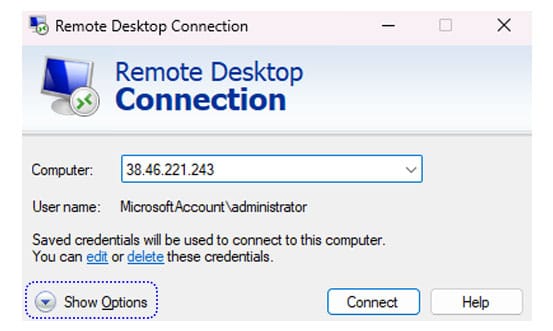
Enter the IP address. Before you click on Connect, click on the Show Options.
Navigate to Local Resources >> Remote Audio Settings.
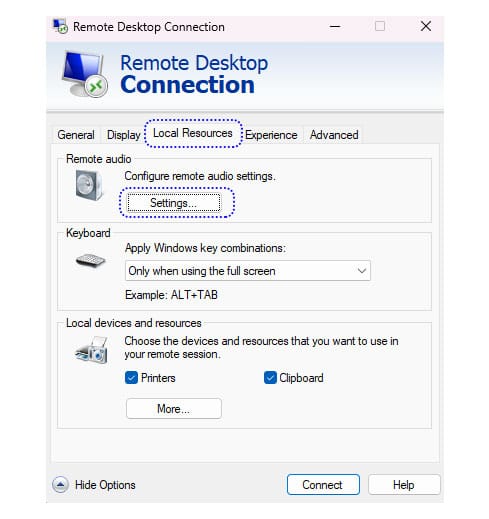
Select Record from this computer >> Click on OK.
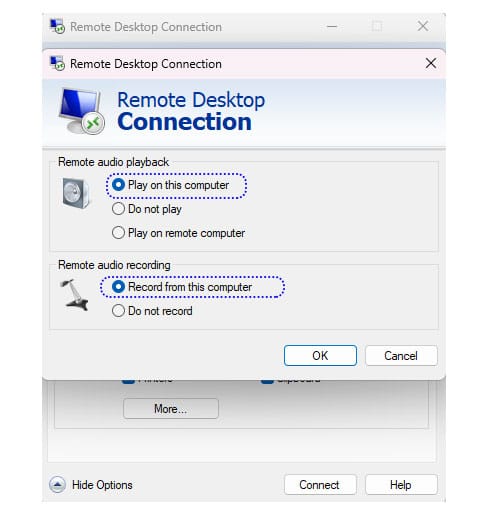
Now you can connect to the server and use a local Microphone or Audio device.
