How to create Additional Partition in Windows?
Creating an additional partition on your Windows hard drive can help organize files, improve performance, and manage data more effectively. This guide will walk you through the process step-by-step.
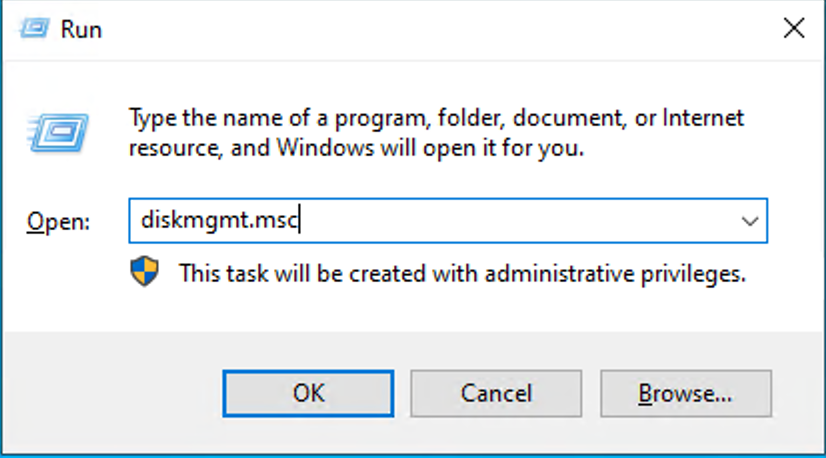
Open Disk Management press Windows + R to open the Run dialog thenType diskmgmt.msc and press Enter.
Shrink Existing Volume:
In Disk Management, right-click the volume you want to shrink (usually C:).
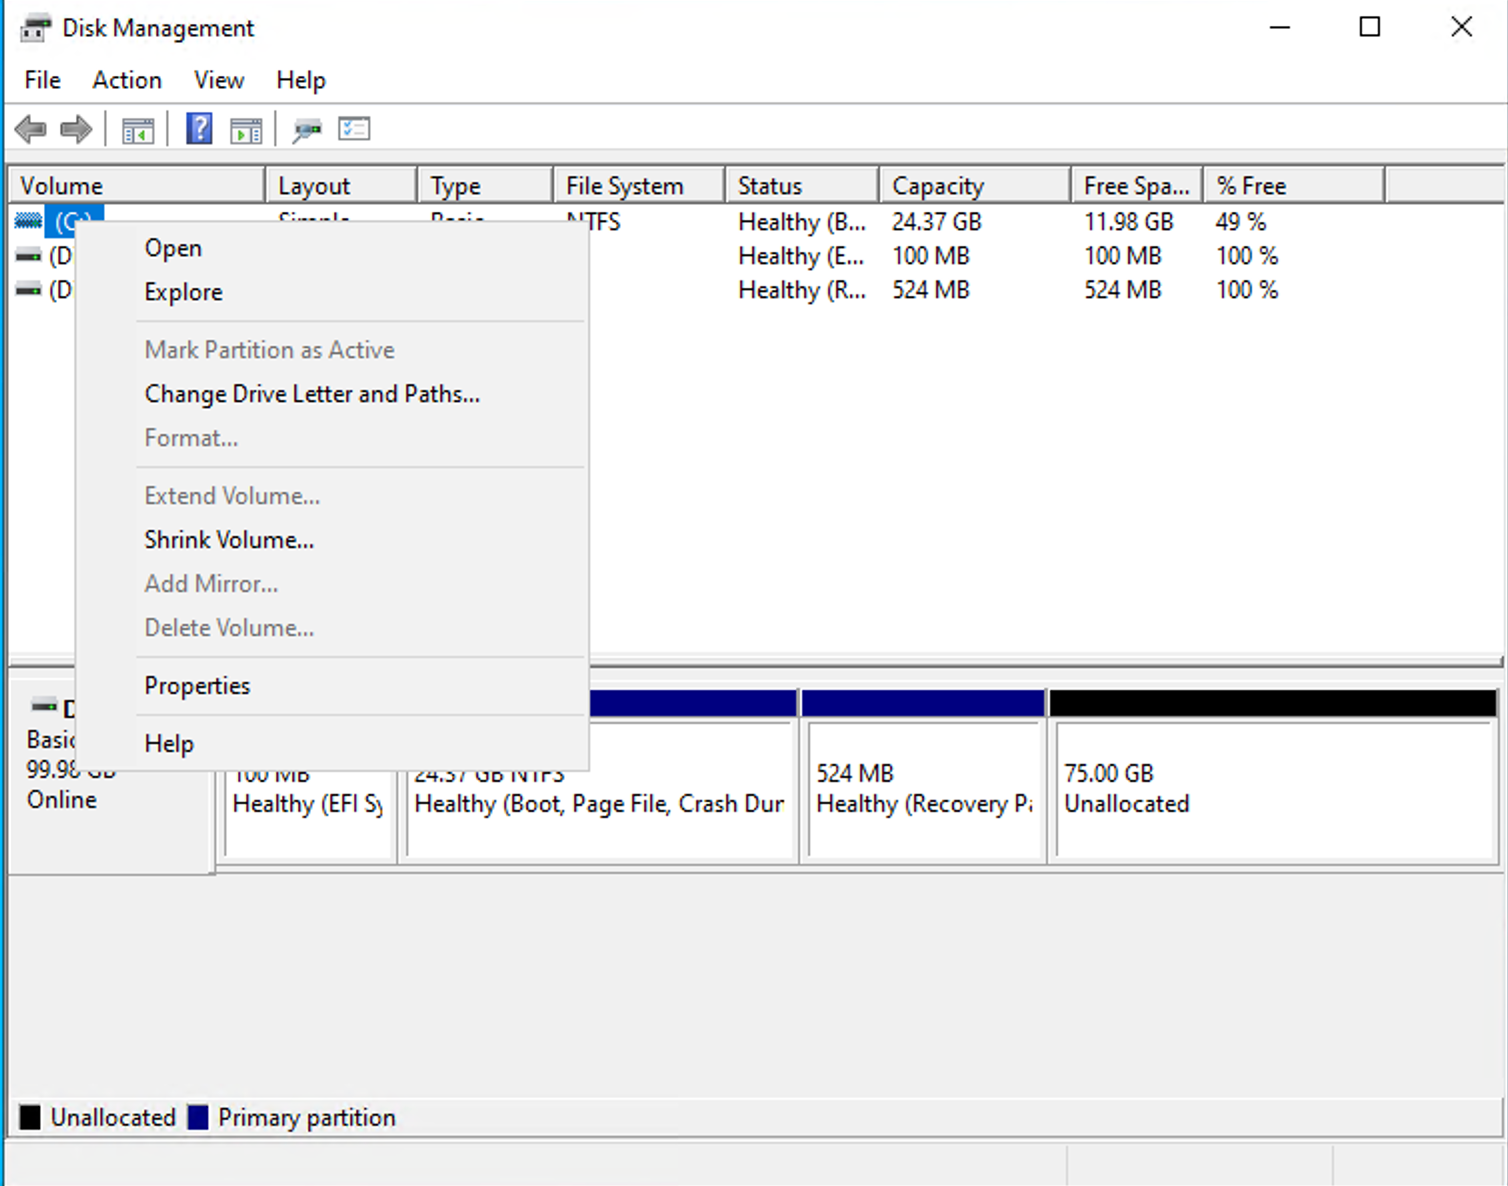
Click on “Shrink Volume.”

Enter the amount of space to shrink (in MB) and click “Shrink.”
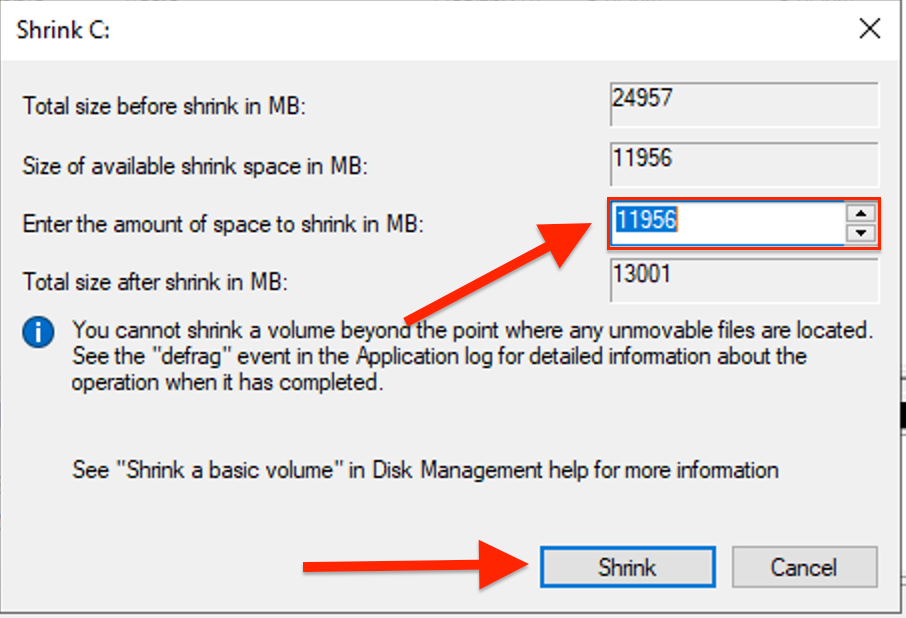
This will create unallocated space on your drive.
Creating New Partition:
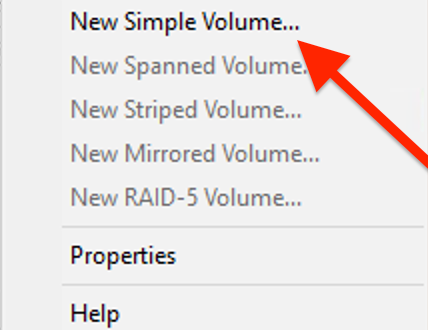
Now, Right-click on the unallocated space you just created.
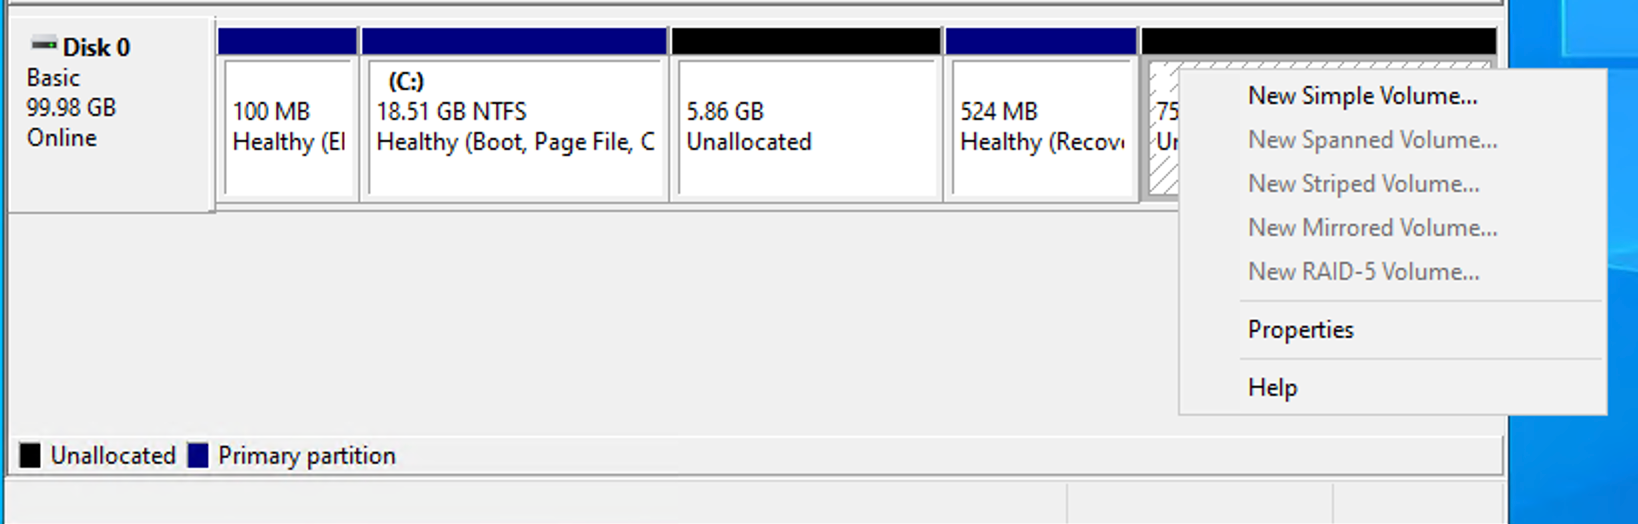
Select “New Simple Volume” and follow the wizard.
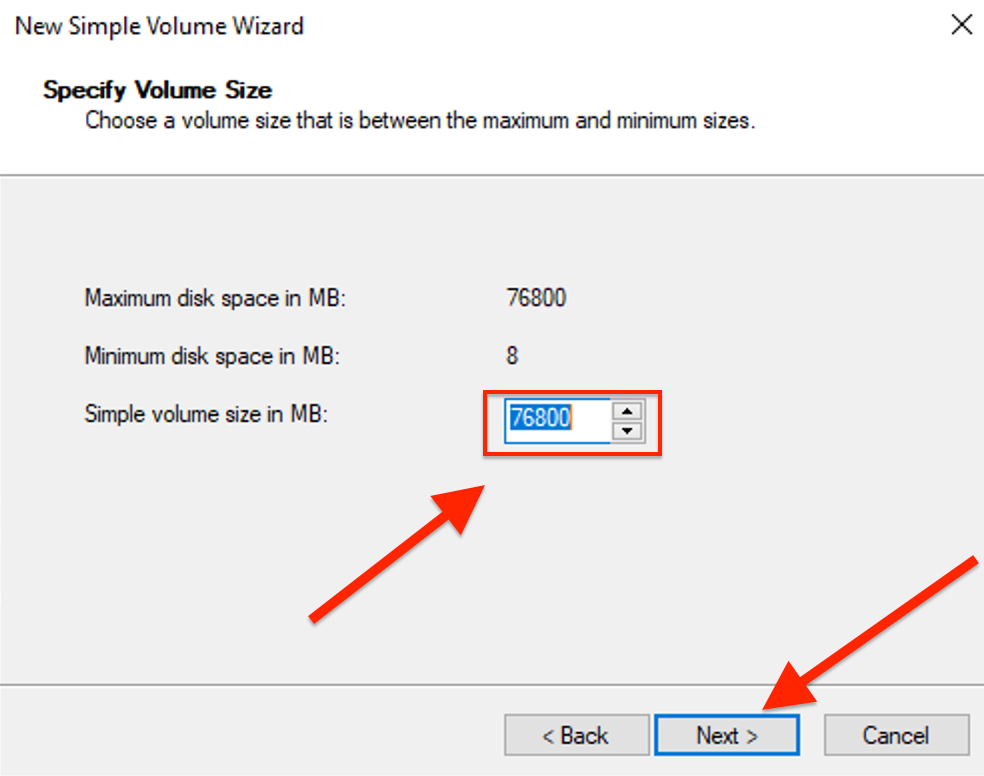
Specify the volume size.
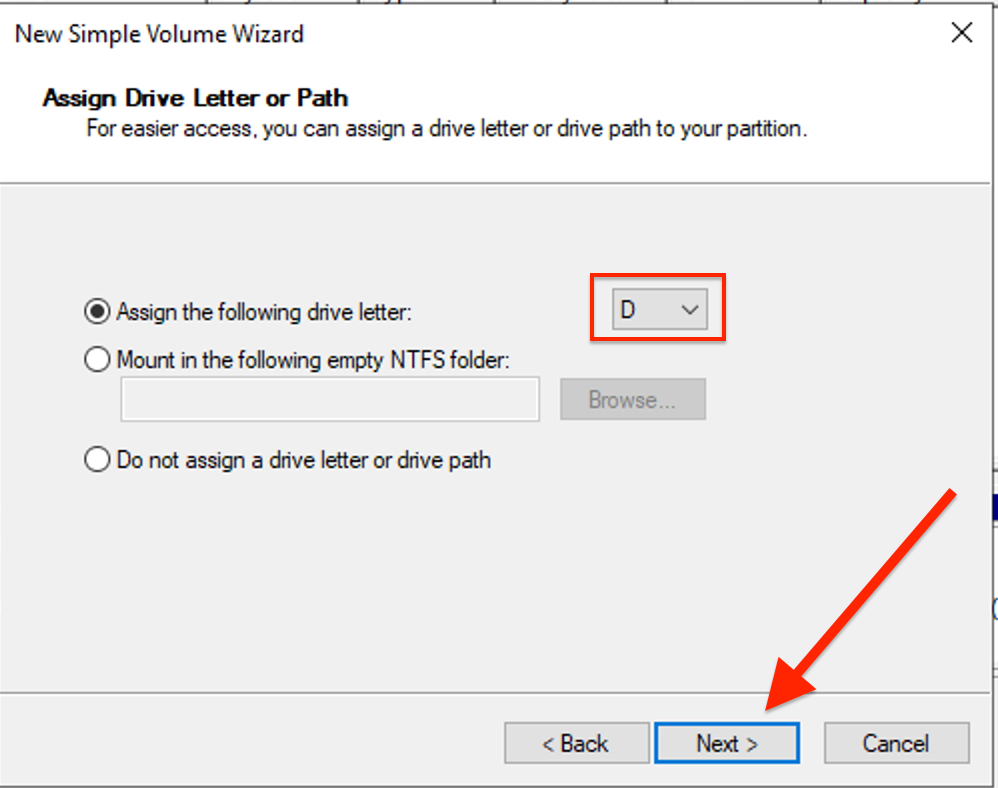
Now, Assign a drive letter (e.g., D:).
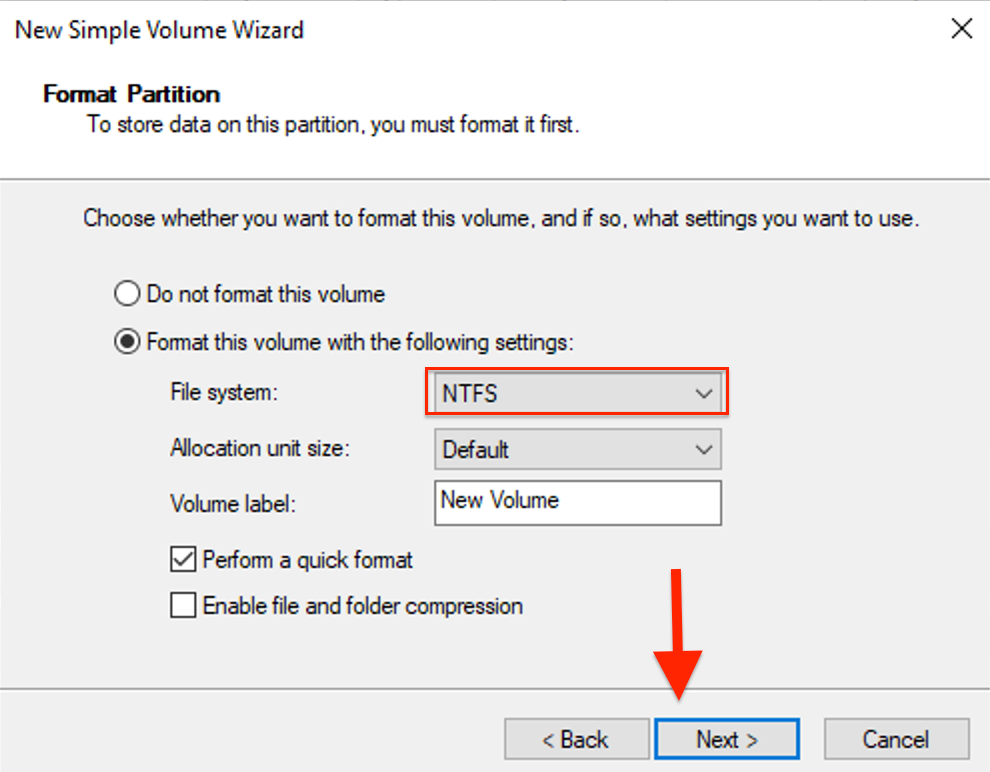
Choose a file system (NTFS is recommended) and format the partition.
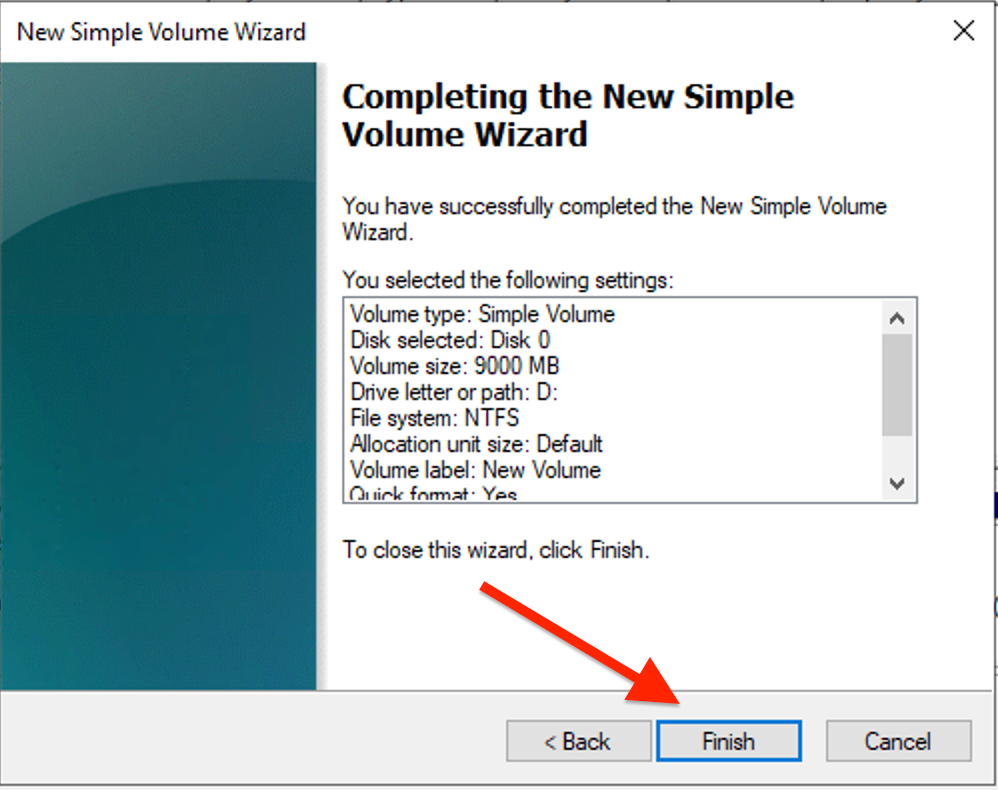
Click “Finish” to complete the process.
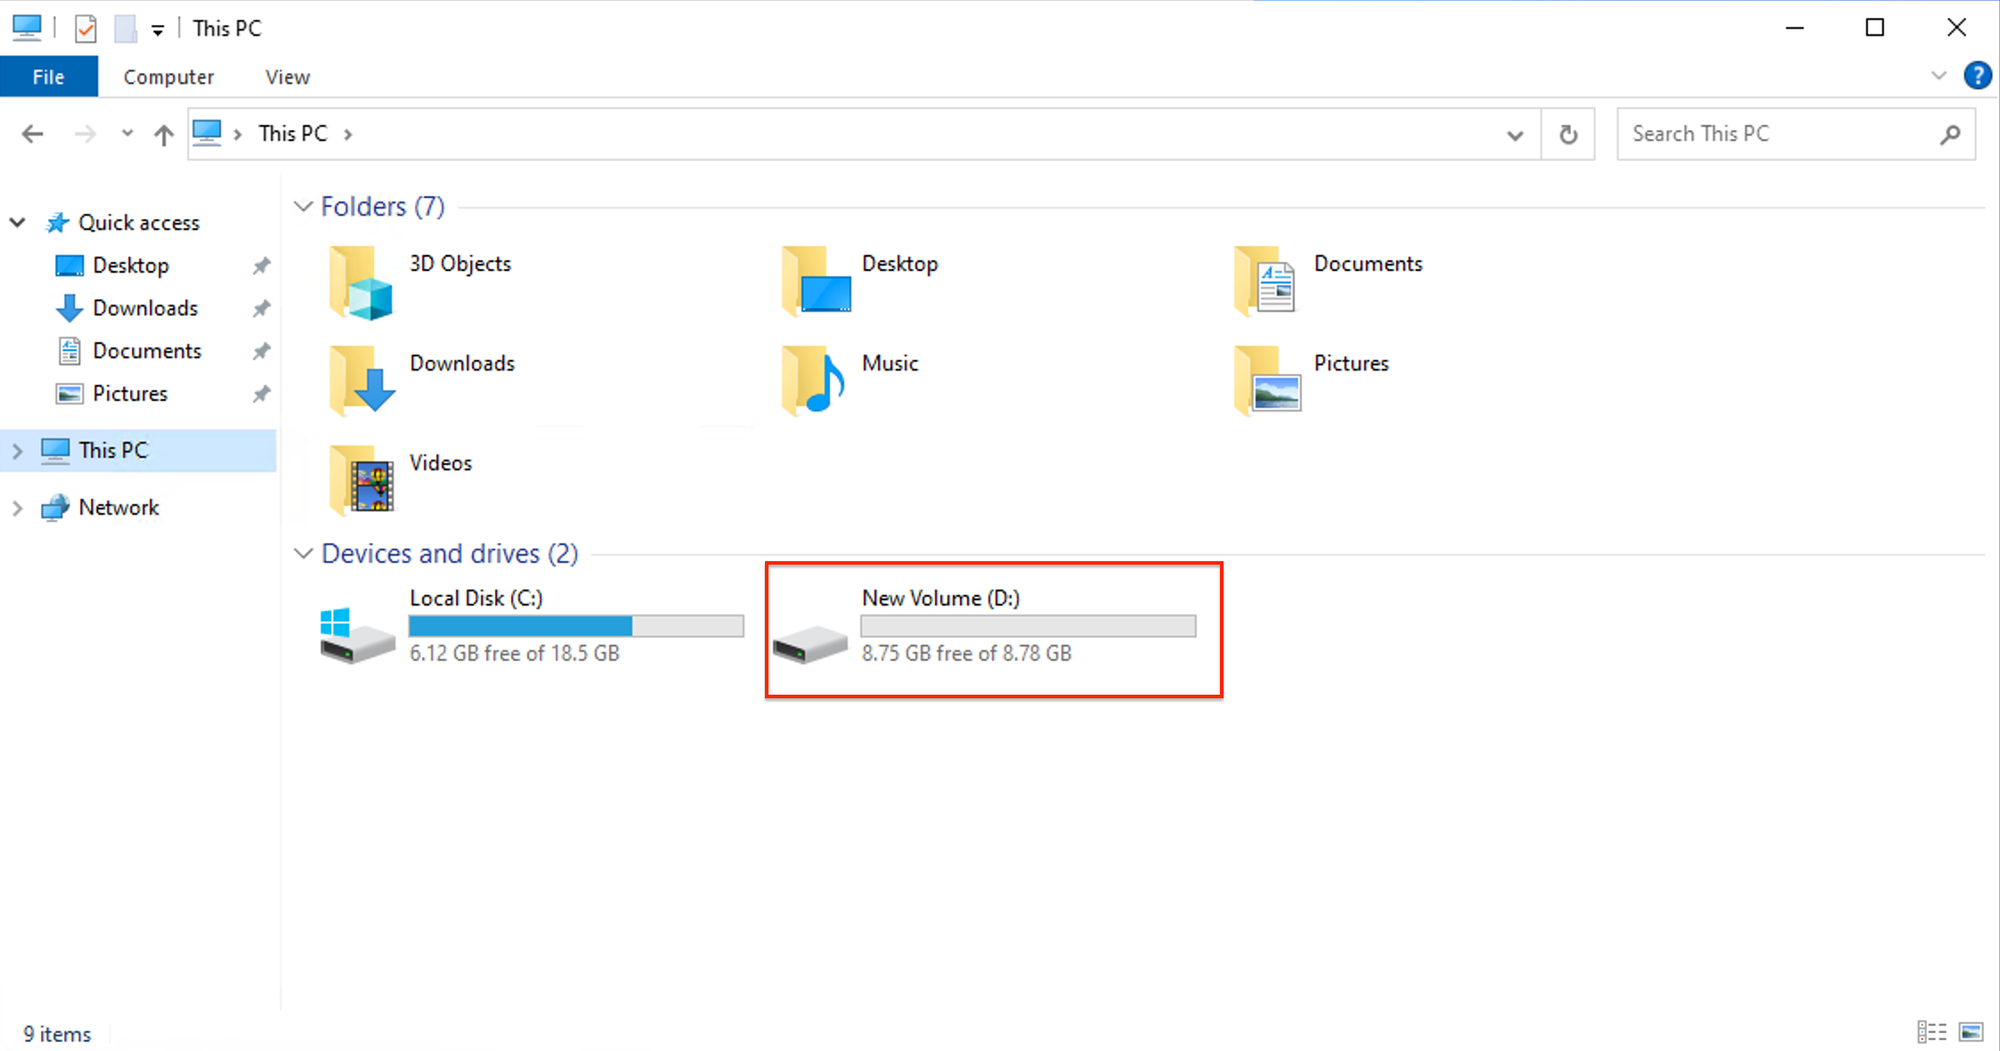
Open File Explorer to check that the new partition is visible and accessible.