How to Download and Install Windows Server 2019 ISO: Step-by-Step Guide
If you're looking to upgrade or deploy a new server environment, downloading and installing Windows Server 2019 is a crucial step. In this guide, we'll walk you through the process of obtaining the Windows Server 2019 ISO, including various versions such as Windows 2019 Server ISO and the Windows Server 2019 Standard ISO. Whether you're interested in a free download or need the 64-bit version for better performance, we’ll cover where to find the Windows Server 2019 ISO download options, including both the Standard and Datacenter editions. With clear instructions on how to download Windows Server 2019 ISO and set up your server efficiently, you’ll be equipped to start leveraging the powerful features of Windows Server 2019 in no time.
Verify System Requirements:
Ensure your hardware meets the minimum requirements for Windows Server 2019:
- Processor: 1.4 GHz 64-bit processor
- RAM: 512 MB minimum, 2 GB recommended
- Disk Space: 32 GB minimum
- Network: Gigabit (10/100/1000baseT) network adapter
Step 1: Download the ISO File:
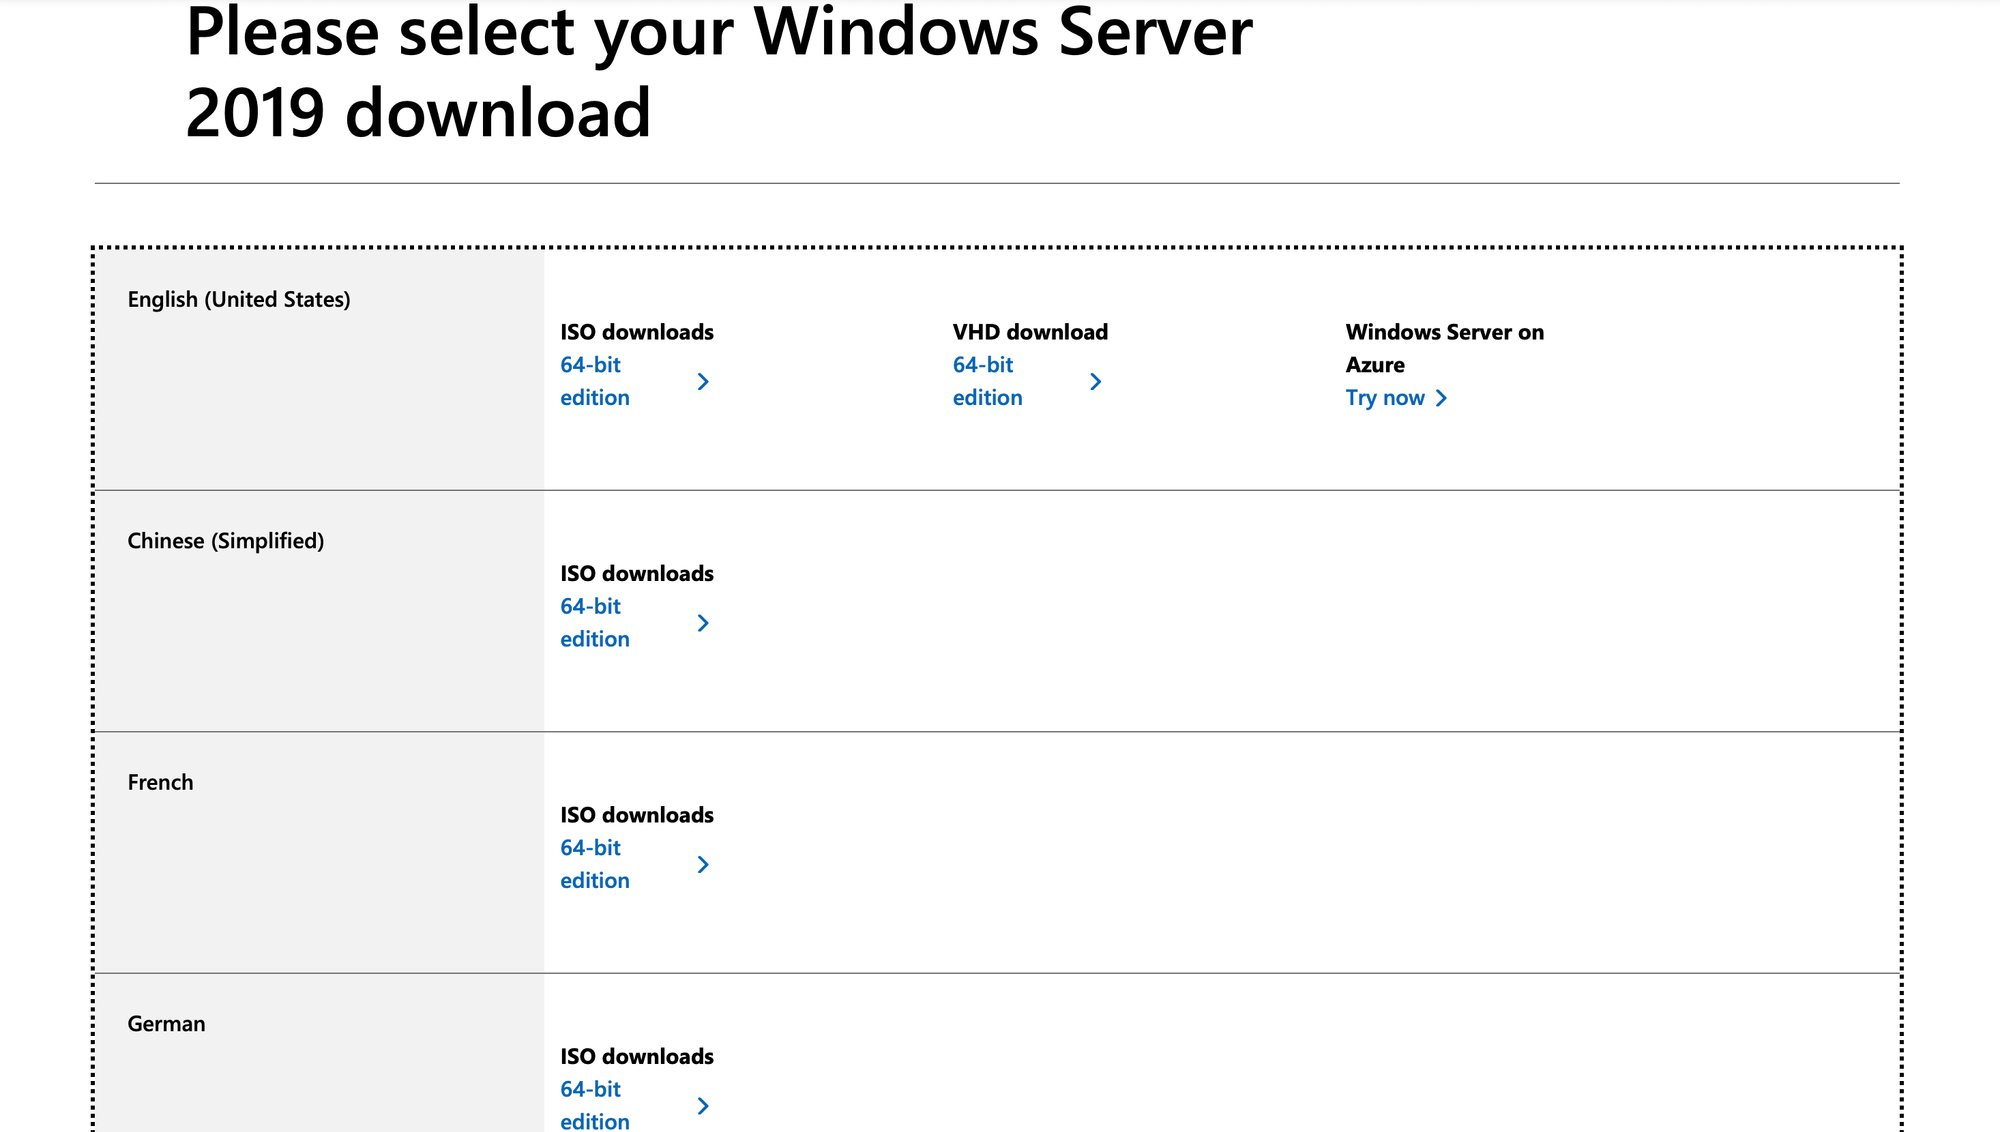
Visit the Microsoft Windows Server 2019 download page.

Choose the ISO file, select language and architecture (64-bit), and then download it.
Step 2: Create Installation Media:
Once the download is complete, burn the ISO to a DVD or create a bootable USB flash drive using tools like Rufus or the Windows USB/DVD Download Tool. This media will be used for the installation process.
Step 3: Install Windows Server 2019:
Insert the DVD or USB drive into your server or virtual machine.
Restart your system and boot from the installation media Follow the on-screen instructions to install Windows Server 2019.
Step 4: Activate Windows Server:
To activate Windows Server after installation, open Command Prompt with administrative privileges and execute the following command:
Dism /online /Set-Edition:ServerStandard /AcceptEula /ProductKey:XXXXX-XXXXX-XXXXX-XXXXX-XXXXXStep 5: Complete Post-Installation Configuration:
Follow any additional setup prompts to configure your server settings. Apply updates and install necessary roles and features as per your requirements.
You’ve now successfully downloaded and installed Windows Server 2019.

