
How to install Active Directory Domain Services on Windows VPS/RDP?
Installing Active Directory Domain Services (AD DS) on your Windows VPS or RDP setup is key for managing network resources and user authentication. This guide will quickly show you how to install and configure AD DS, setting up a domain to streamline user and resource management.
Open Remote Desktop Connection Enter the IP address or hostname of your VPS and connect.
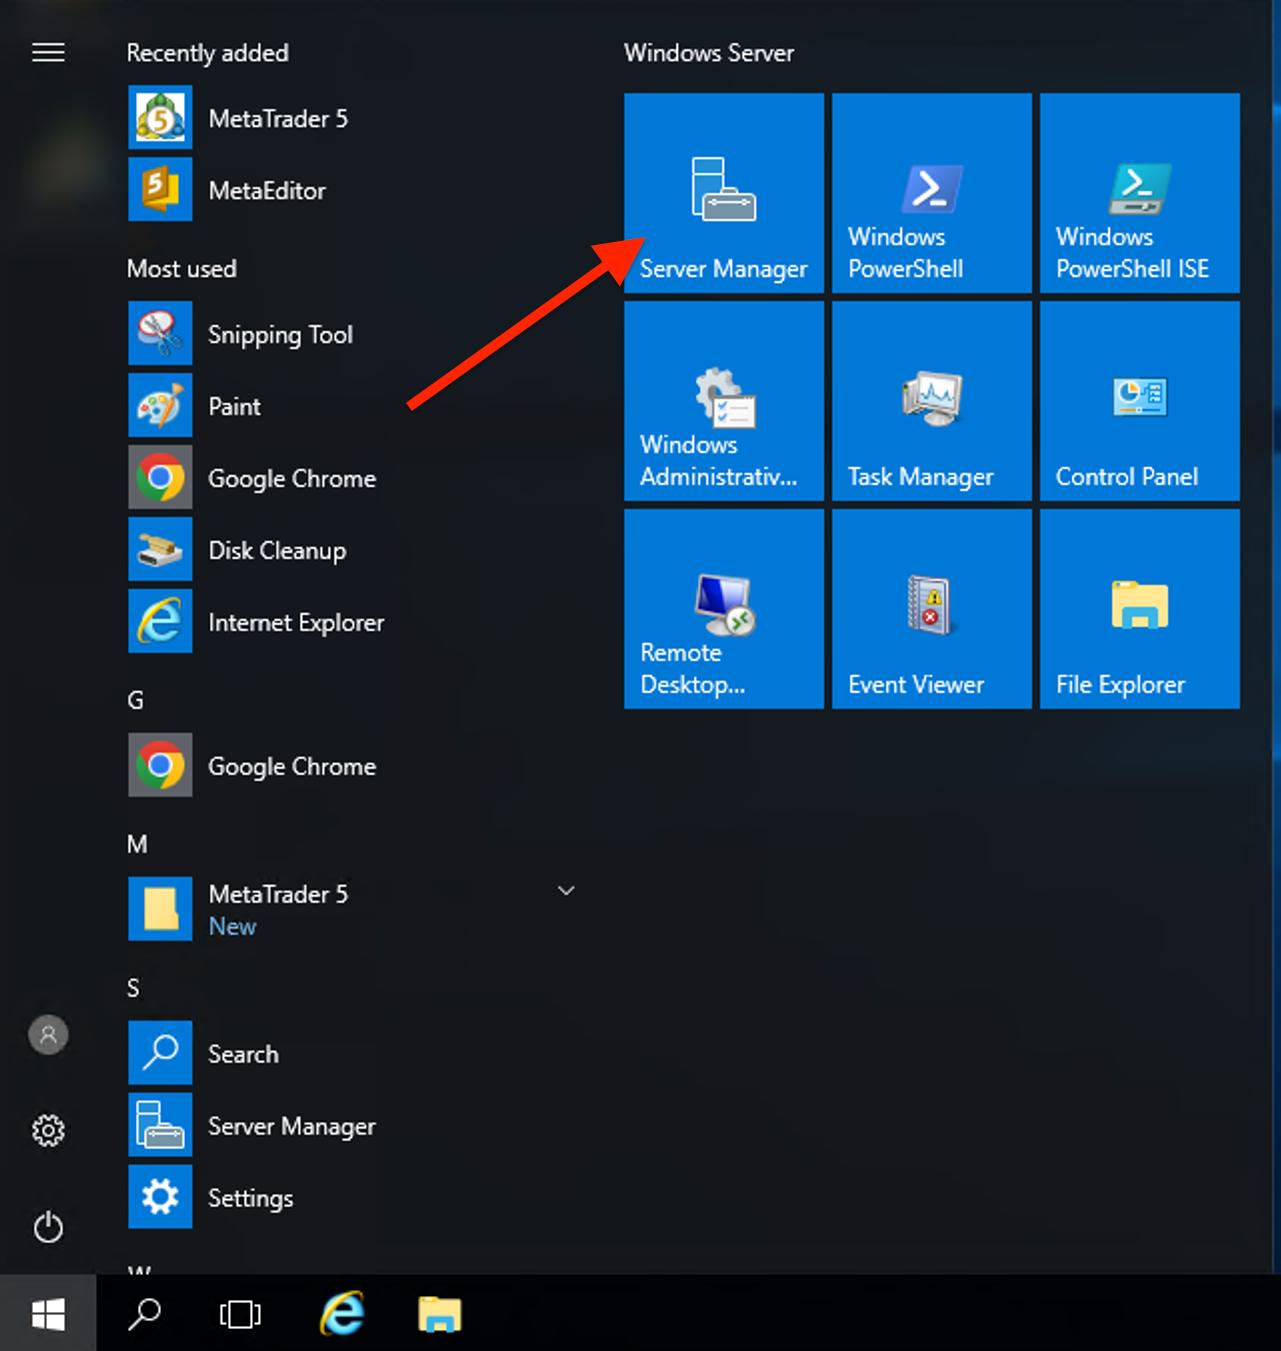
Click on the “Start” button, and then open “Server Manager.”
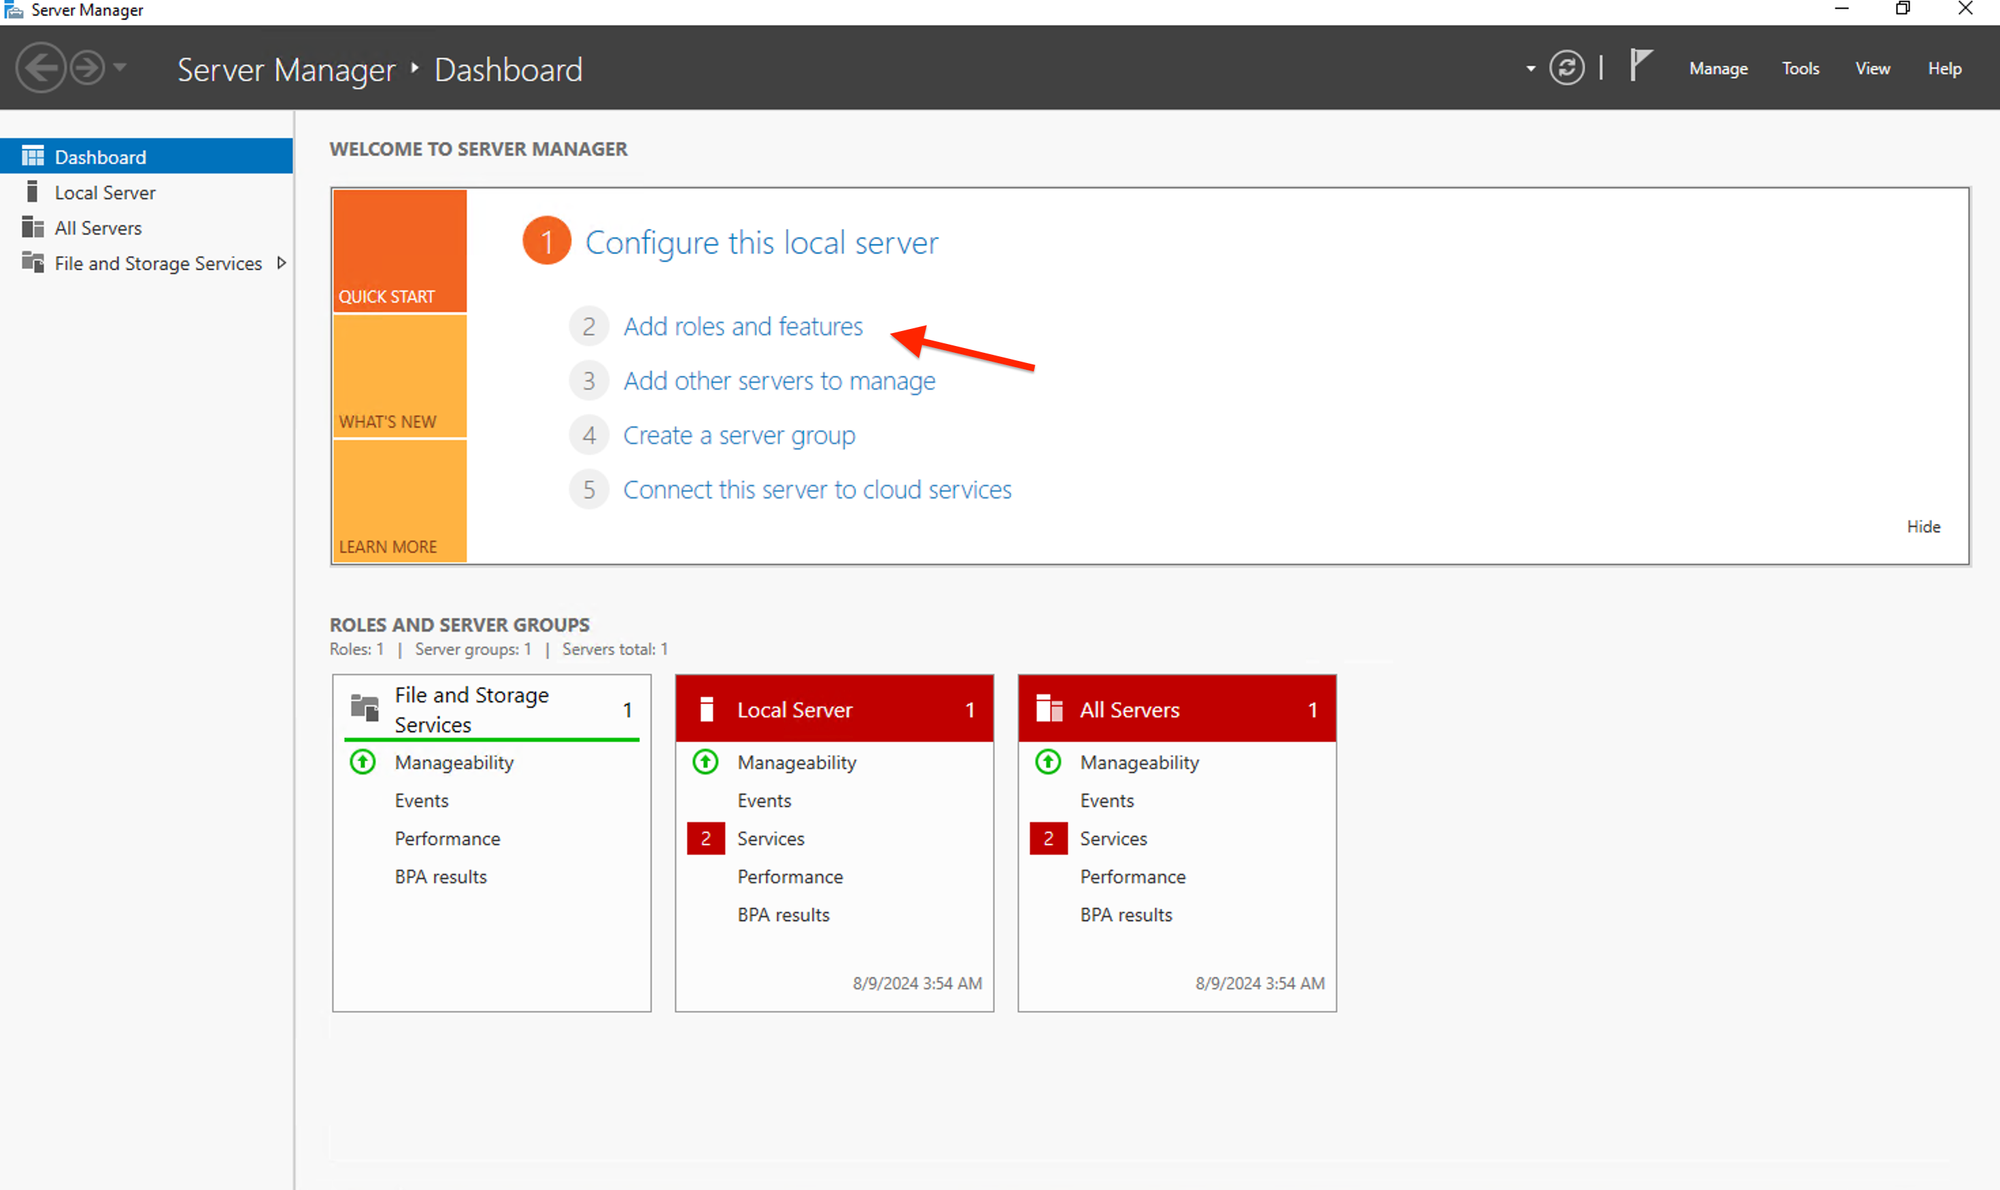
In Server Manager, click on Manage in the top-right corner, then select Add Roles and Features.
Select Role-based or feature-based installation and then click Next.

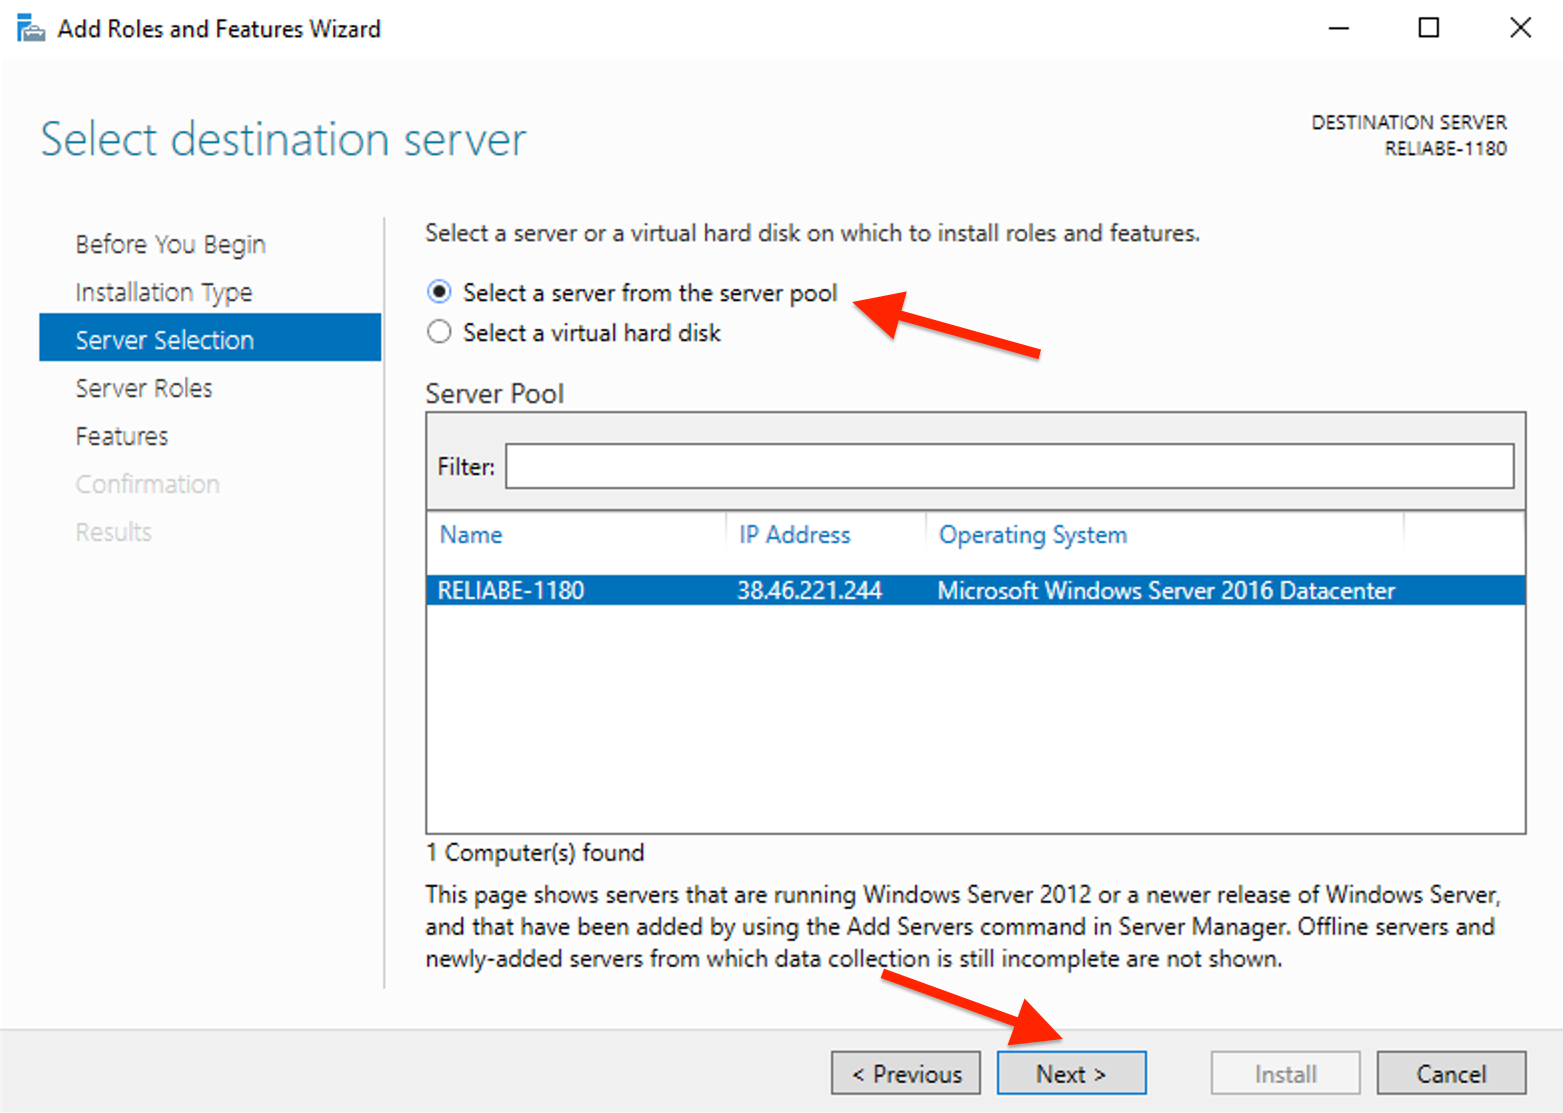
Pick the server where you want to install IIS. It should be the local server, so select it and click Next.
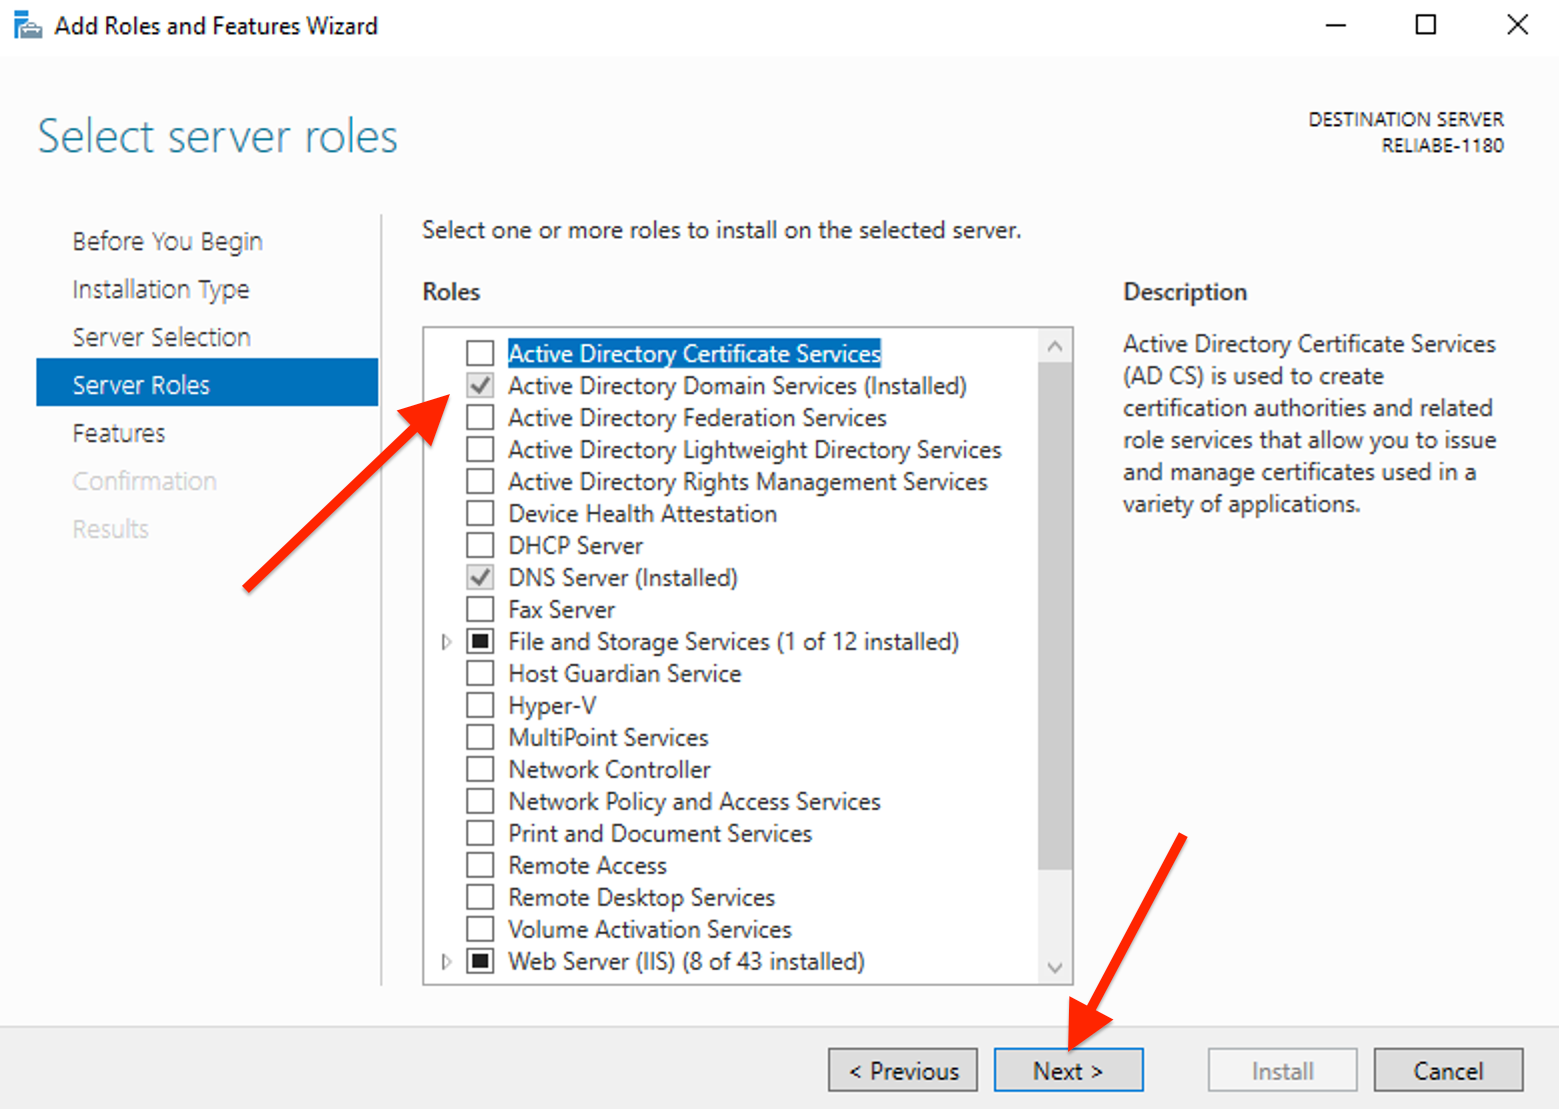
Check Active Directory Domain Services. Click Add Features if prompted, then click Next.
Review the default features and click Next.
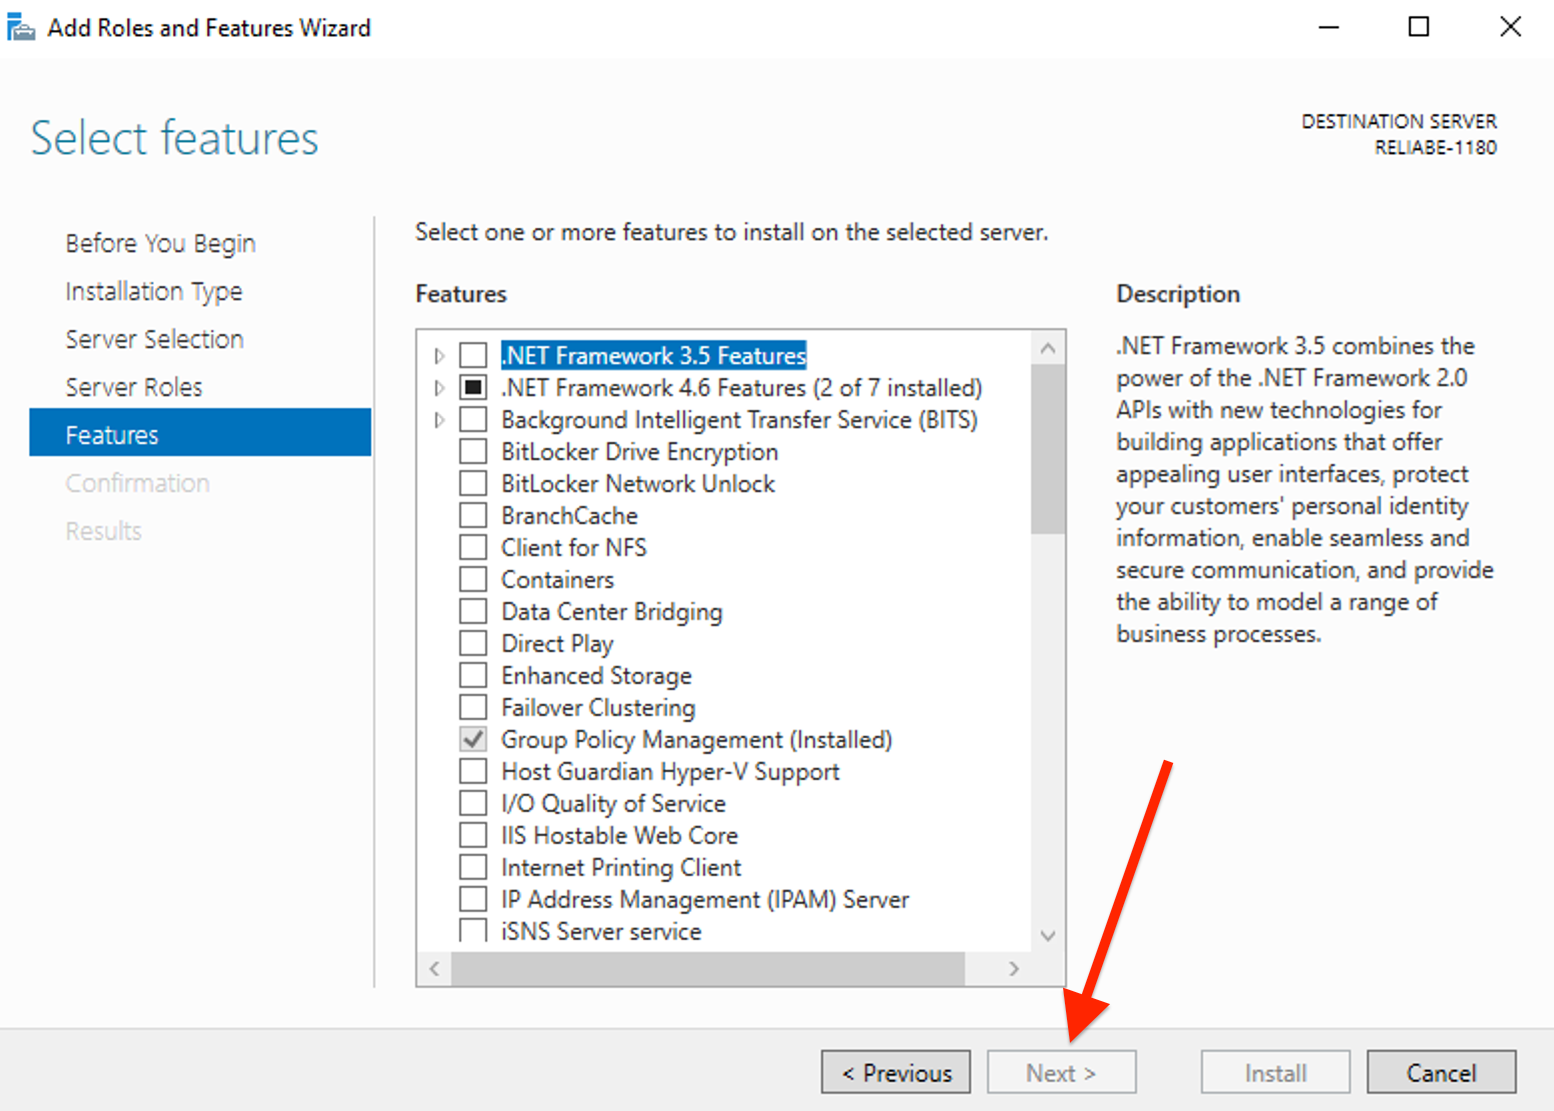
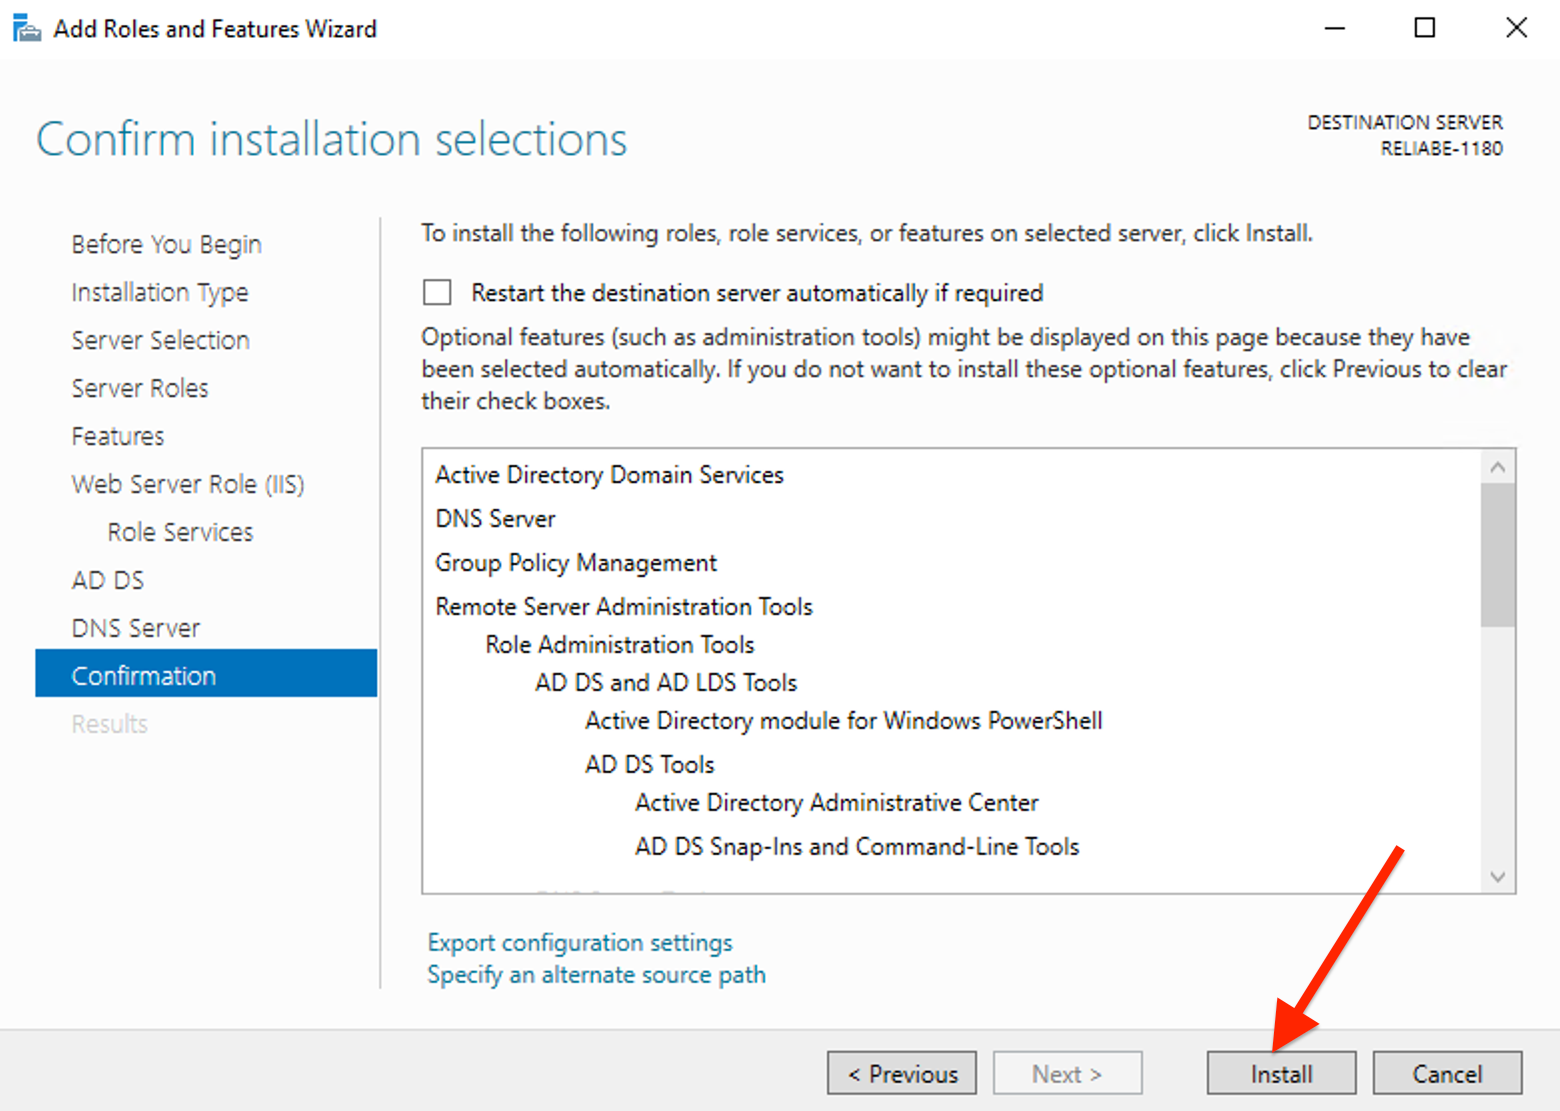
Click Install to begin the installation.
Once the installation is complete, click Close to close the installation wizard.
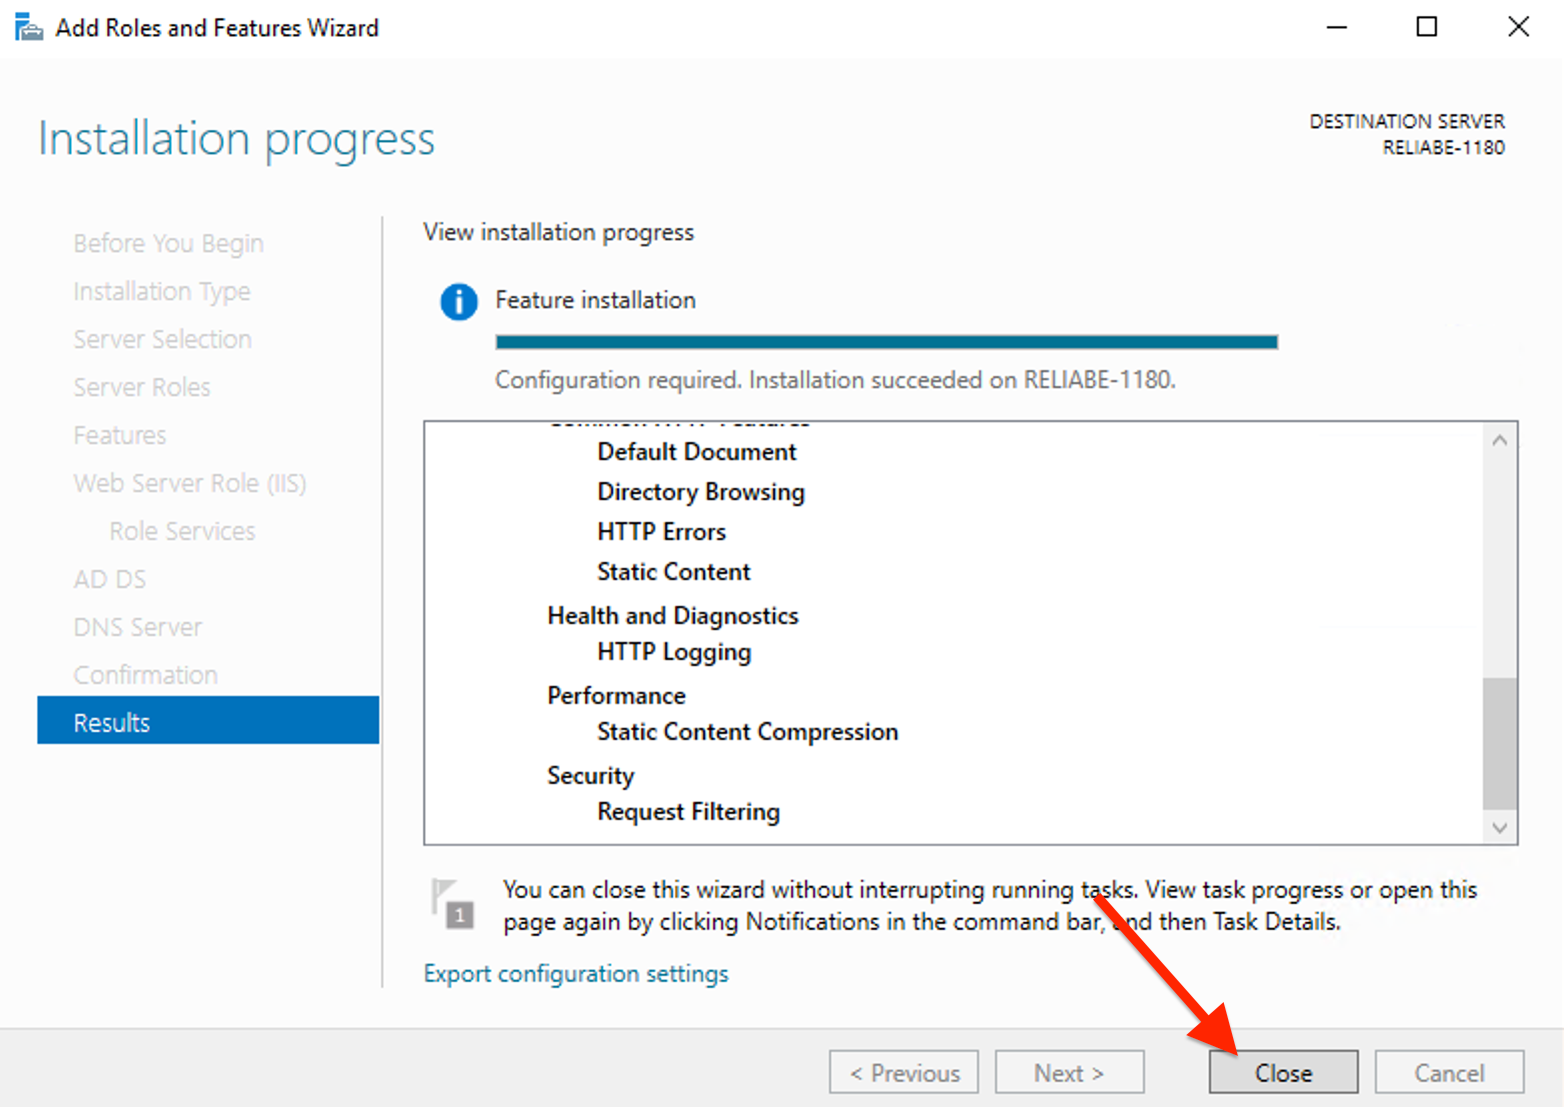
Congratulations! You have successfully installed Active Directory Domain Services on your Windows Server.
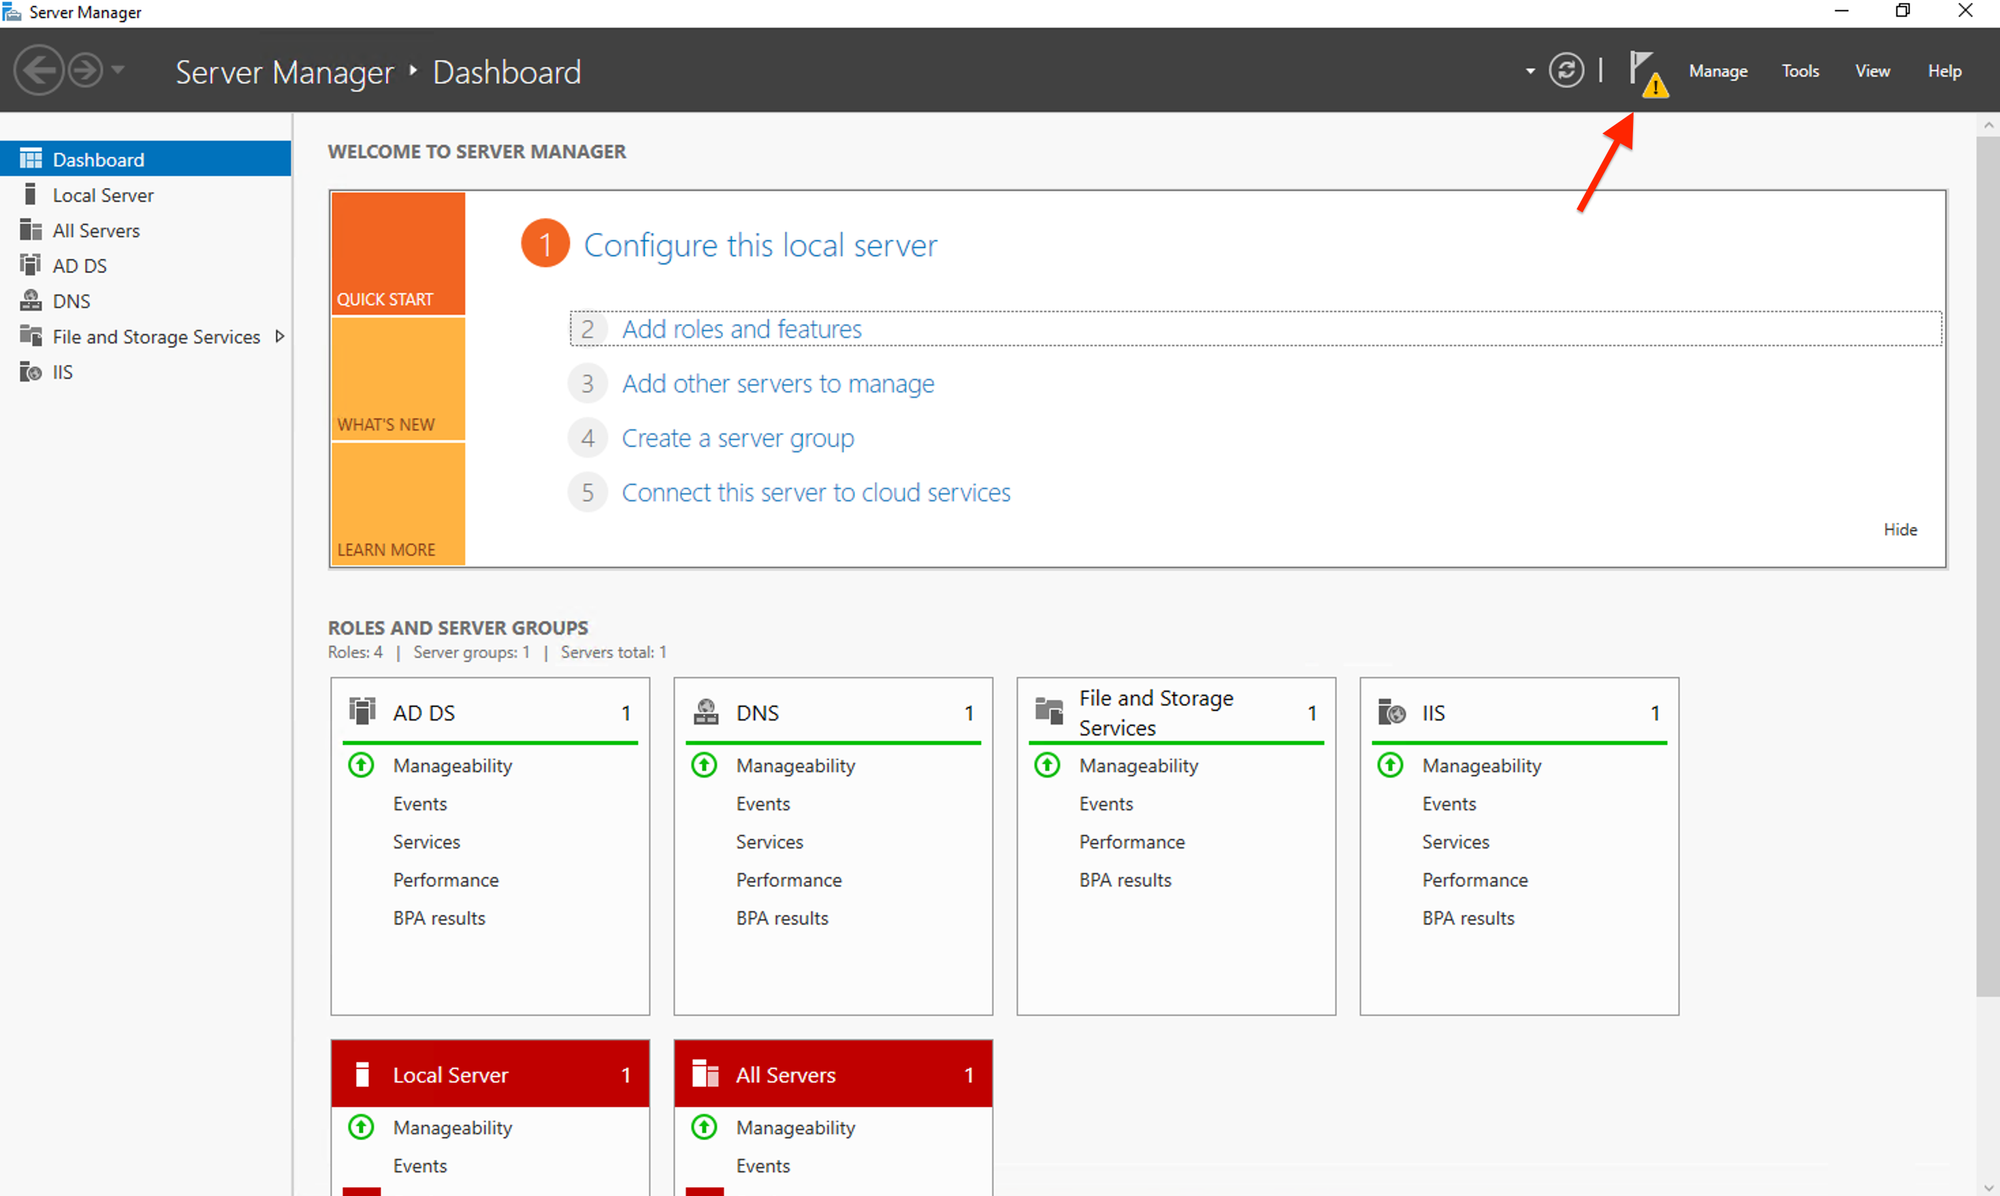
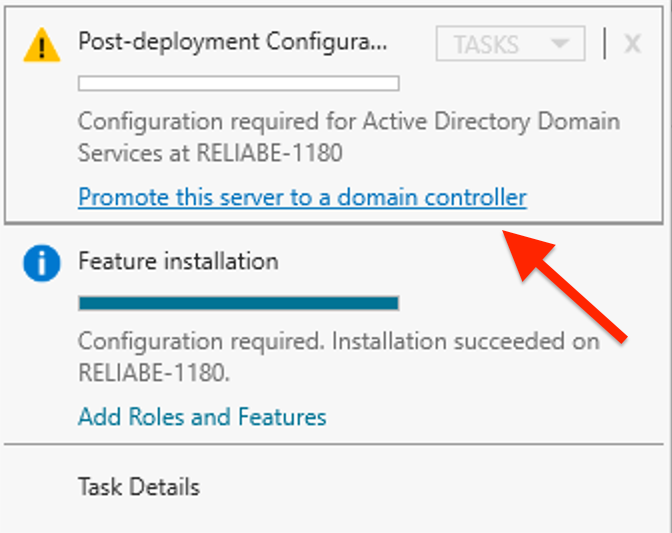
After installation, click the Notifications icon in Server Manager and choose "Promote this server to a domain controller."
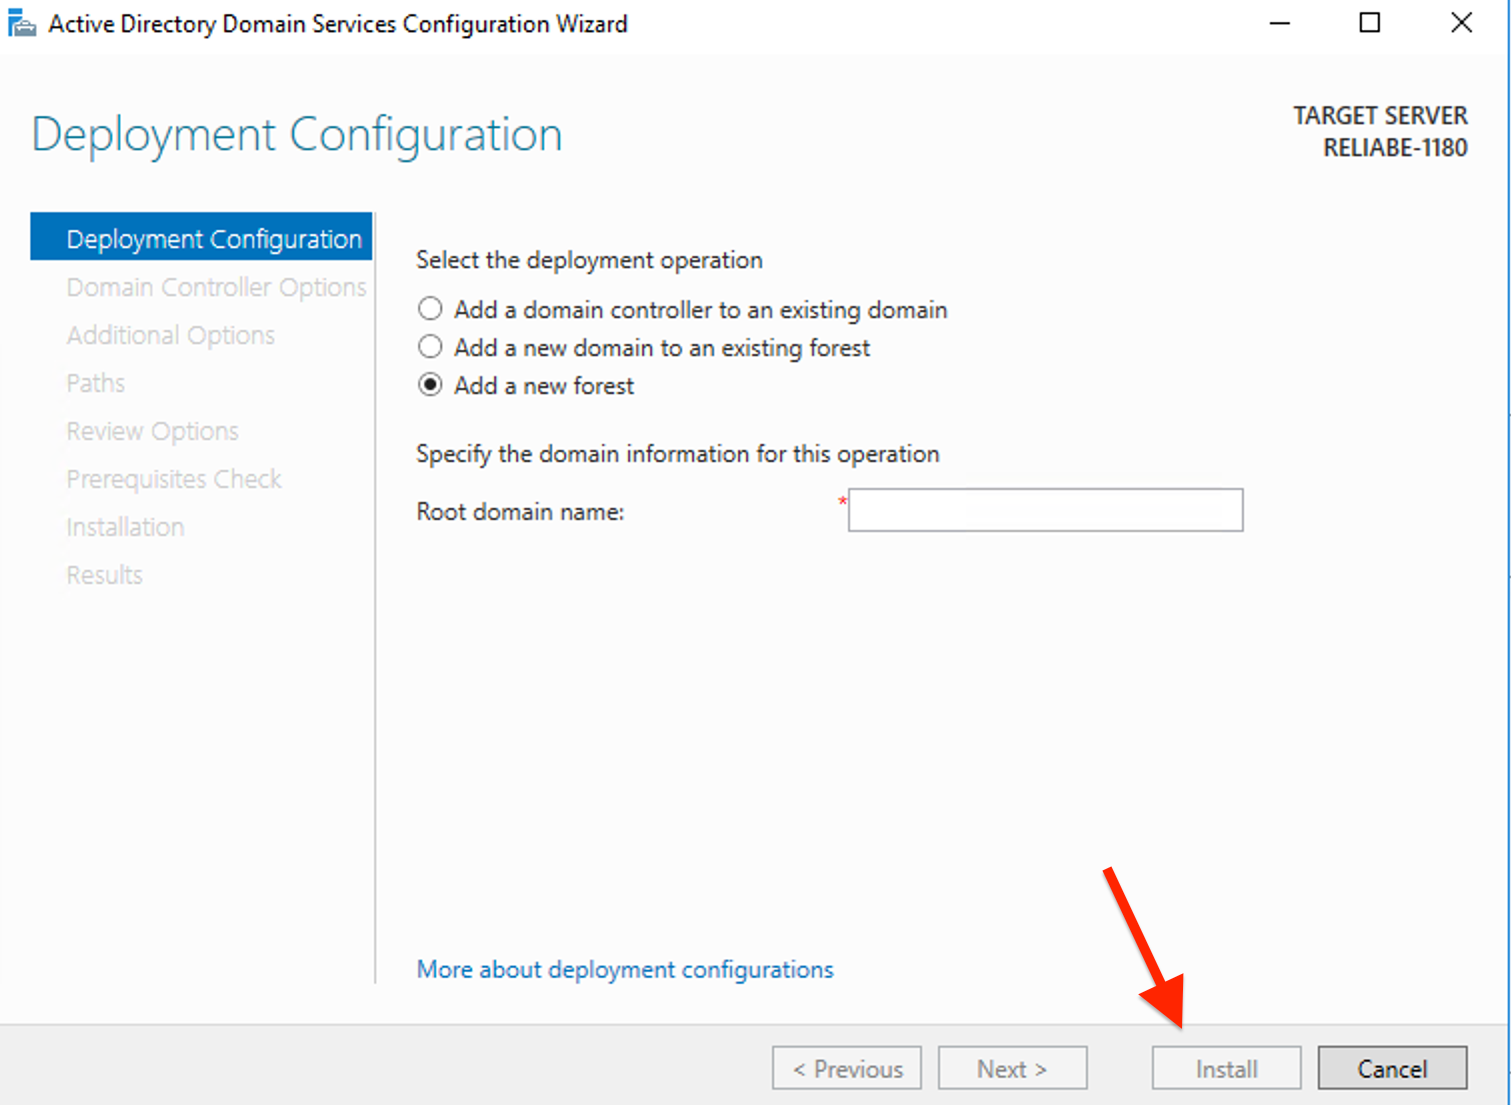
Follow the wizard to configure a new domain or add to an existing one. Complete the setup by providing the necessary details and credentials.
Restart the server if prompted, and verify the AD DS setup by checking the Active Directory tools in Server Manager.
