
How to install Hyper-V on a Windows server?
Installing Hyper-V on Windows Server enables powerful virtualization capabilities for creating and managing virtual machines. This brief guide will quickly walk you through the essential steps to install and configure Hyper-V, allowing you to efficiently set up and run virtual environments on your server.
Open Remote Desktop Connection Enter the IP address or hostname of your VPS and connect.
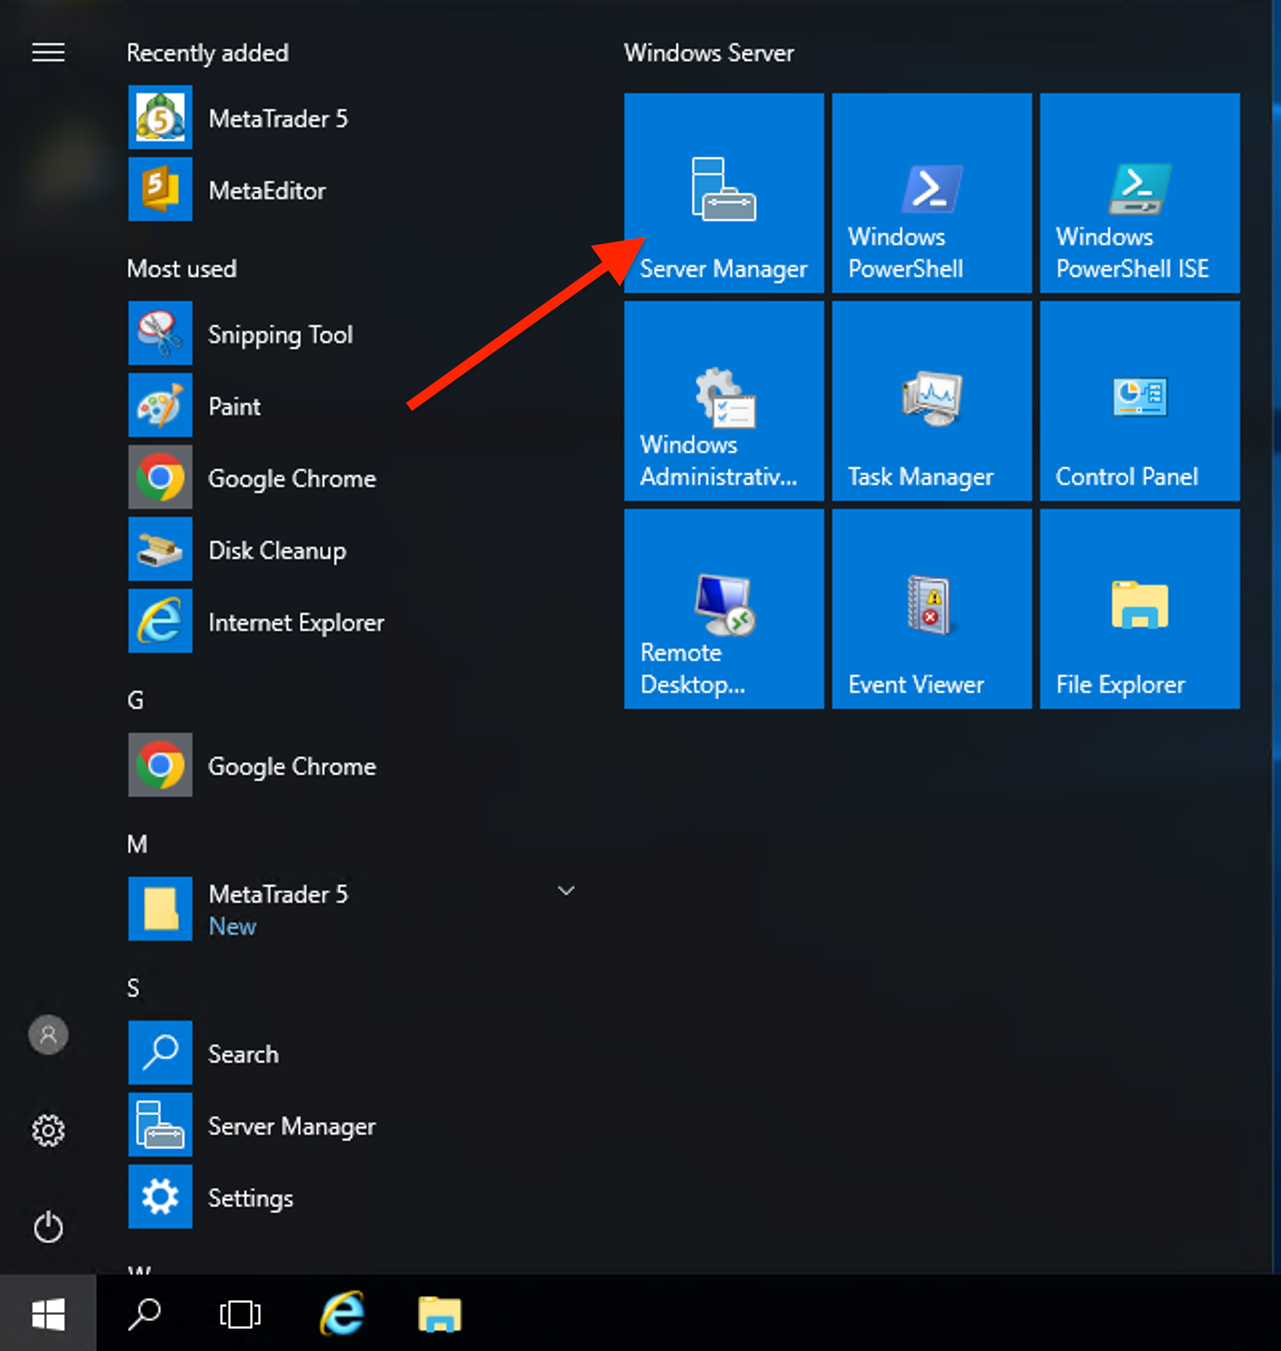
Click on the “Start” button, and then open “Server Manager.”
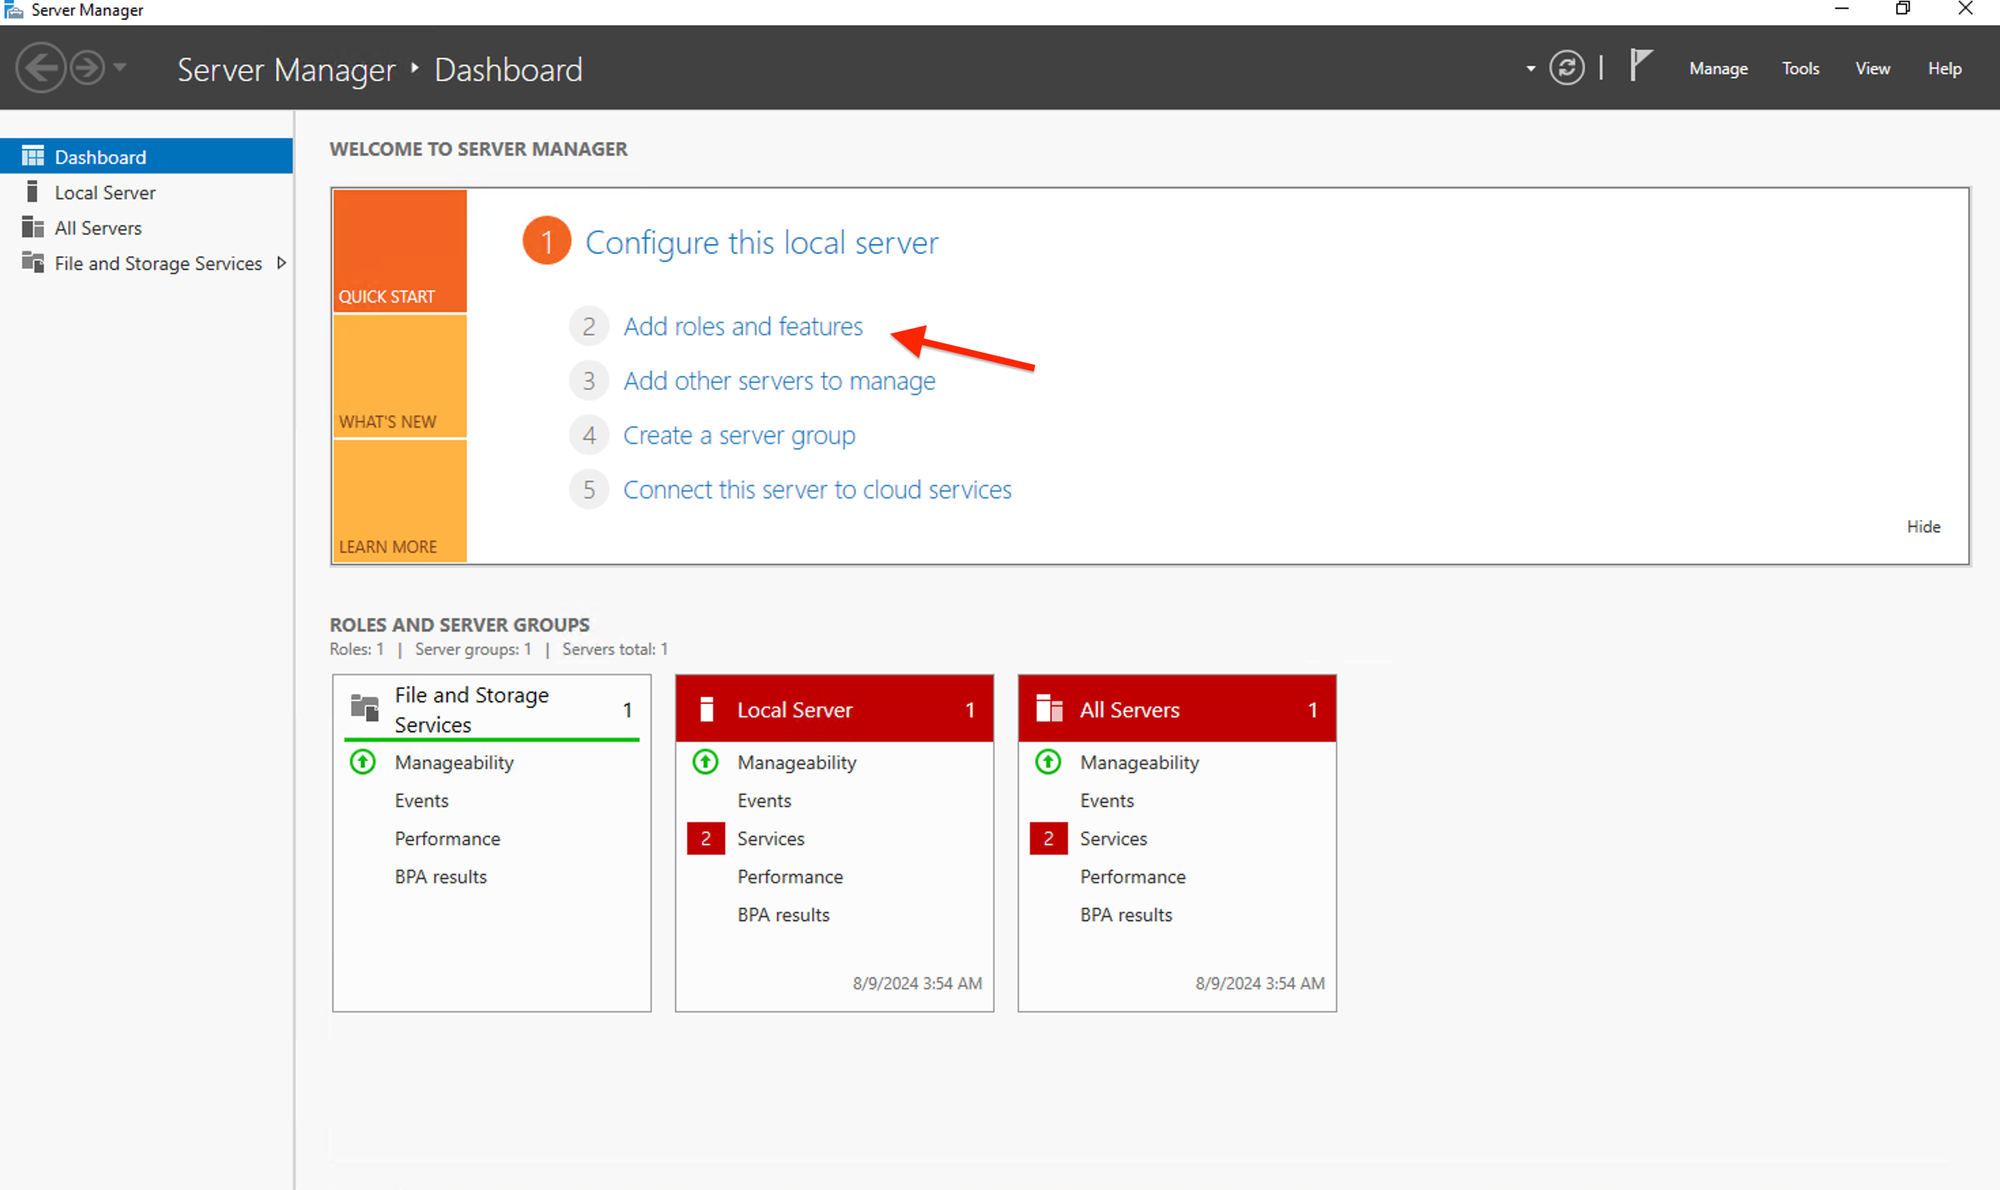
In Server Manager, select Add Roles and Features.
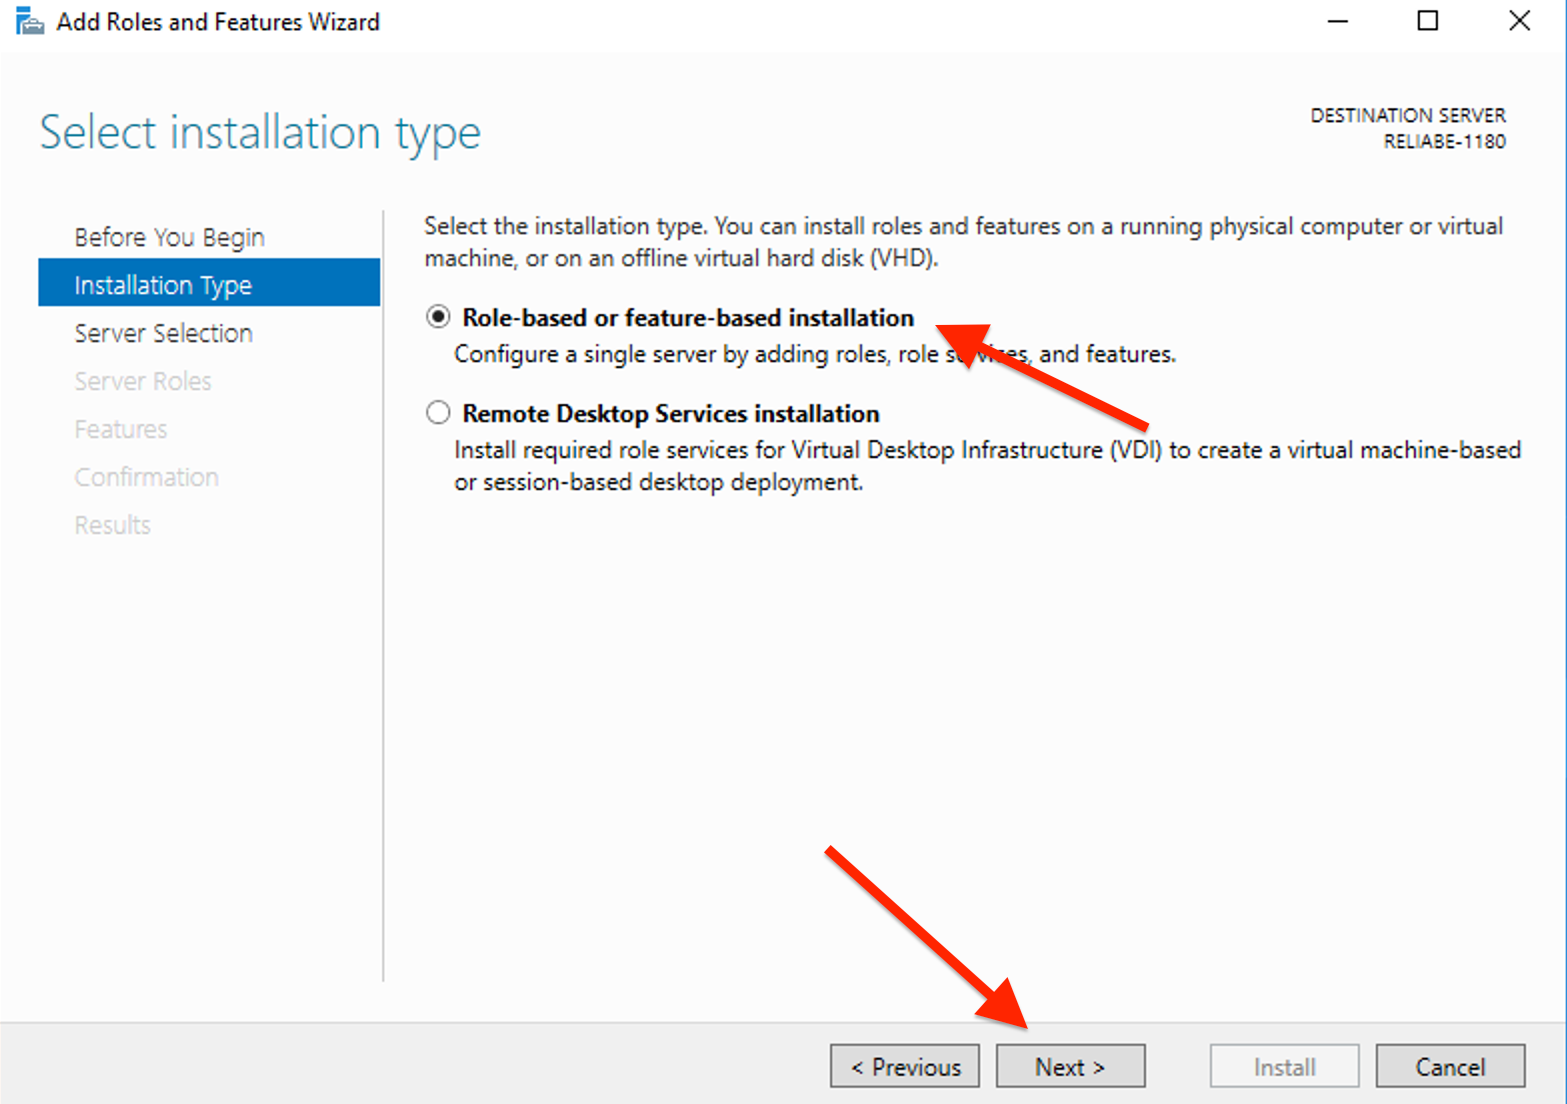
Select Role-based or feature-based installation and then click Next.
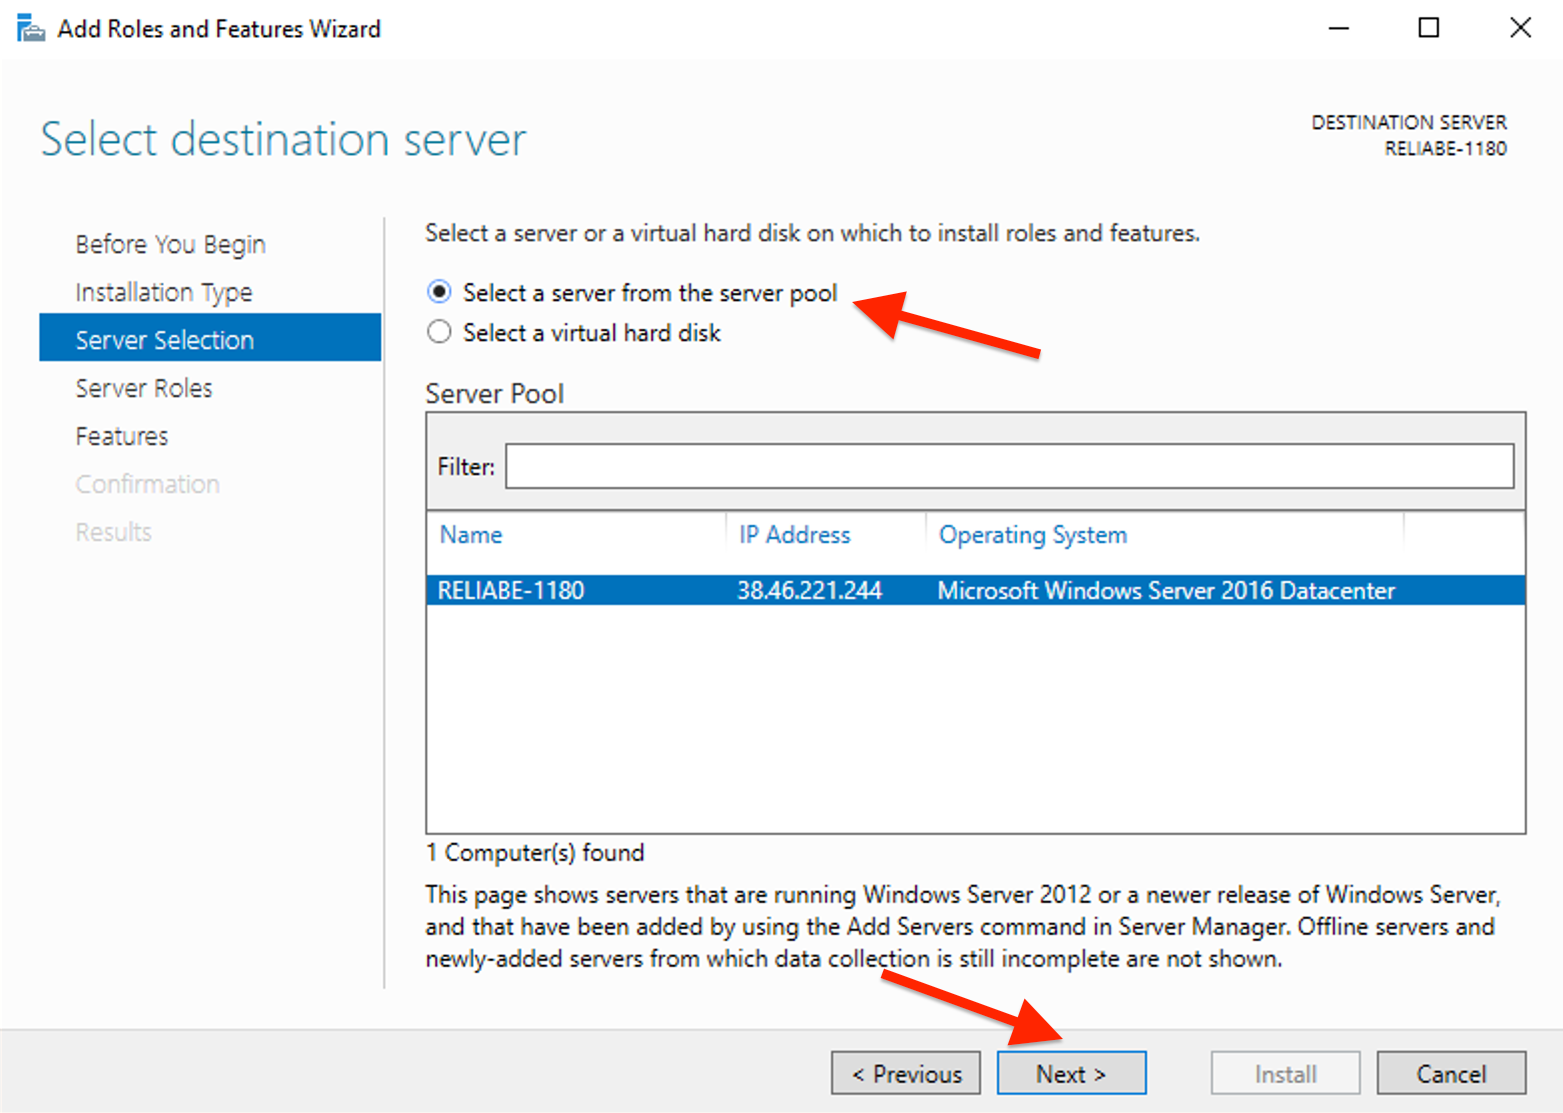
Choose the server you want to install Hyper-V on and click Next.
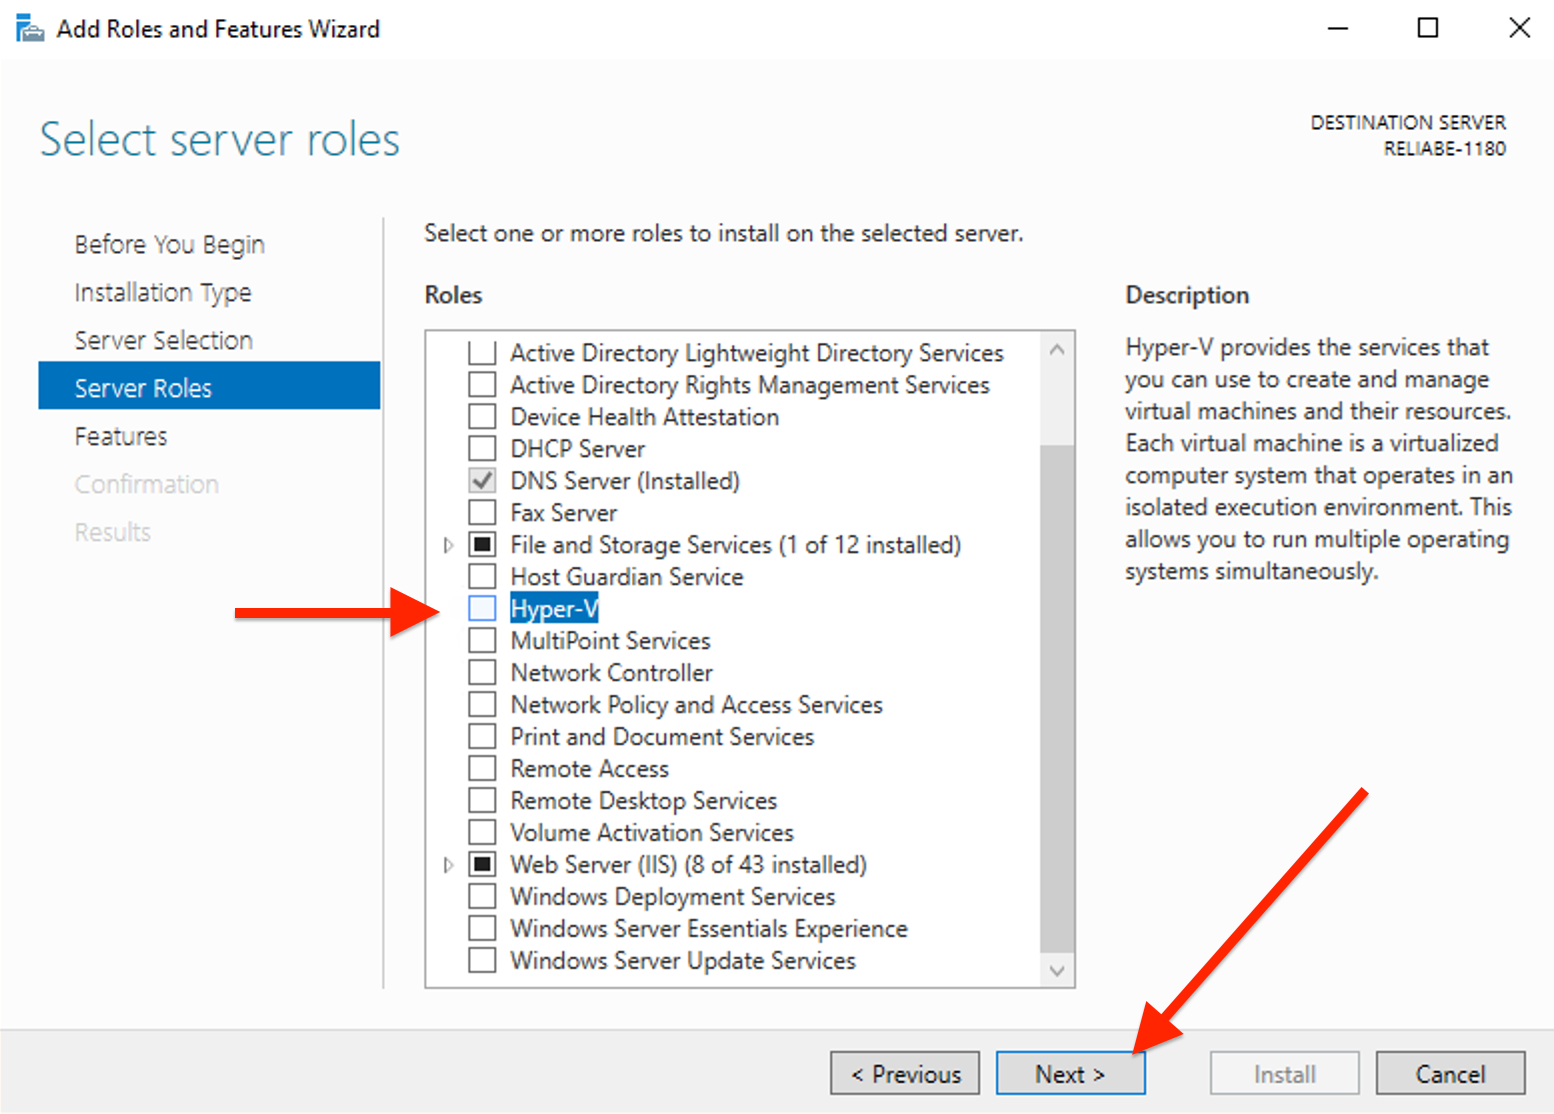
Check the box for Hyper-V.
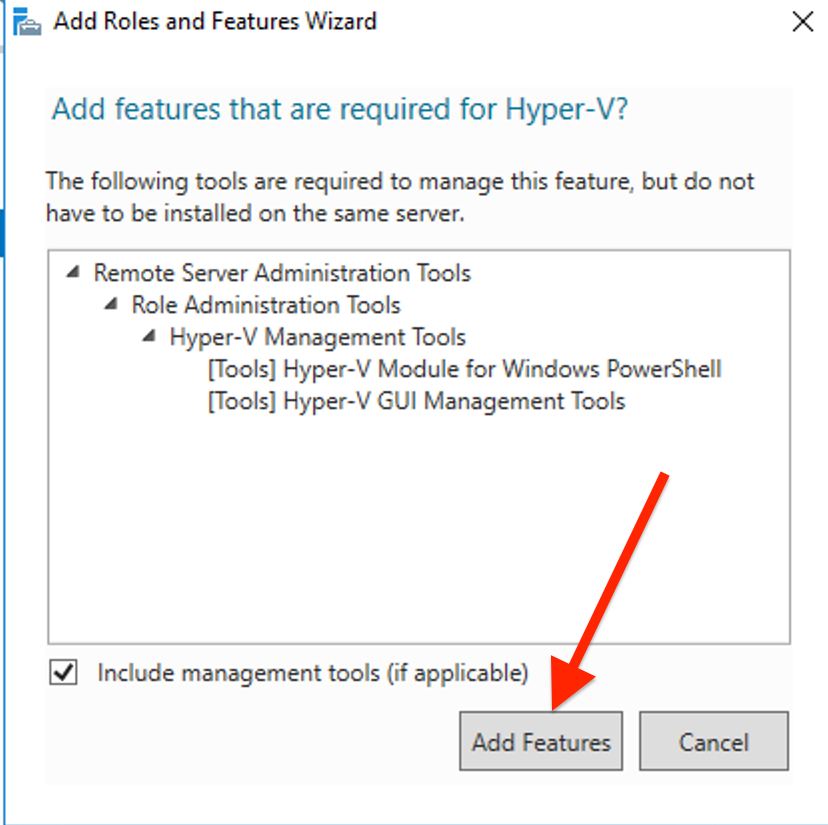
A dialogue box will appear to add the required features. Click Add Features to confirm, then click Next.
You can either keep the default features or select additional ones as needed. Then, click Next to continue.

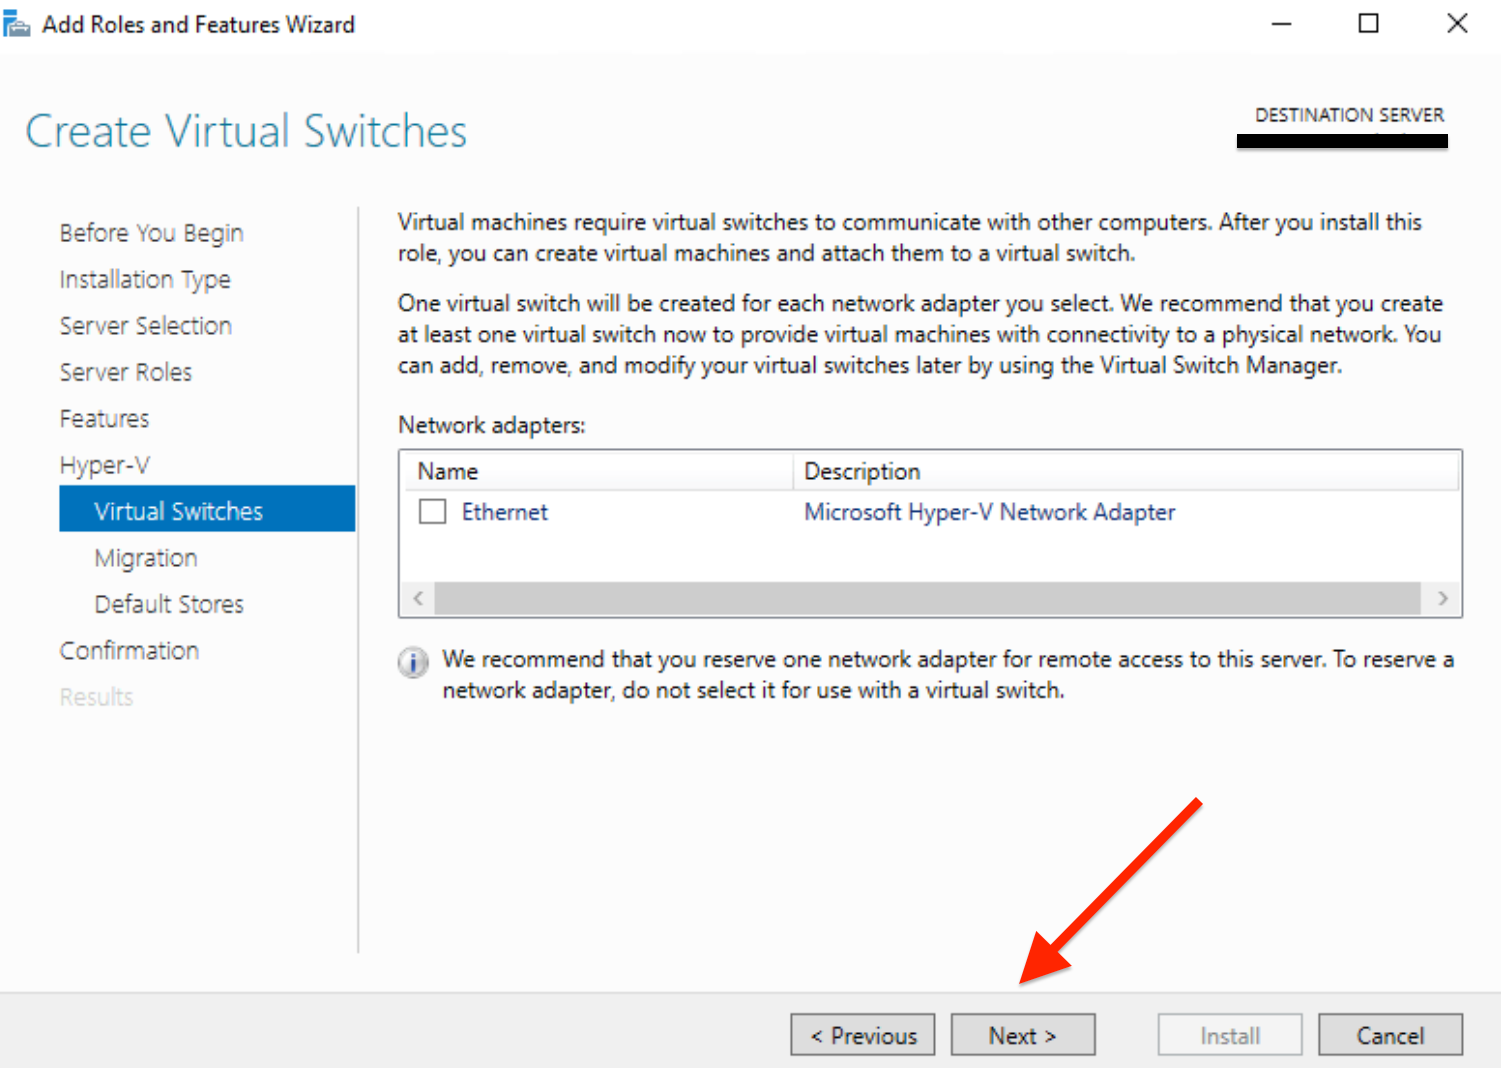
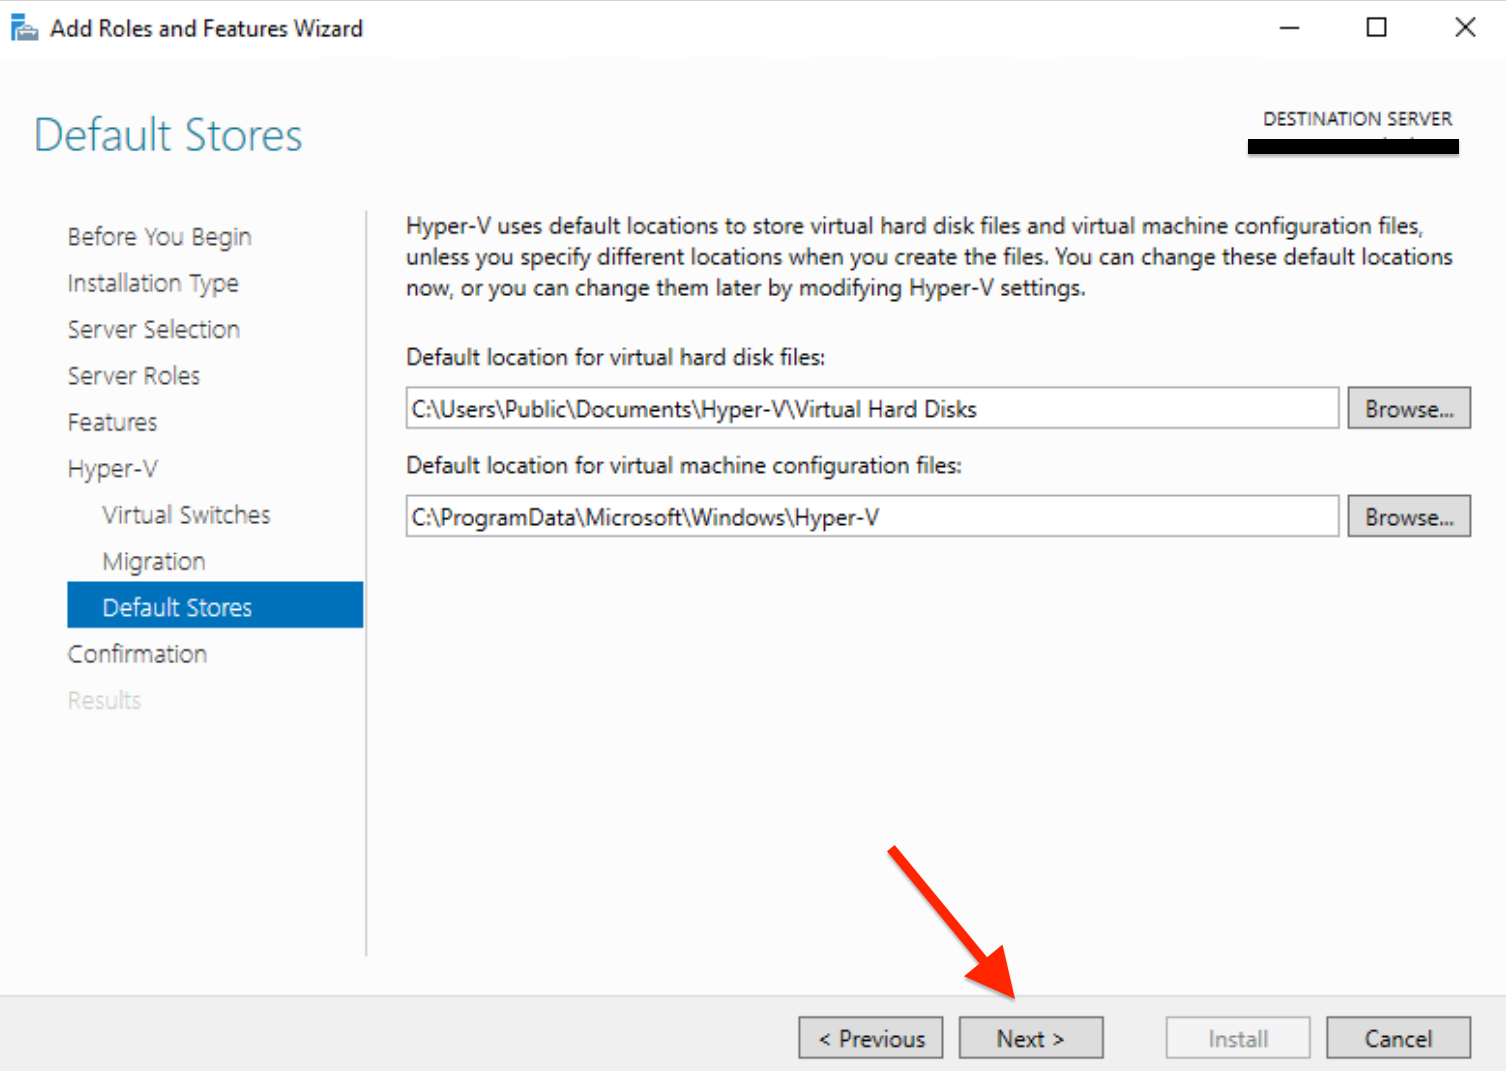
Configure Hyper-V settings such as network connections and virtual machine storage. Click Next.
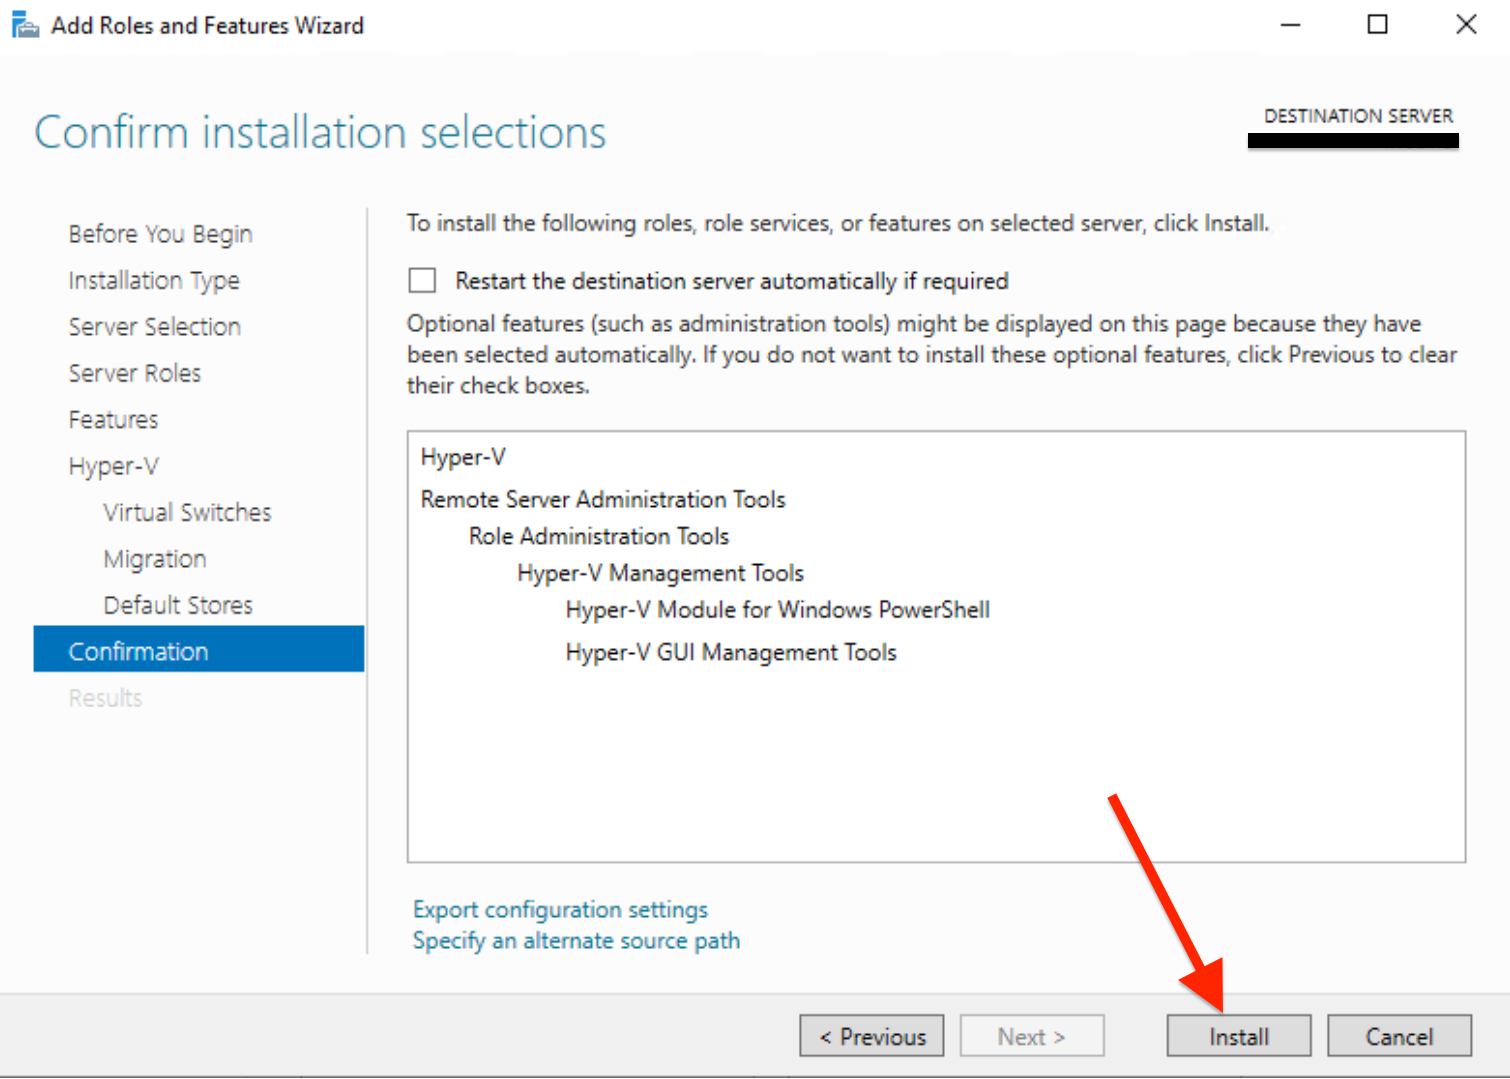
Review your selections and click Install. The installation process will start.
Once installation is complete, restart your server.
Once the server restarts, open Server Manager and check under Roles and Features to confirm that Hyper-V is installed. You can also find Hyper-V Manager in the Start menu to begin creating and managing your virtual machines.
