
How to install IIS on the Windows VPS/RDP?
Installing Internet Information Services (IIS) on a Windows VPS or RDP is essential for hosting web applications. This guide will quickly walk you through the steps to get IIS up and running on your server, so you can efficiently manage and deploy your websites.
Open Remote Desktop Connection Enter the IP address or hostname of your VPS and connect.
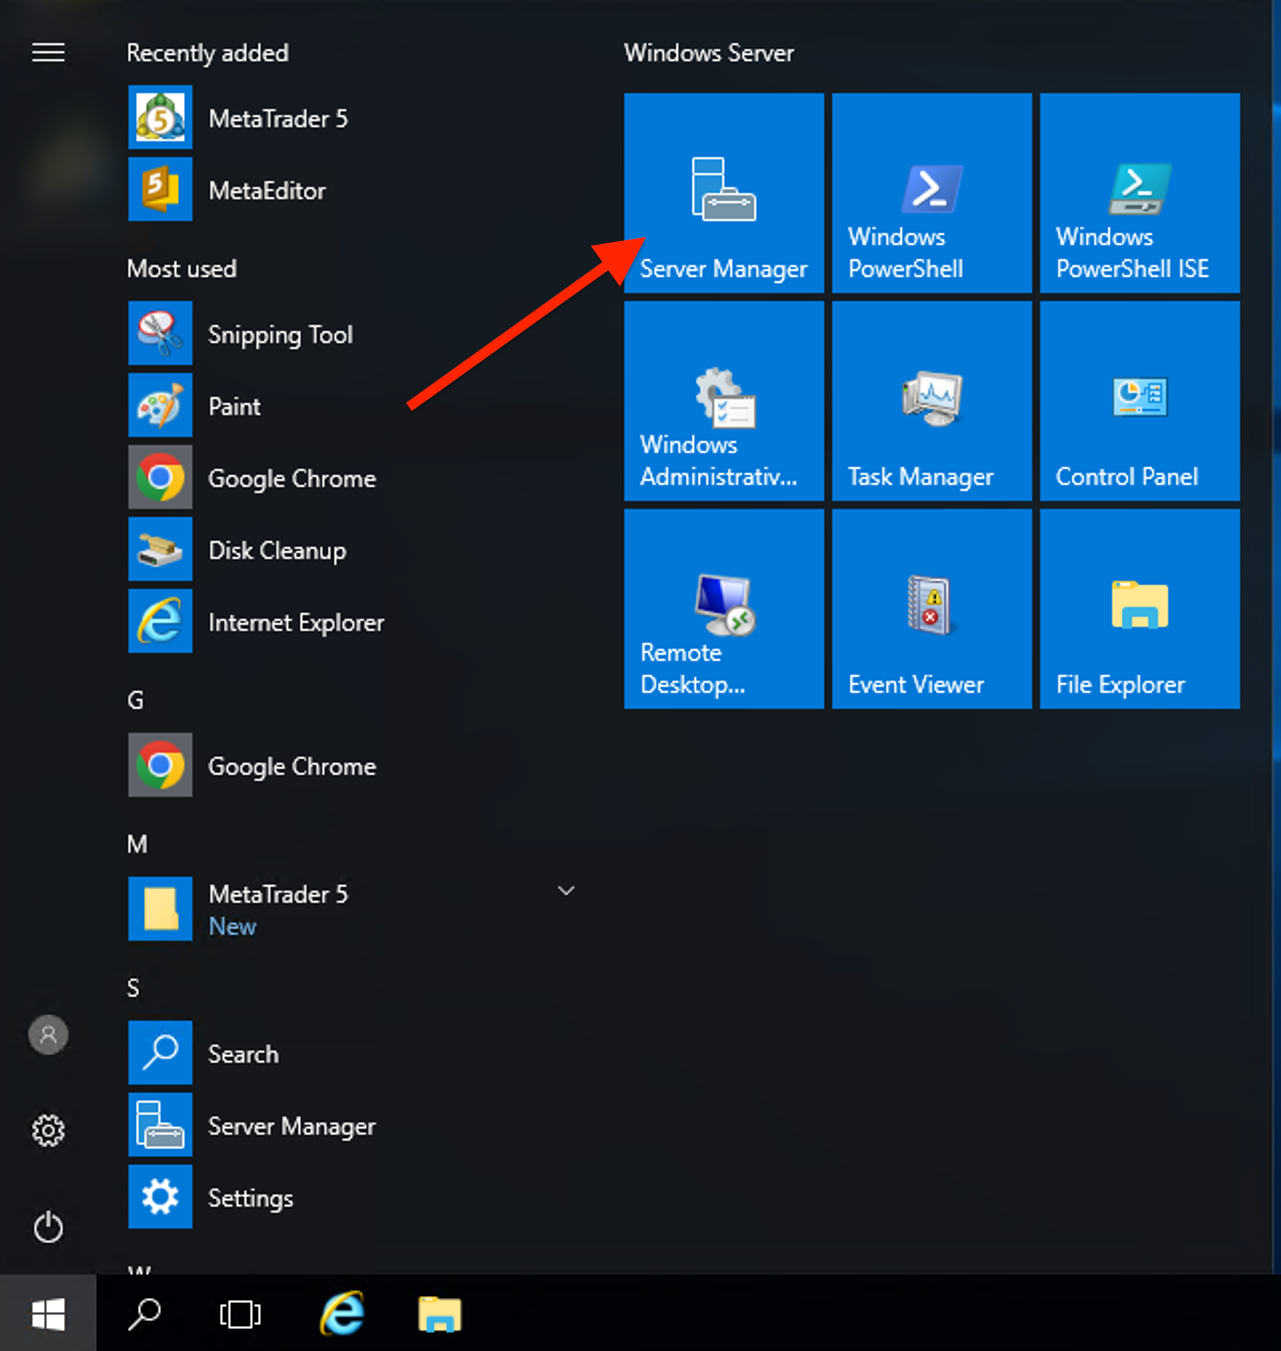
Click on the “Start” button, and then open “Server Manager.”
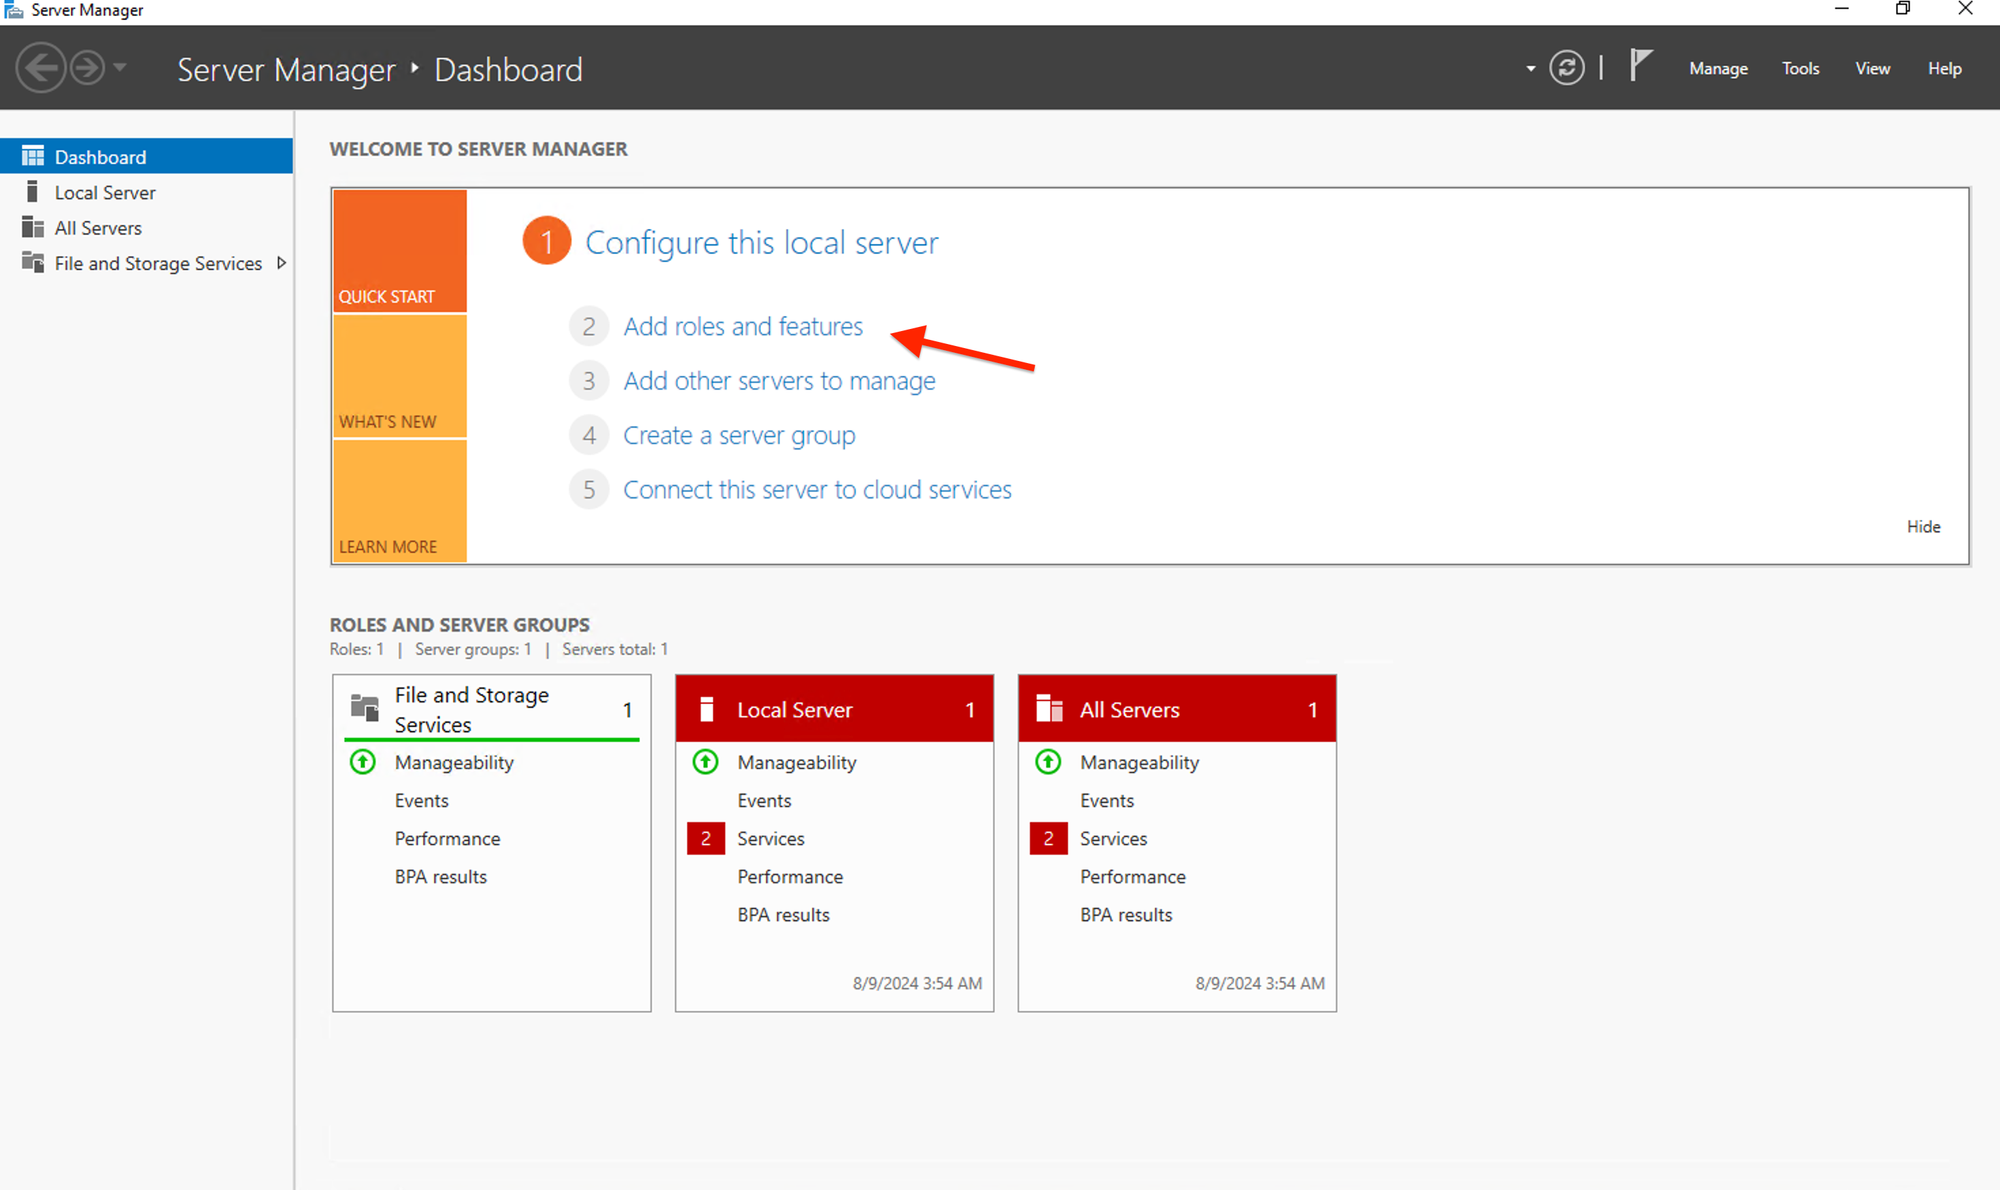
In Server Manager, click on Manage in the top-right corner, then select Add Roles and Features.
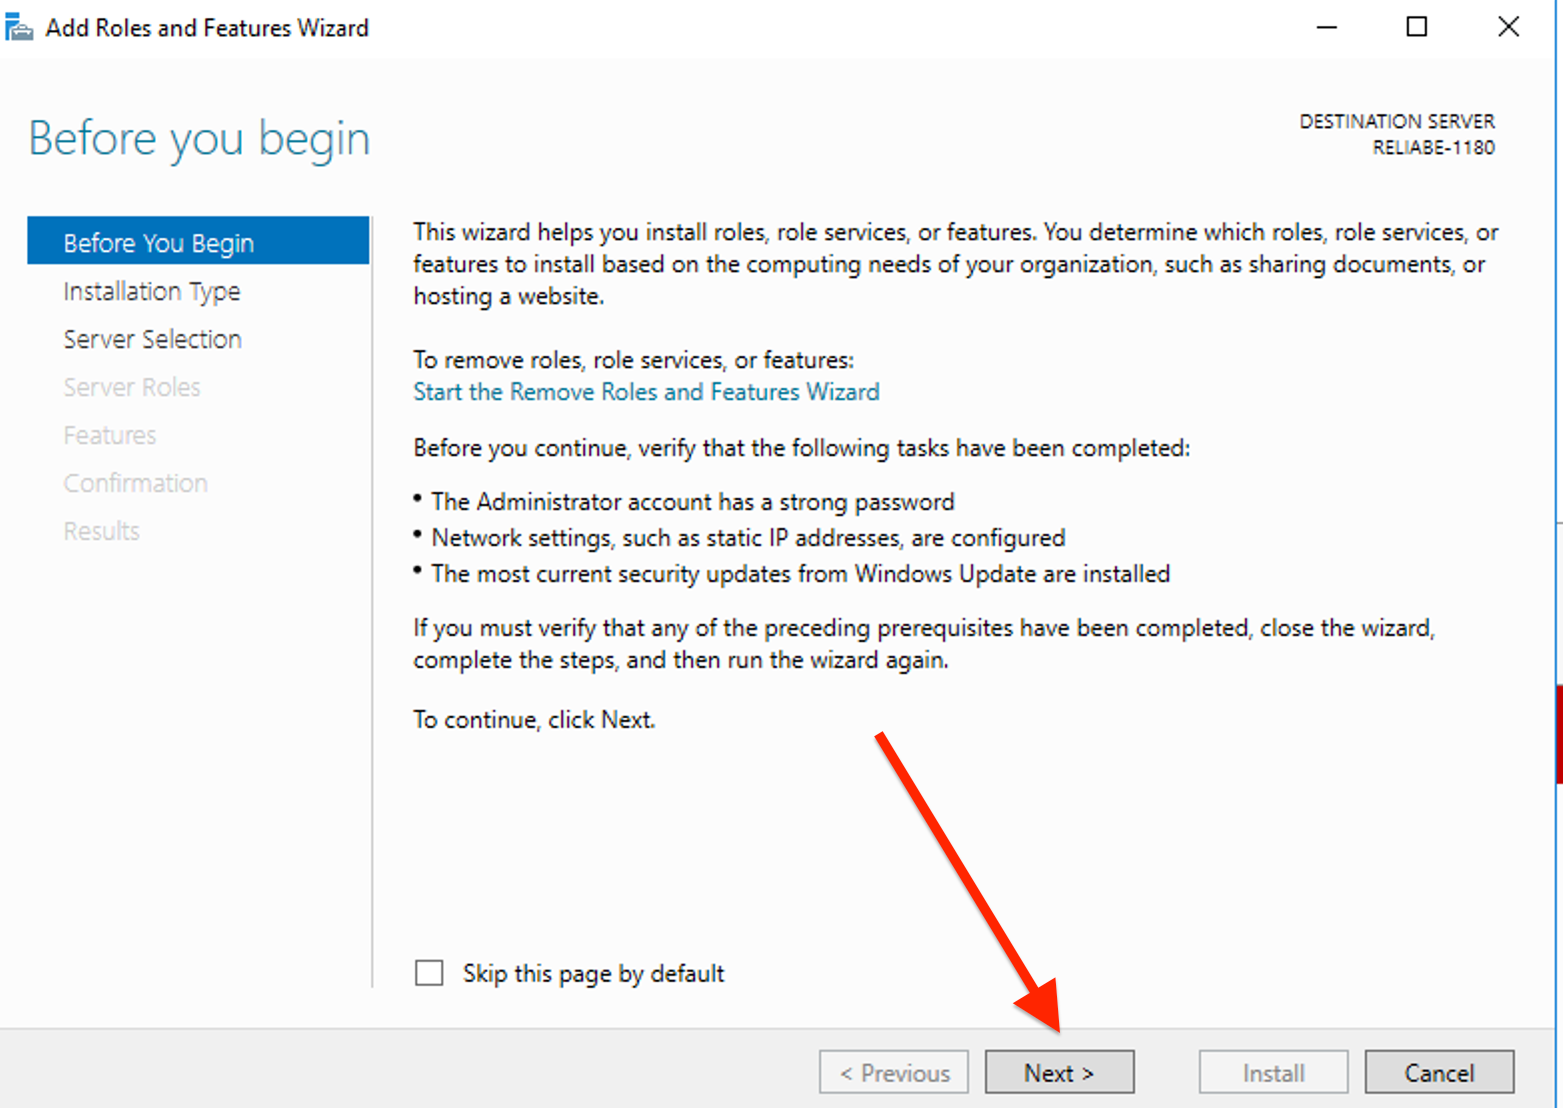
On the Before you begin popup, click Next.
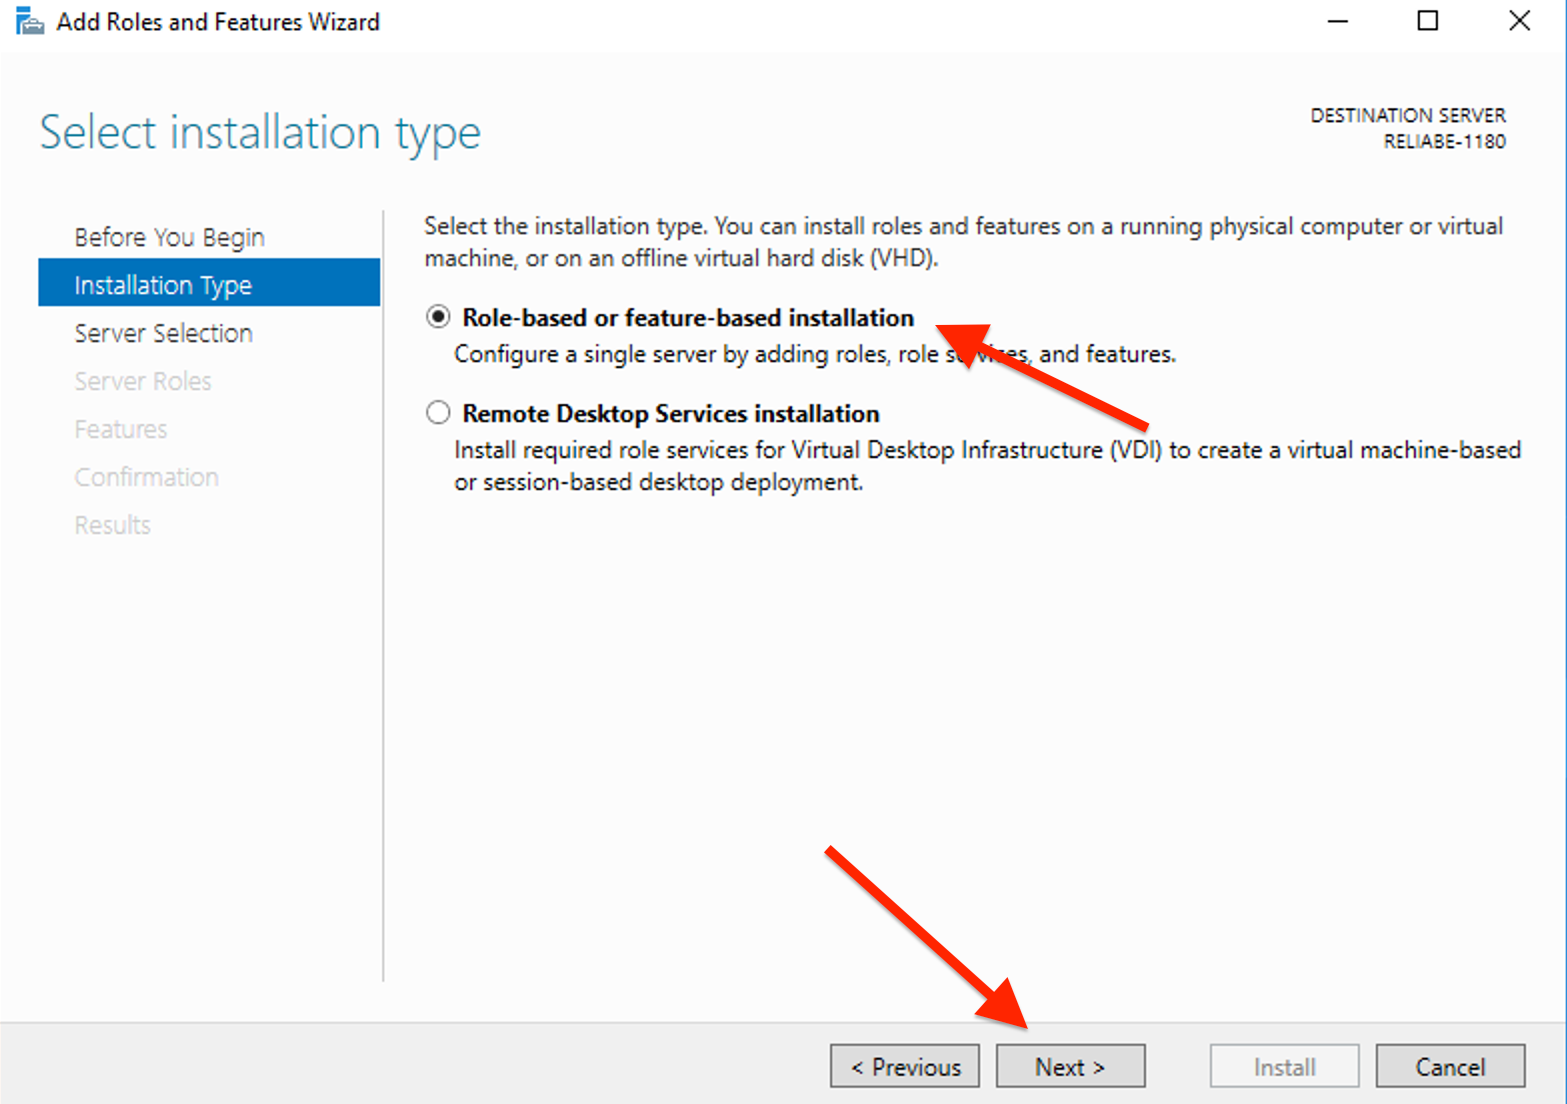
Select Role-based or feature-based installation and then click Next.
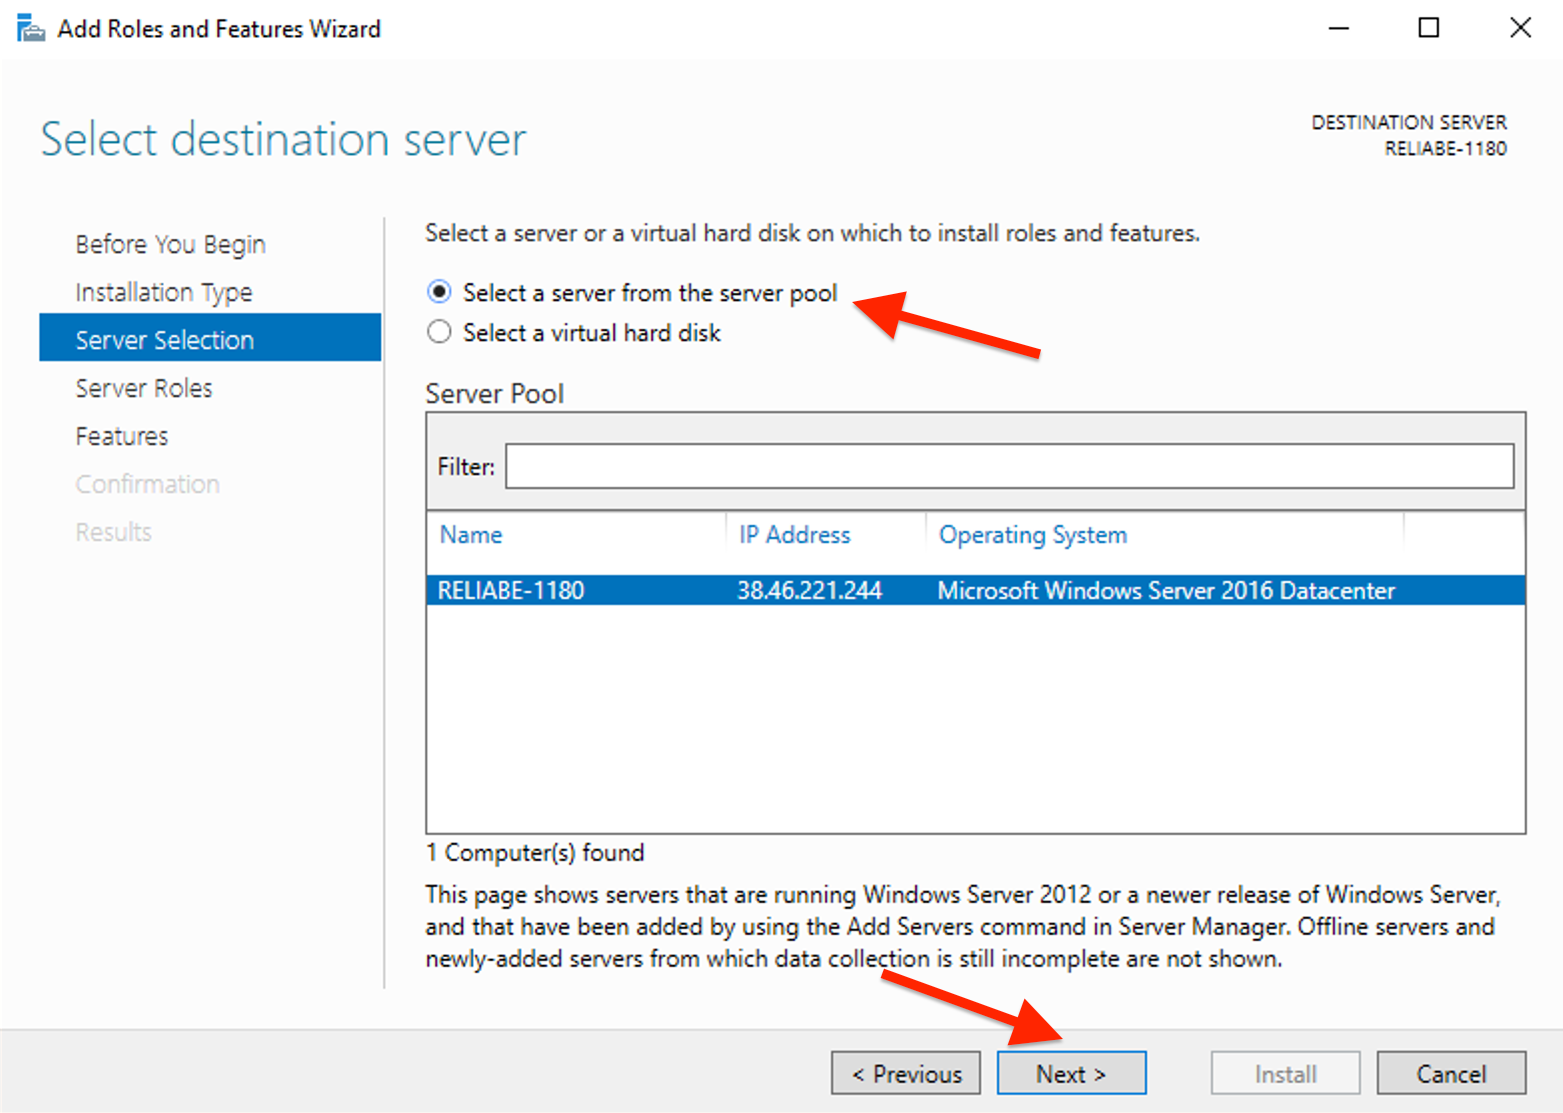
Pick the server where you want to install IIS. It should be the local server, so select it and click Next.
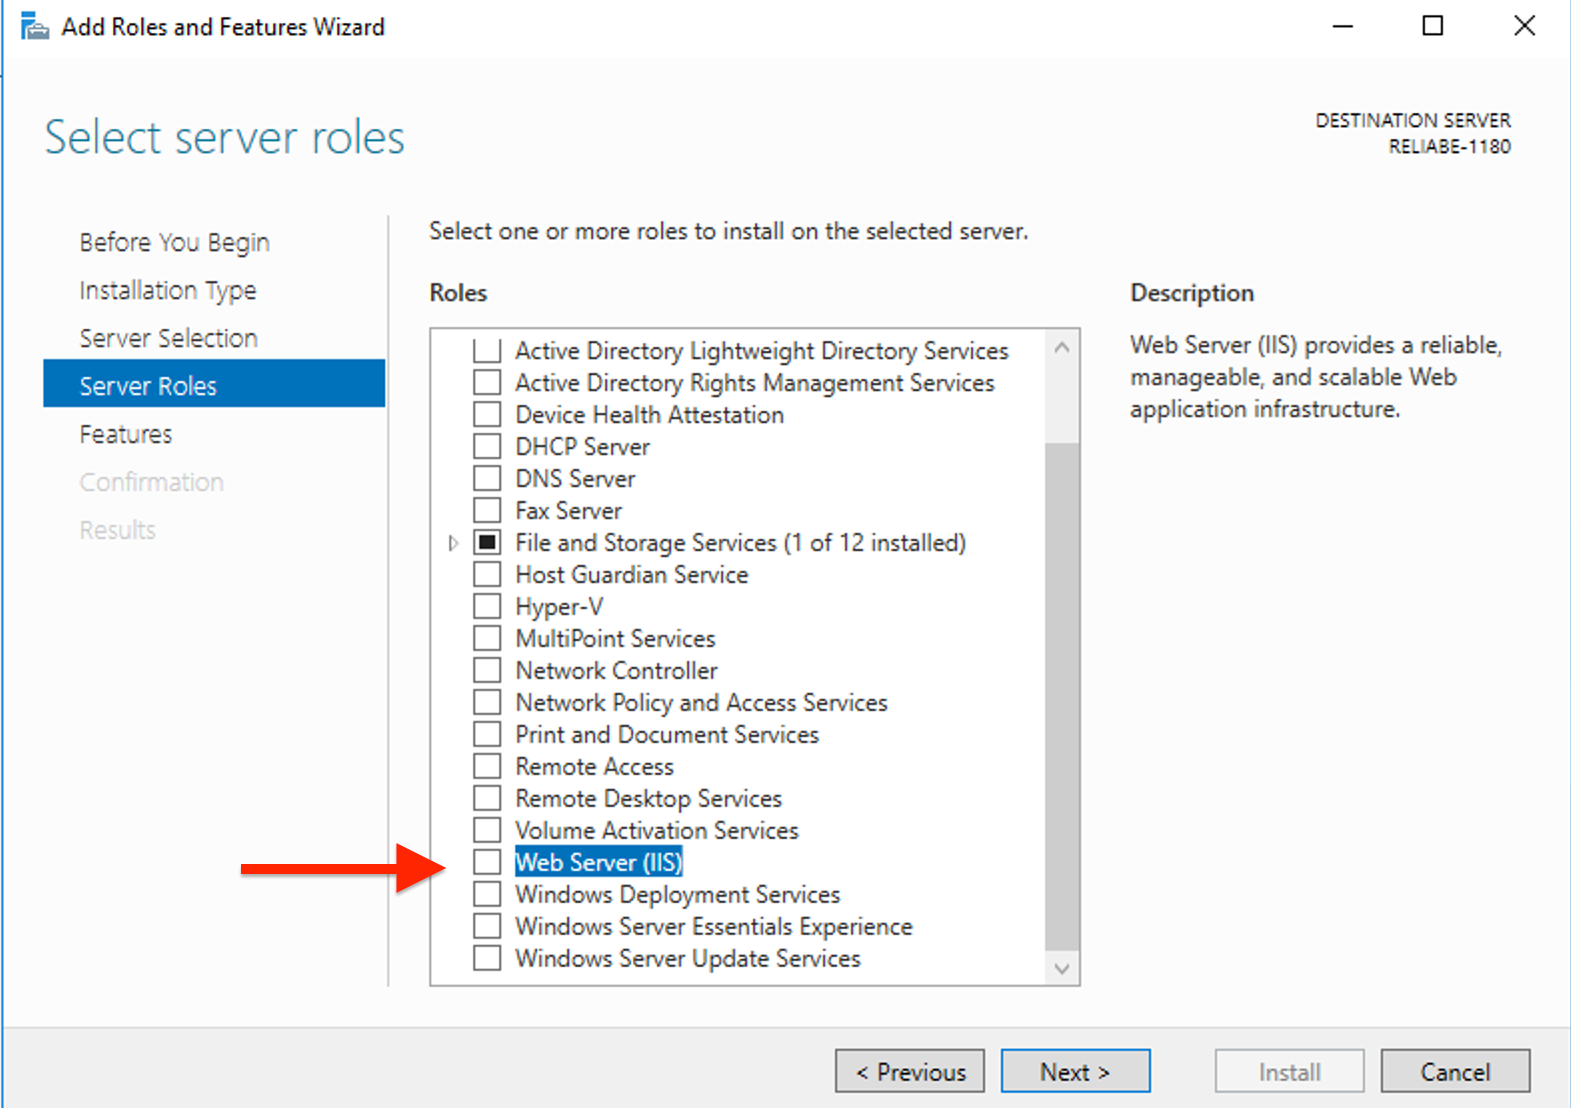
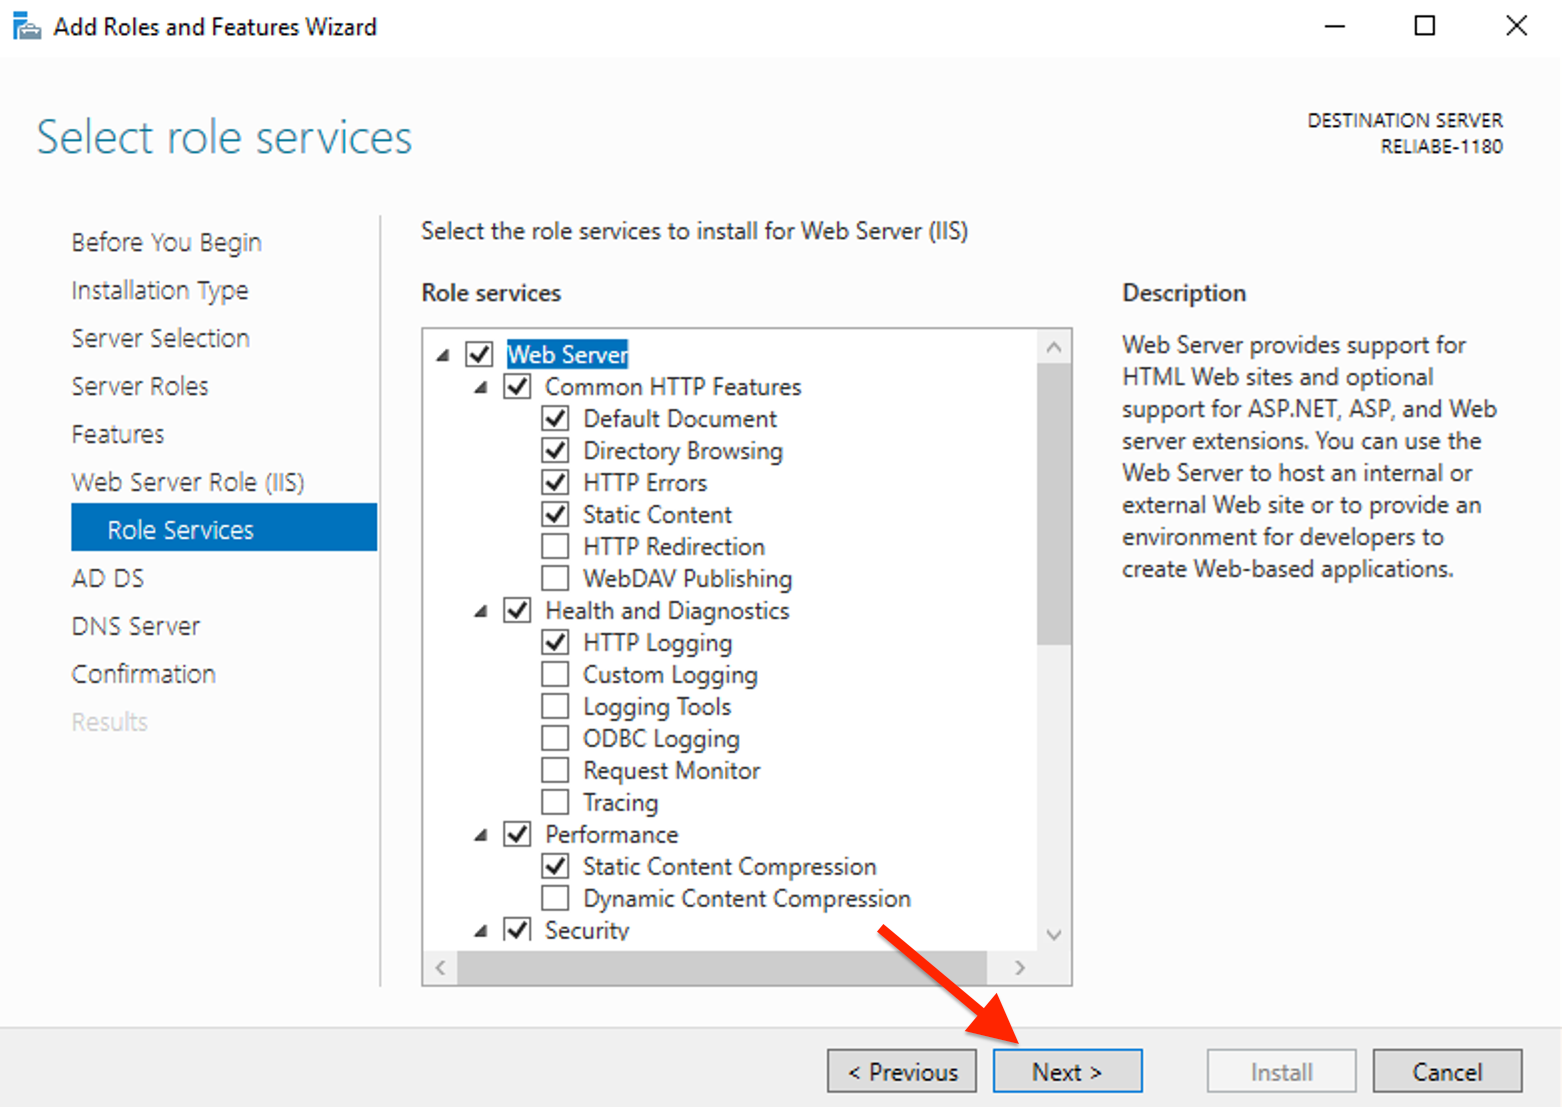
Check the box for Web Server (IIS).
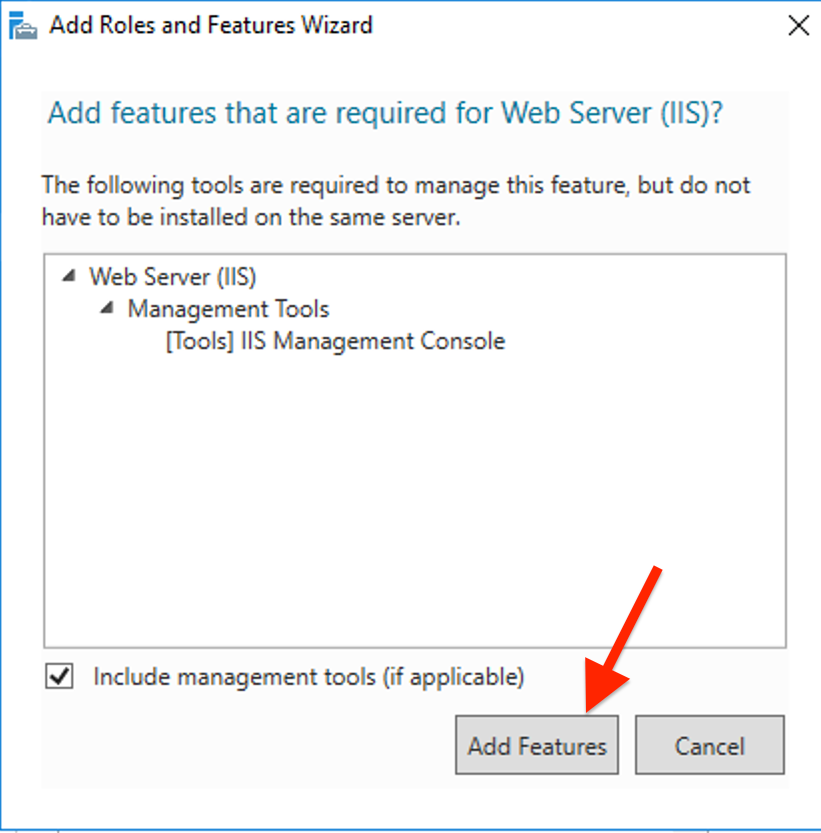
A dialogue box will appear to add the required features. Click Add Features to confirm, then click Next.
You can either keep the default features or select additional ones as needed. Then, click Next to continue.
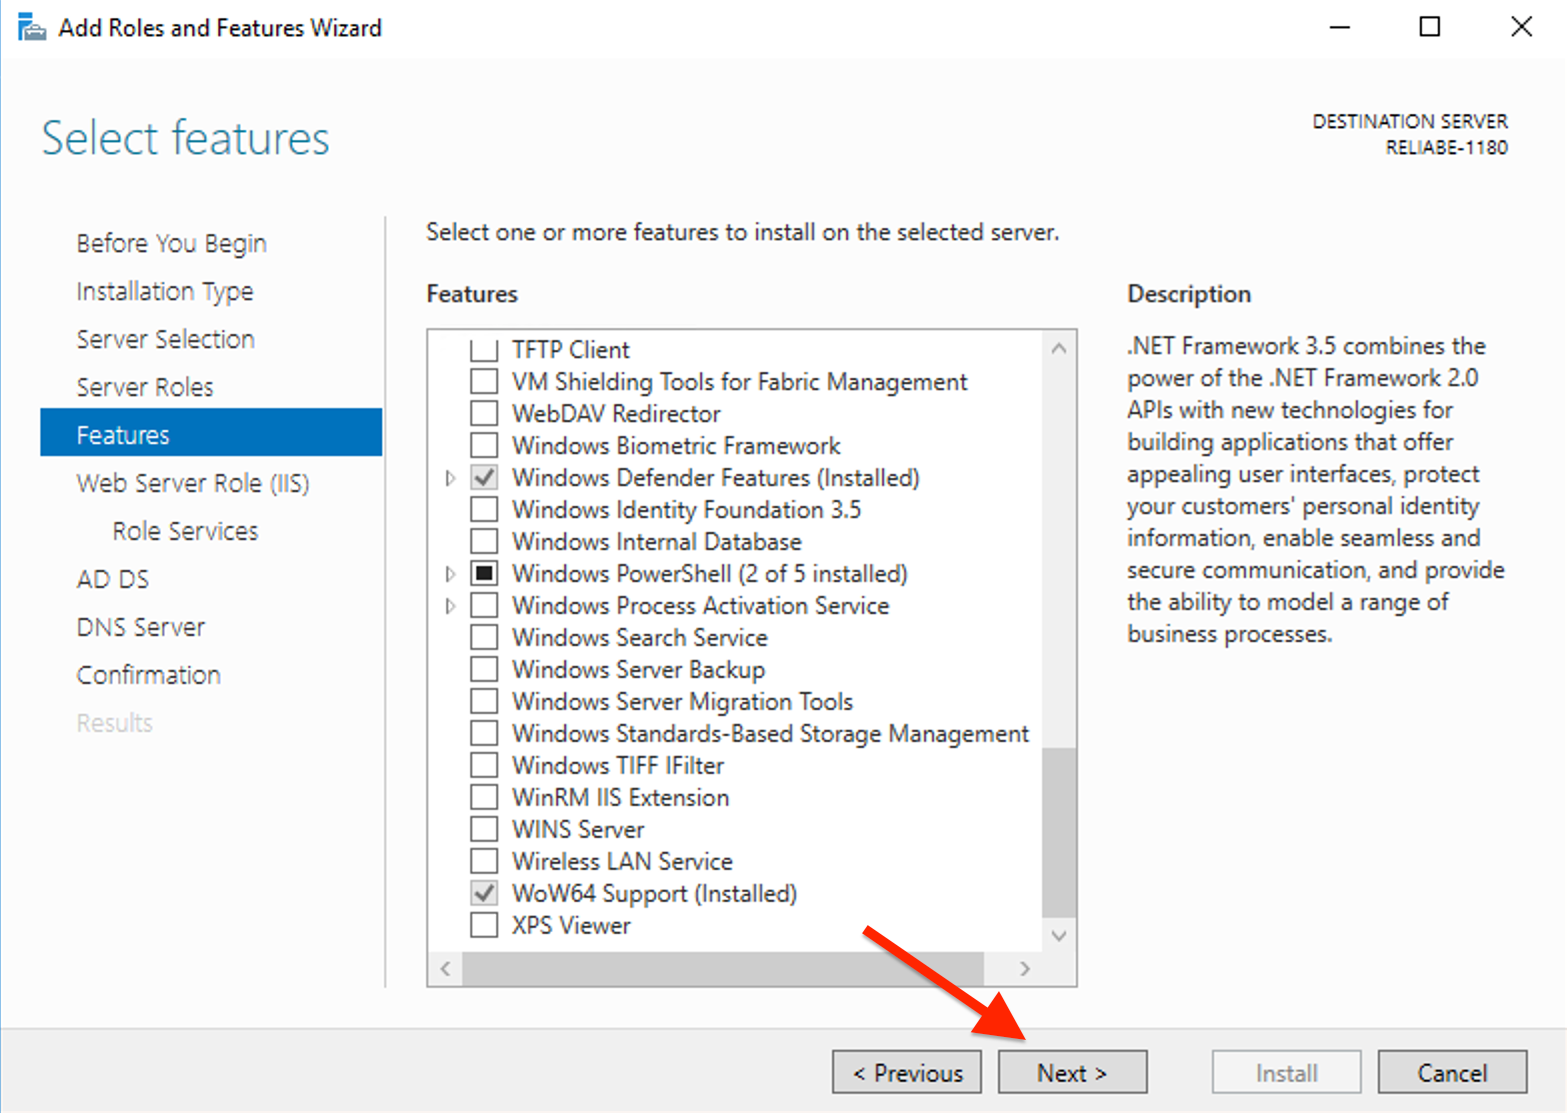
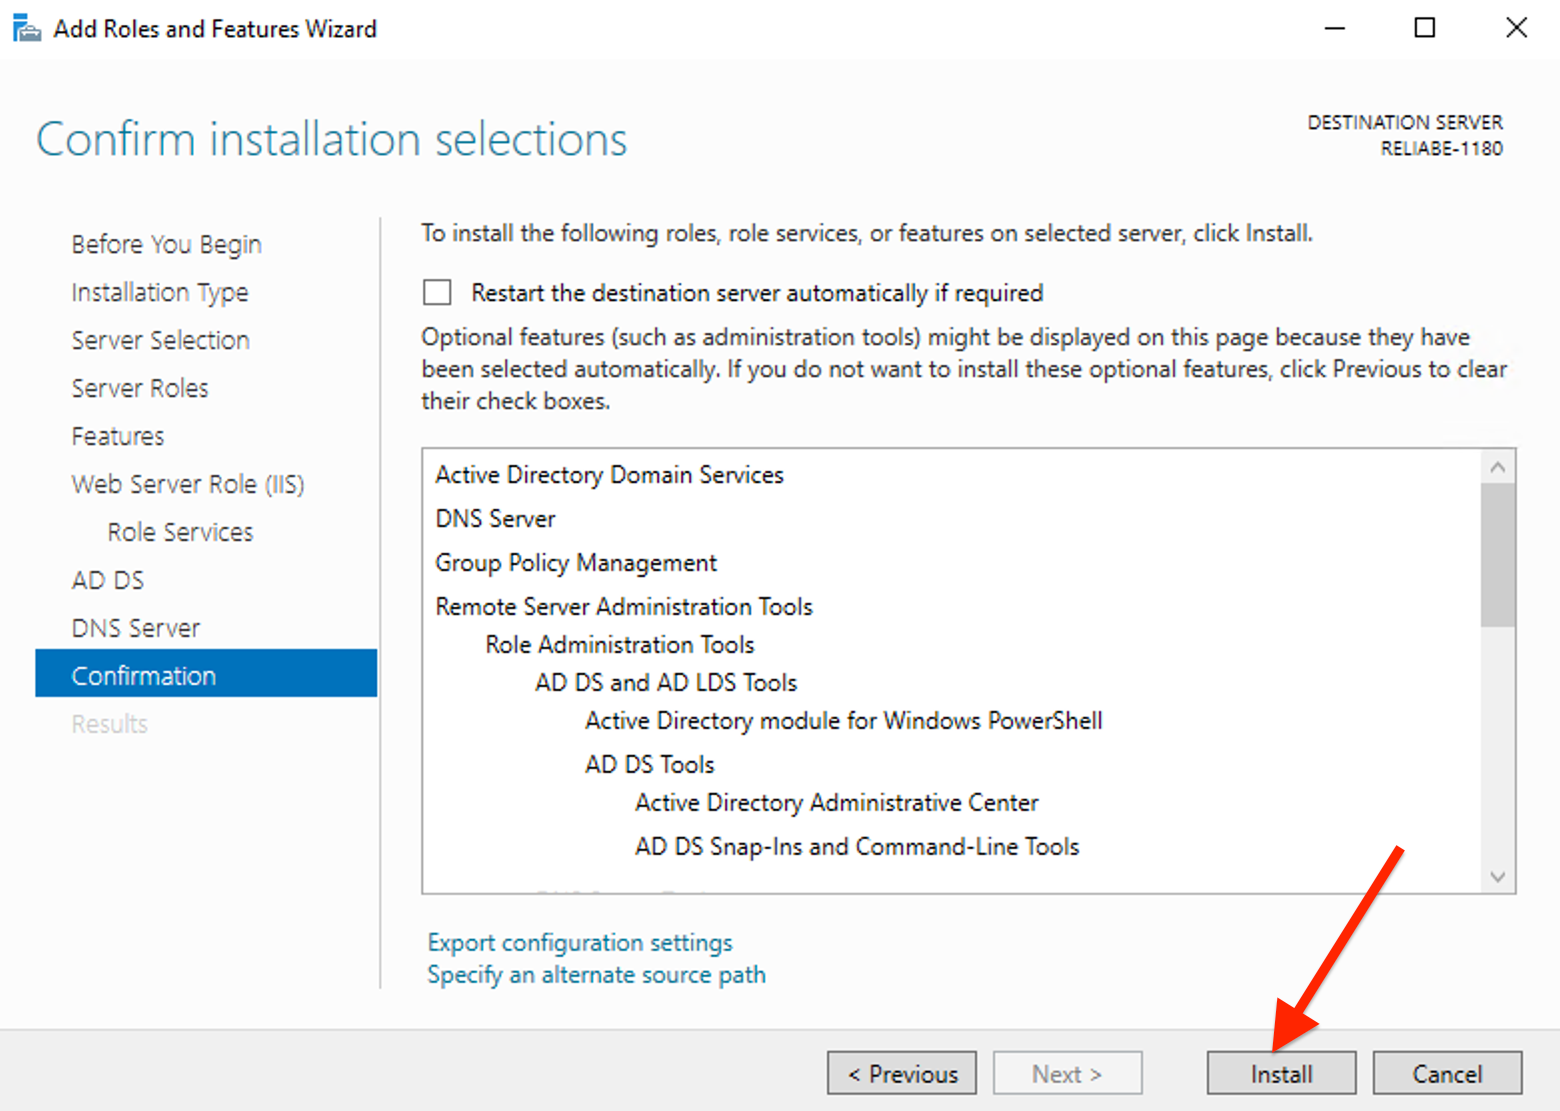
Review the additional features that will be installed alongside IIS. You can leave the defaults if you’re unsure. Click Next to proceed.
Review your selections and click Install. The installation process will begin.
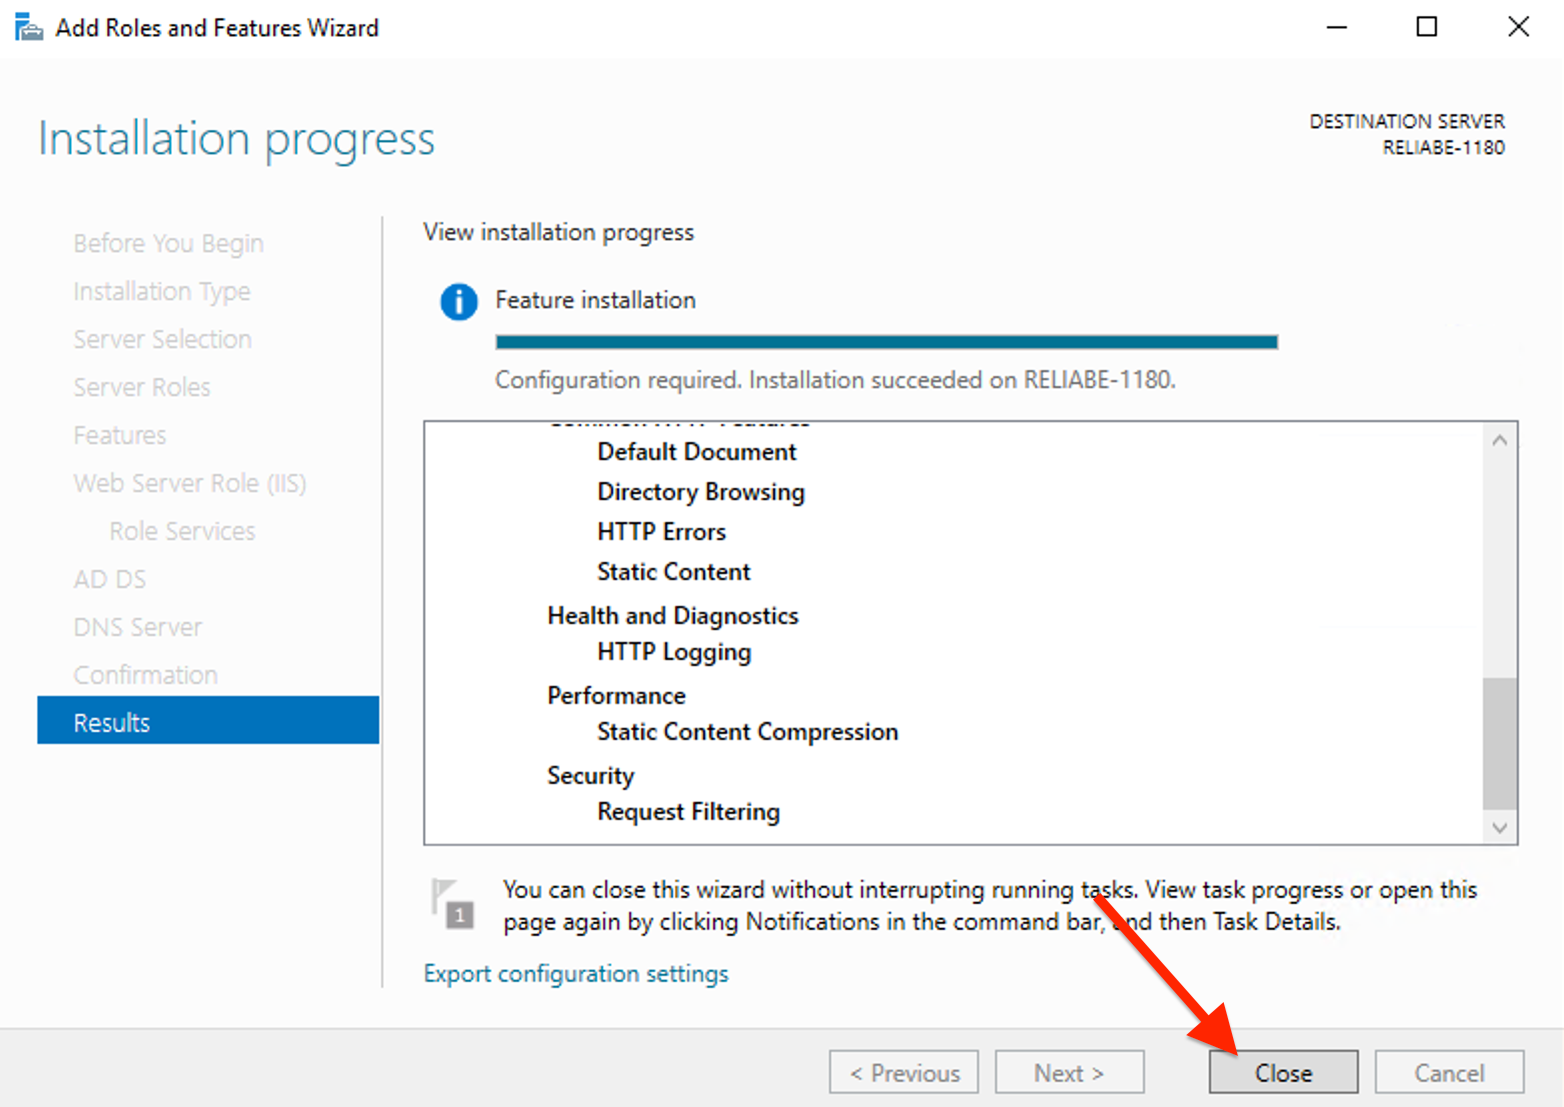
Once the installation is complete, click Close to close the installation wizard.
Open a web browser and go to http://localhost to check if the default IIS welcome page appears and Verify the installation.
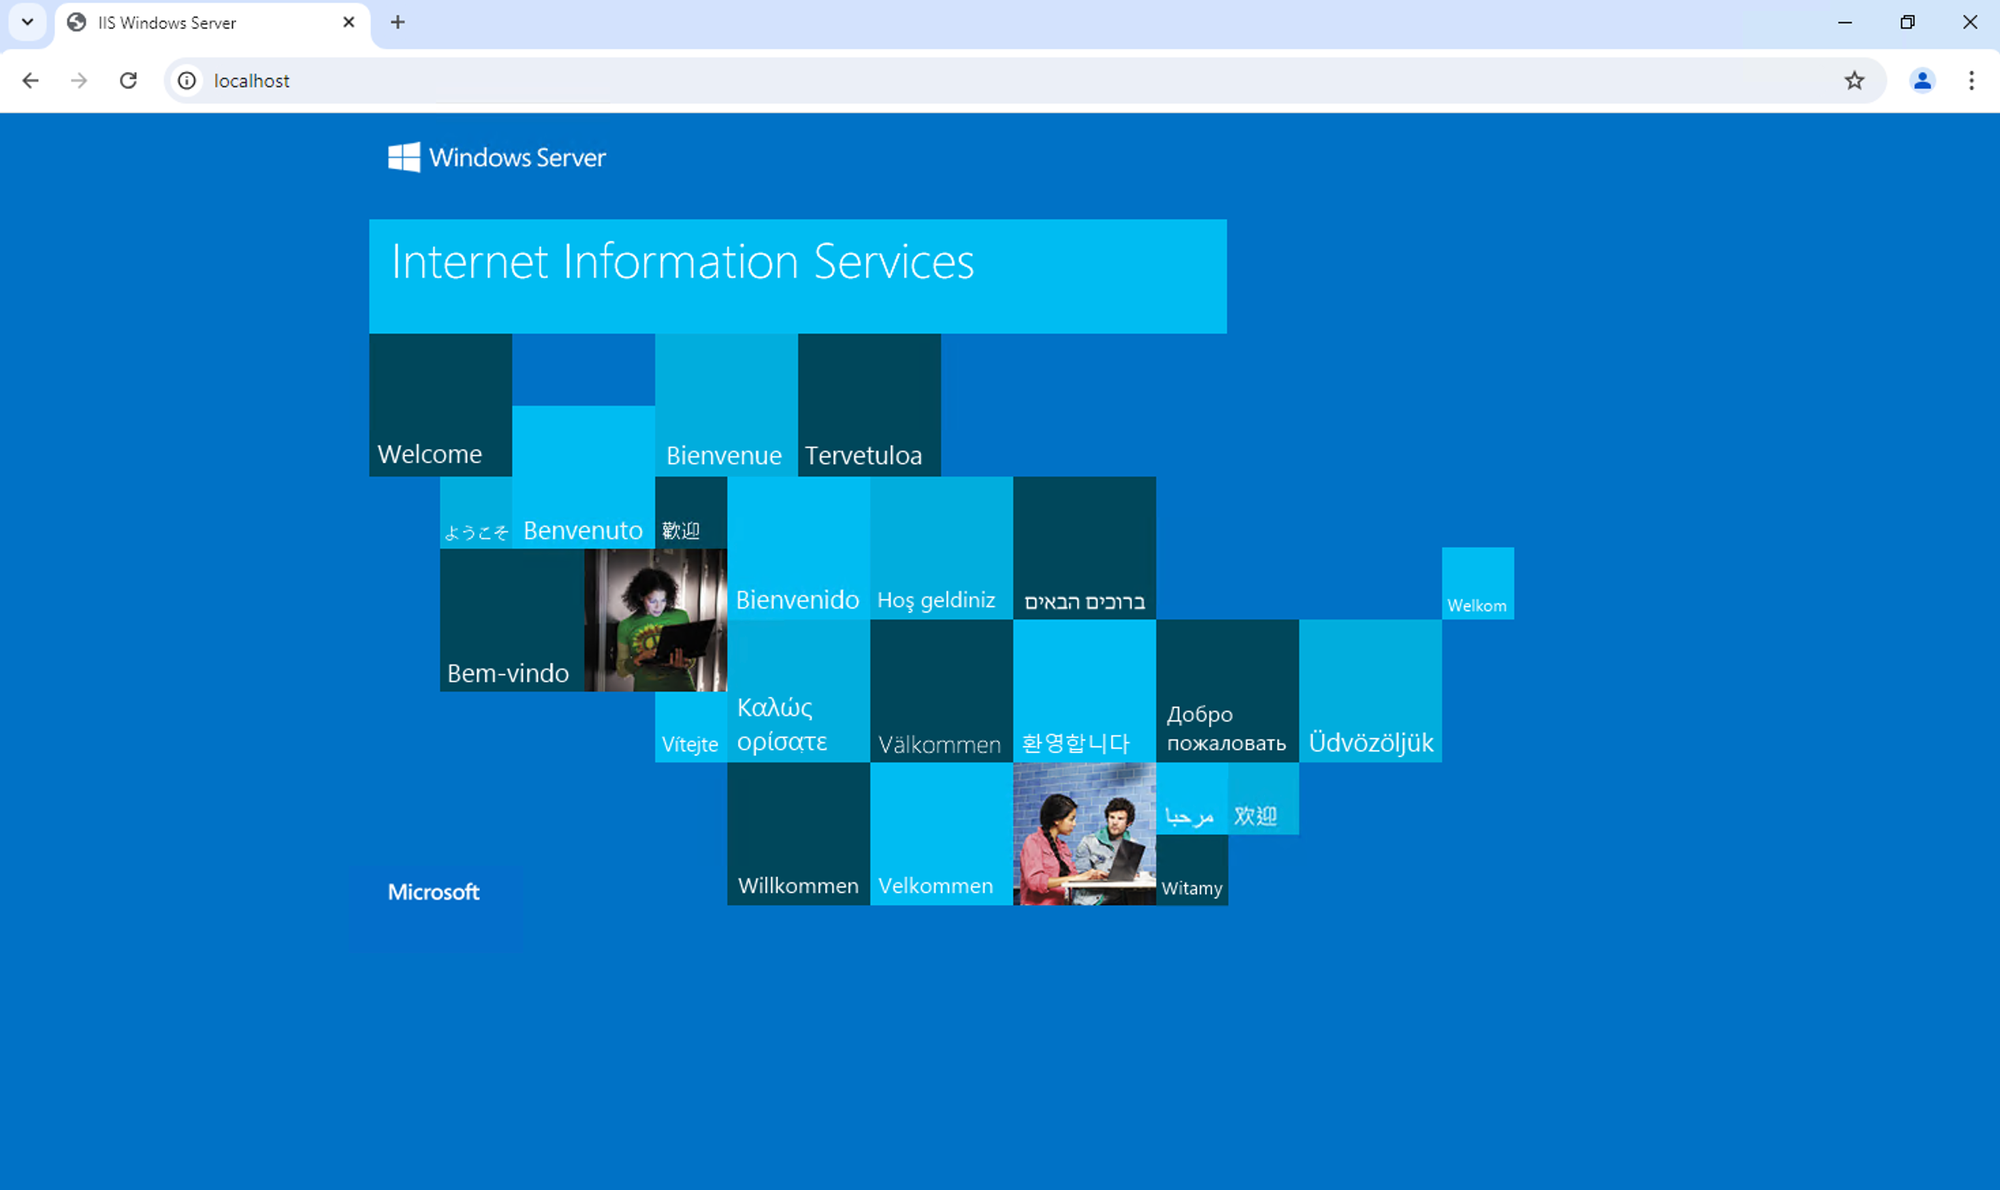
Congratulations! You have successfully installed Internet Information Services (IIS) on your Windows Server.
