
How to disable the network adapter on Windows?
Learn how to disable a network adapter on Windows quickly. Whether you’re troubleshooting or managing connections, follow these simple steps to turn off your network adapter.
Method 1: Using GUI
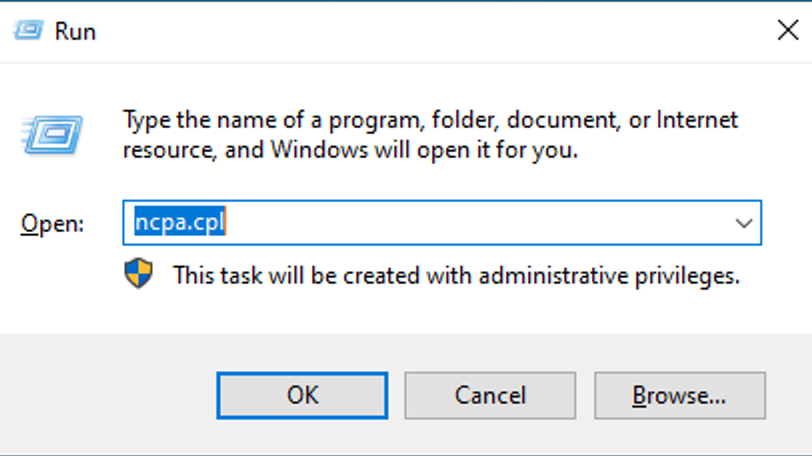
Press Win + R to open the Run dialog box, Type ncpa.cpl and press Enter. This opens the Network Connections window.
Find the network adapter you want to disable (usually labelled as "Ethernet" or "Wi-Fi") Right-click on the adapter and select Disable.
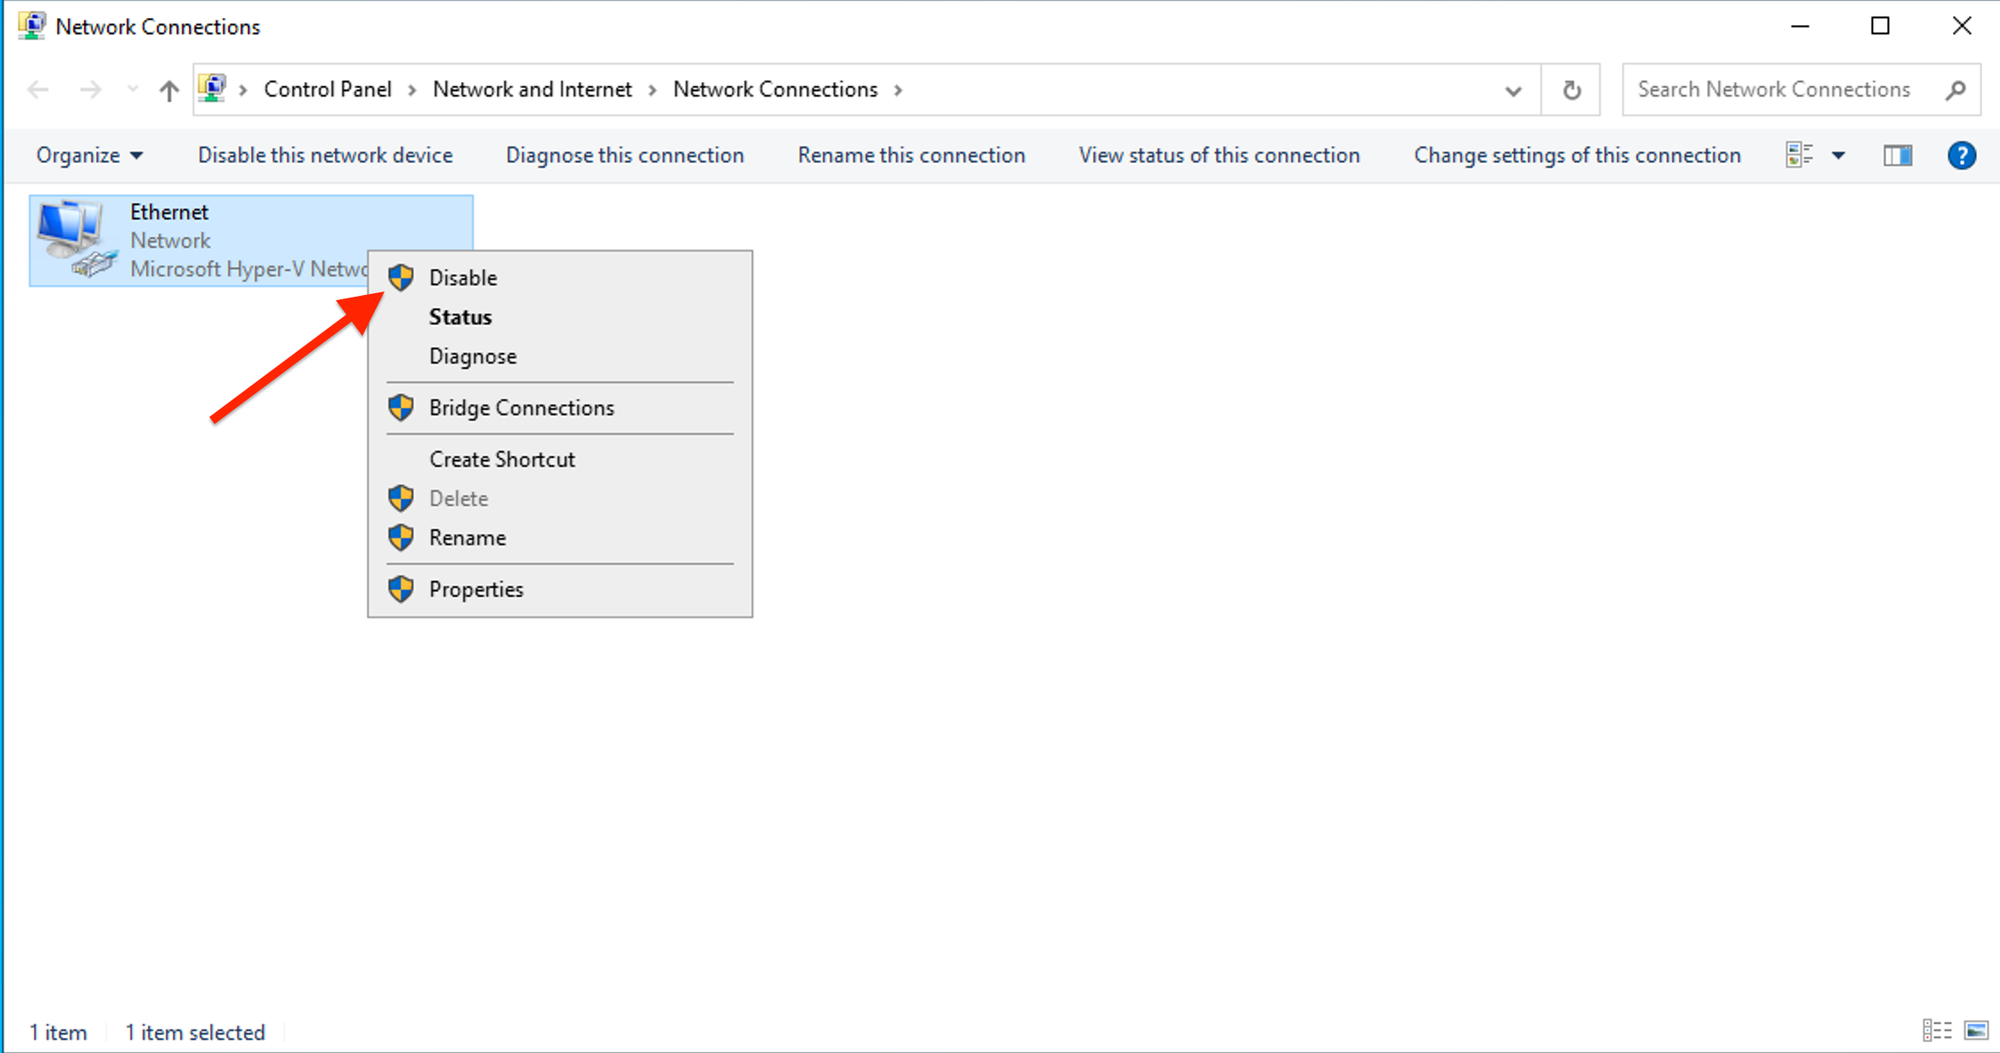
The network adapter will be disabled, and its status will change to "Disabled" in the Network Connections window.
Method 2: Using Command-Line
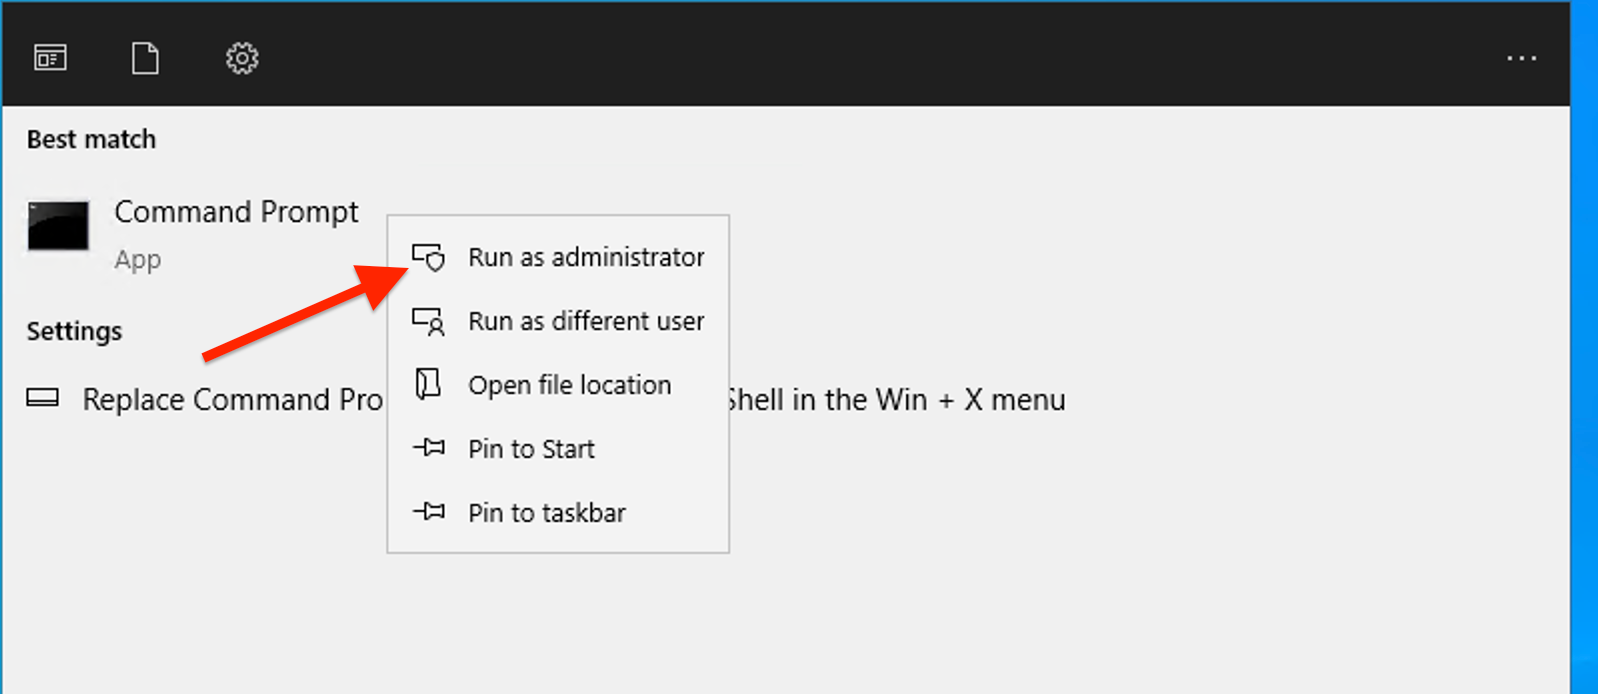
Type "cmd" in the Windows search box and Right-click "Command Prompt" and select "Run as administrator".
Run the following command to list all network interfaces:
netsh interface show interface

Use the following command to disable the network adapter:
netsh interface set interface "Interface Name" admin=disableReplace "Interface Name" with the name of your network adapter (e.g., "Ethernet").
