
How to Import and Export Windows Firewall Settings?
Need to transfer or back up your Windows Firewall settings? This guide will show you how to import and export these configurations quickly and easily. Follow these steps to ensure your firewall settings are consistently applied across systems or safely stored for future use.
Export Windows Firewall Settings:
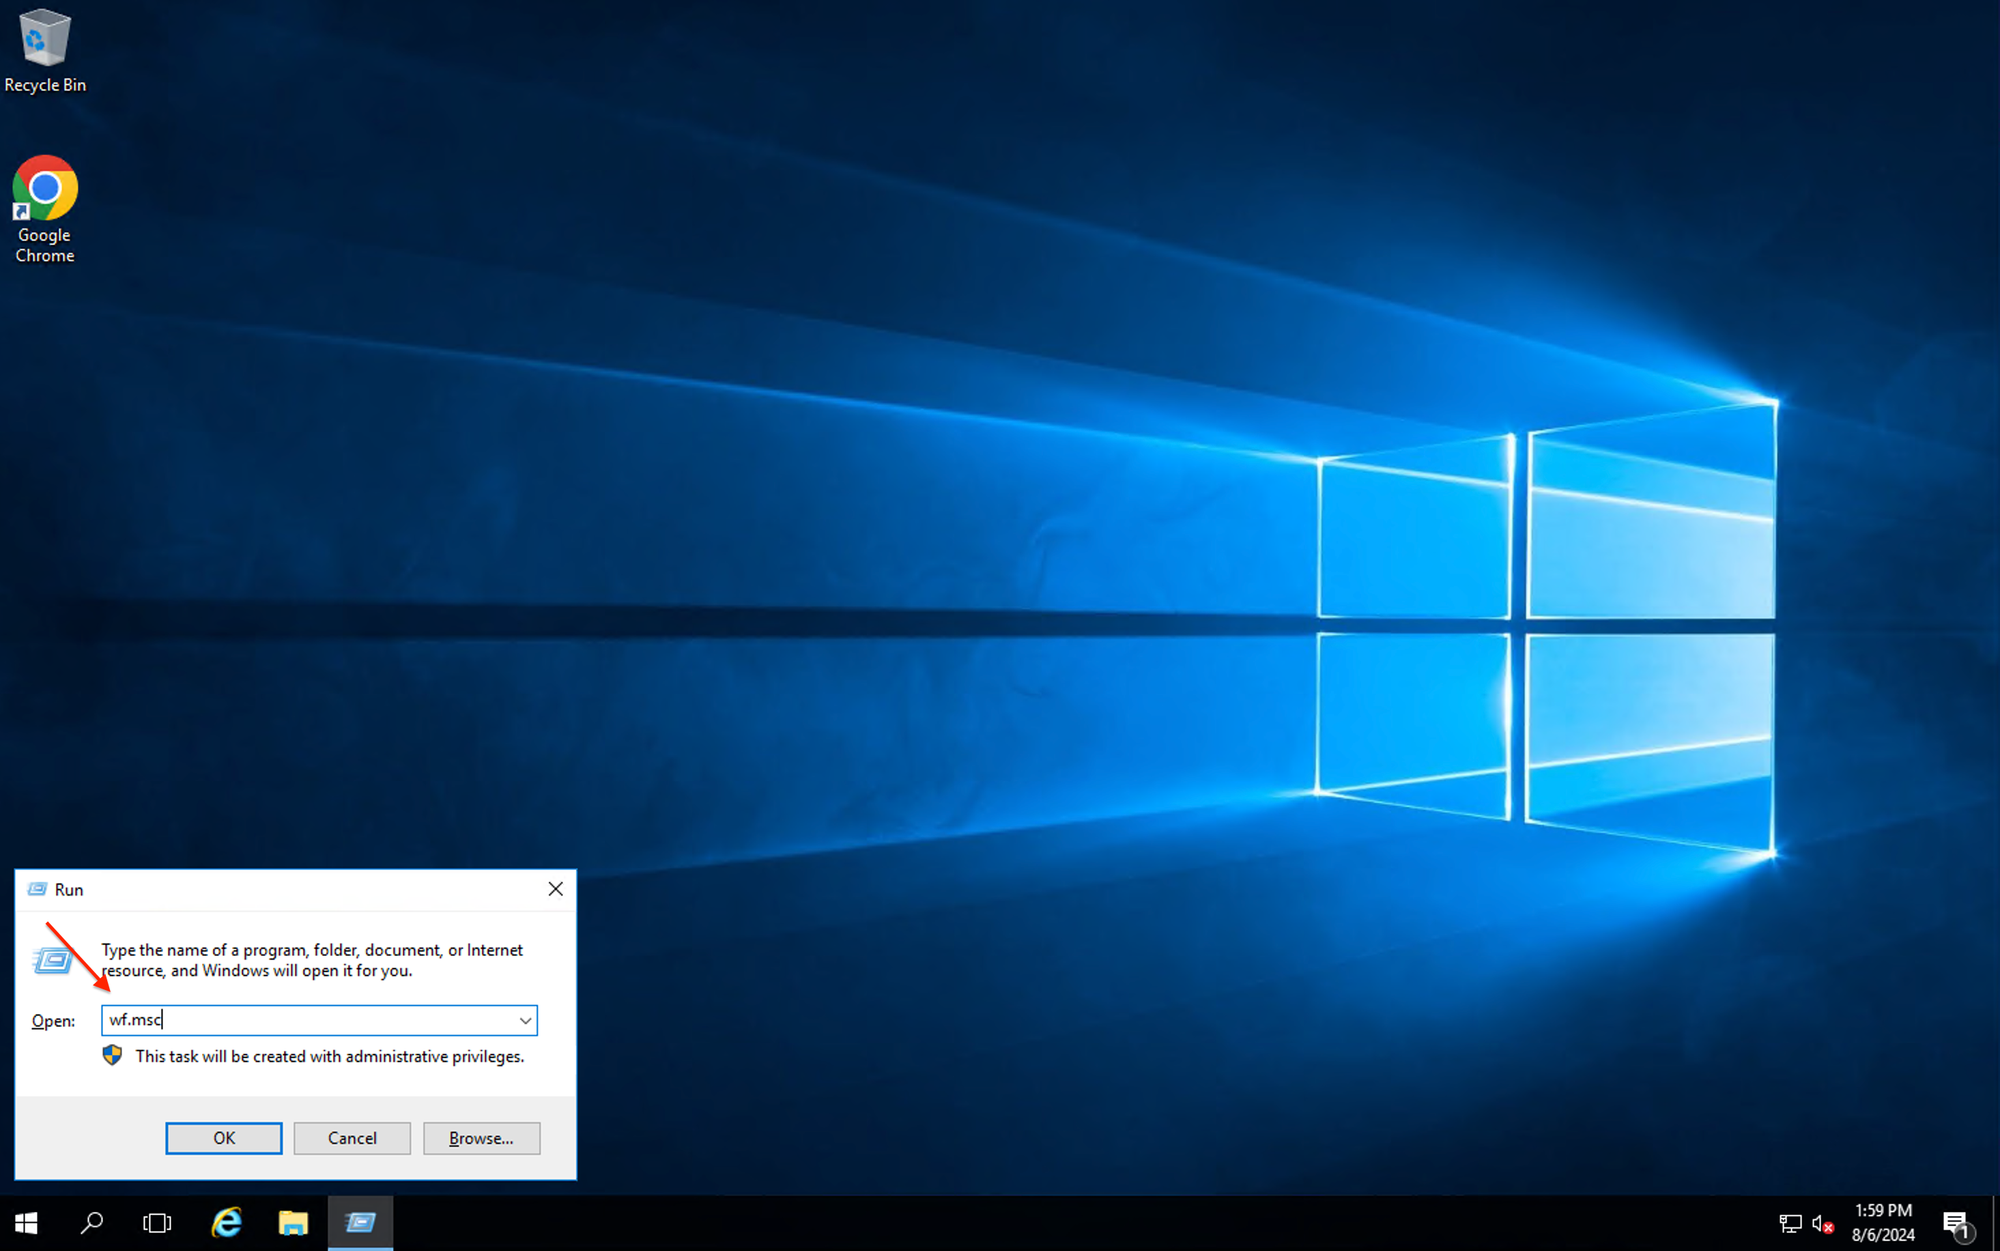
First, open the Windows firewall settings by Pressing "Win + R" type "wf.msc" and hit "Enter" to open the Windows Firewall with the Advanced Security console.
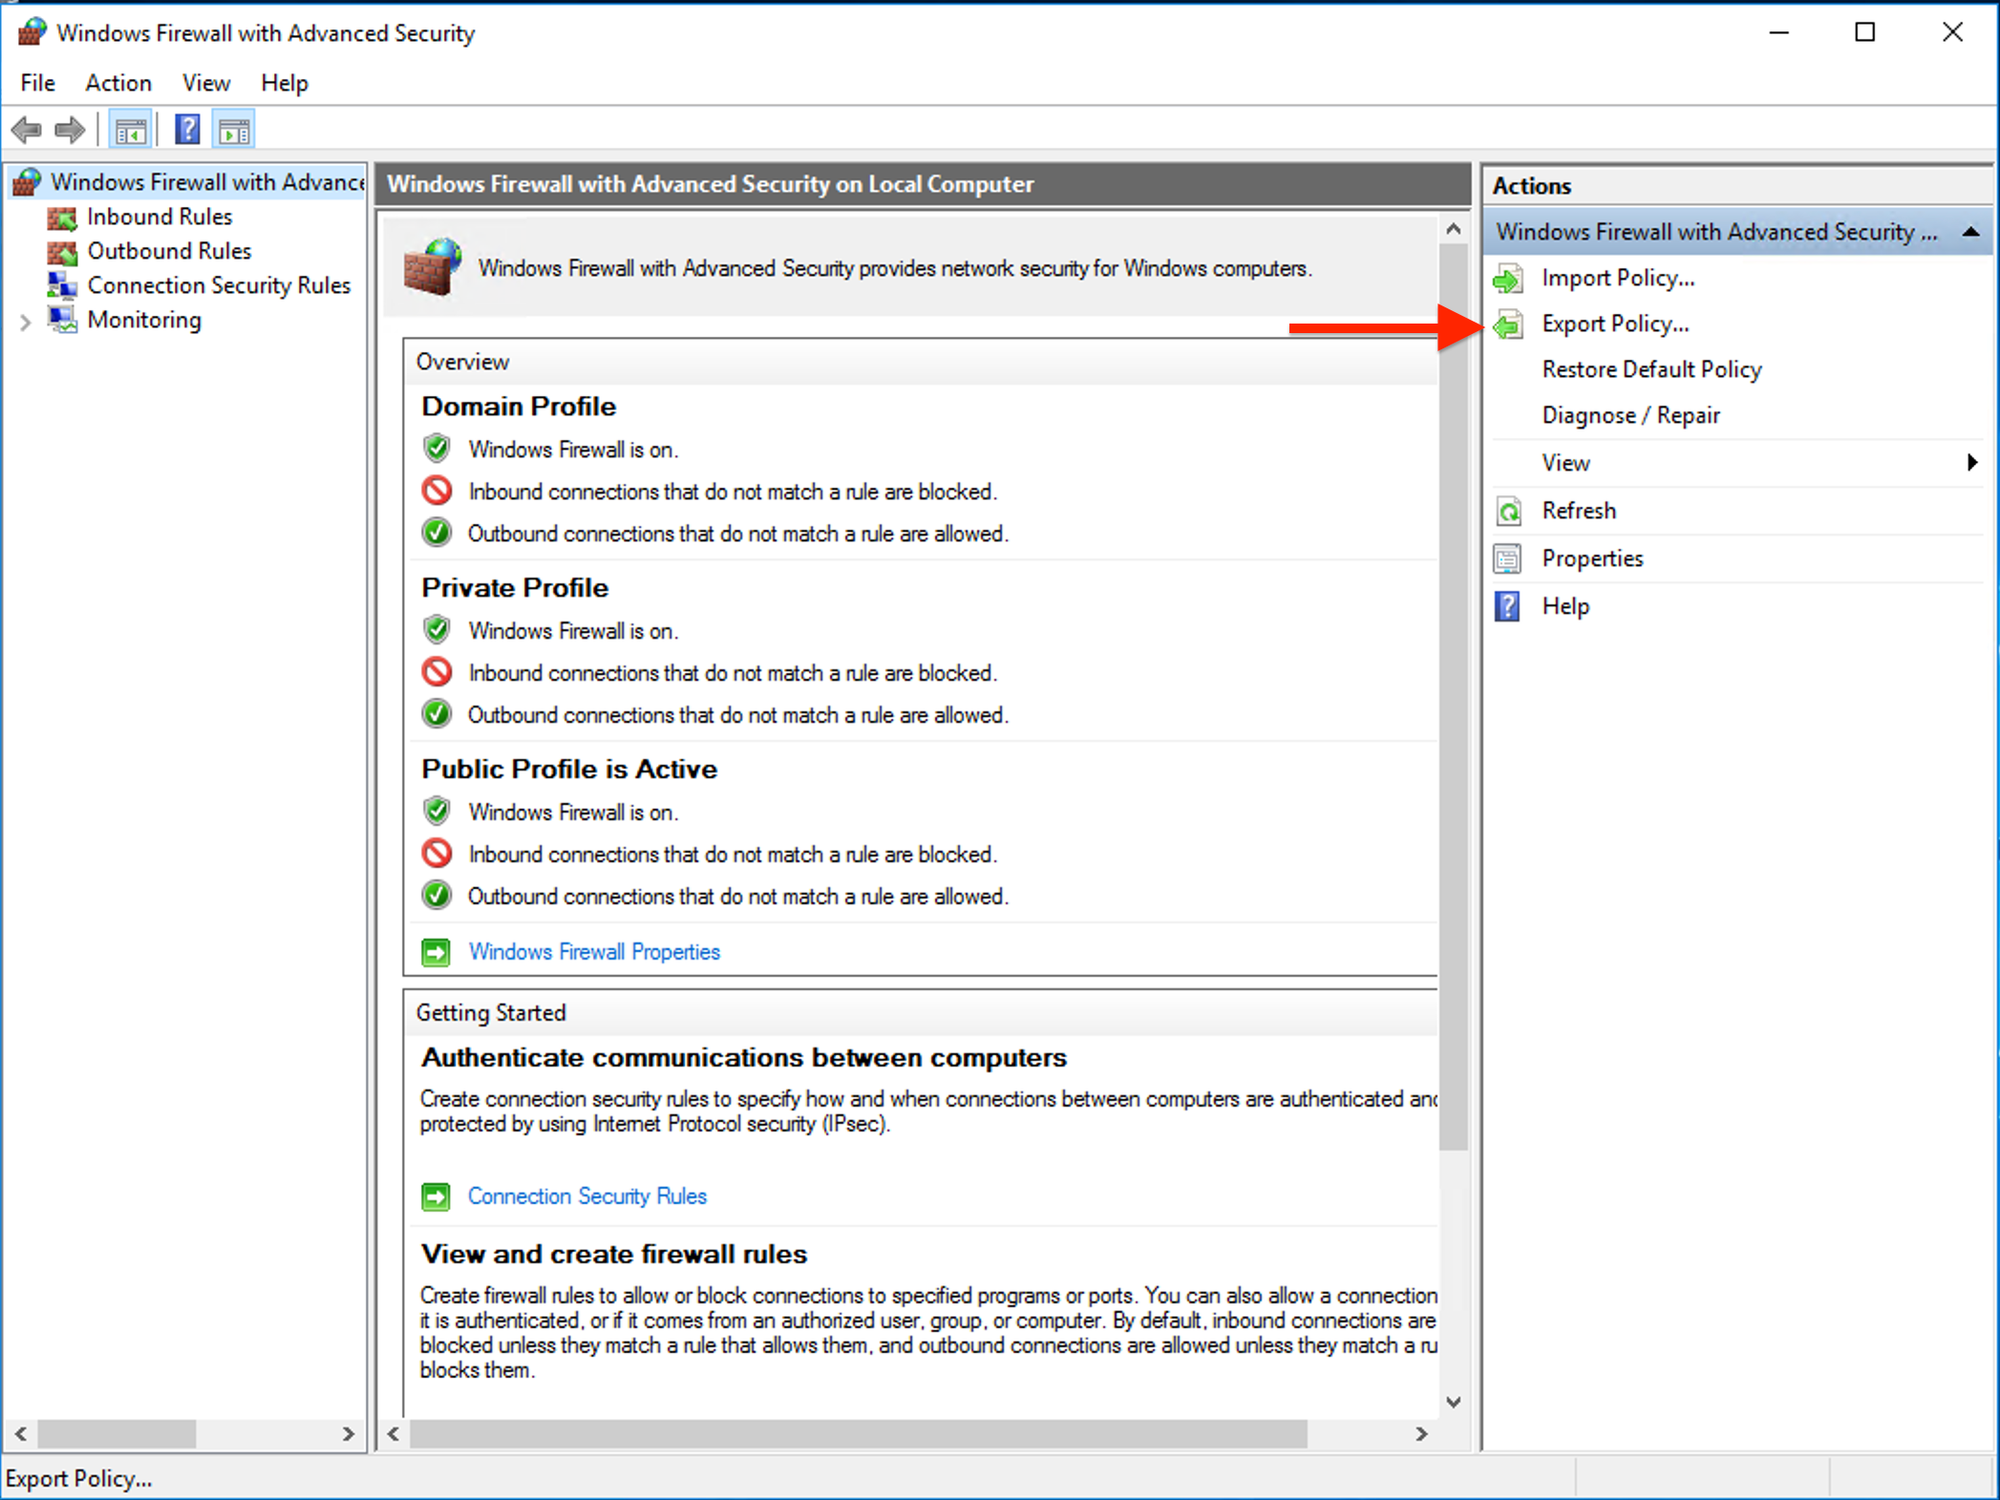
Now, On the left panel click on "Action" then select "Export Policy".
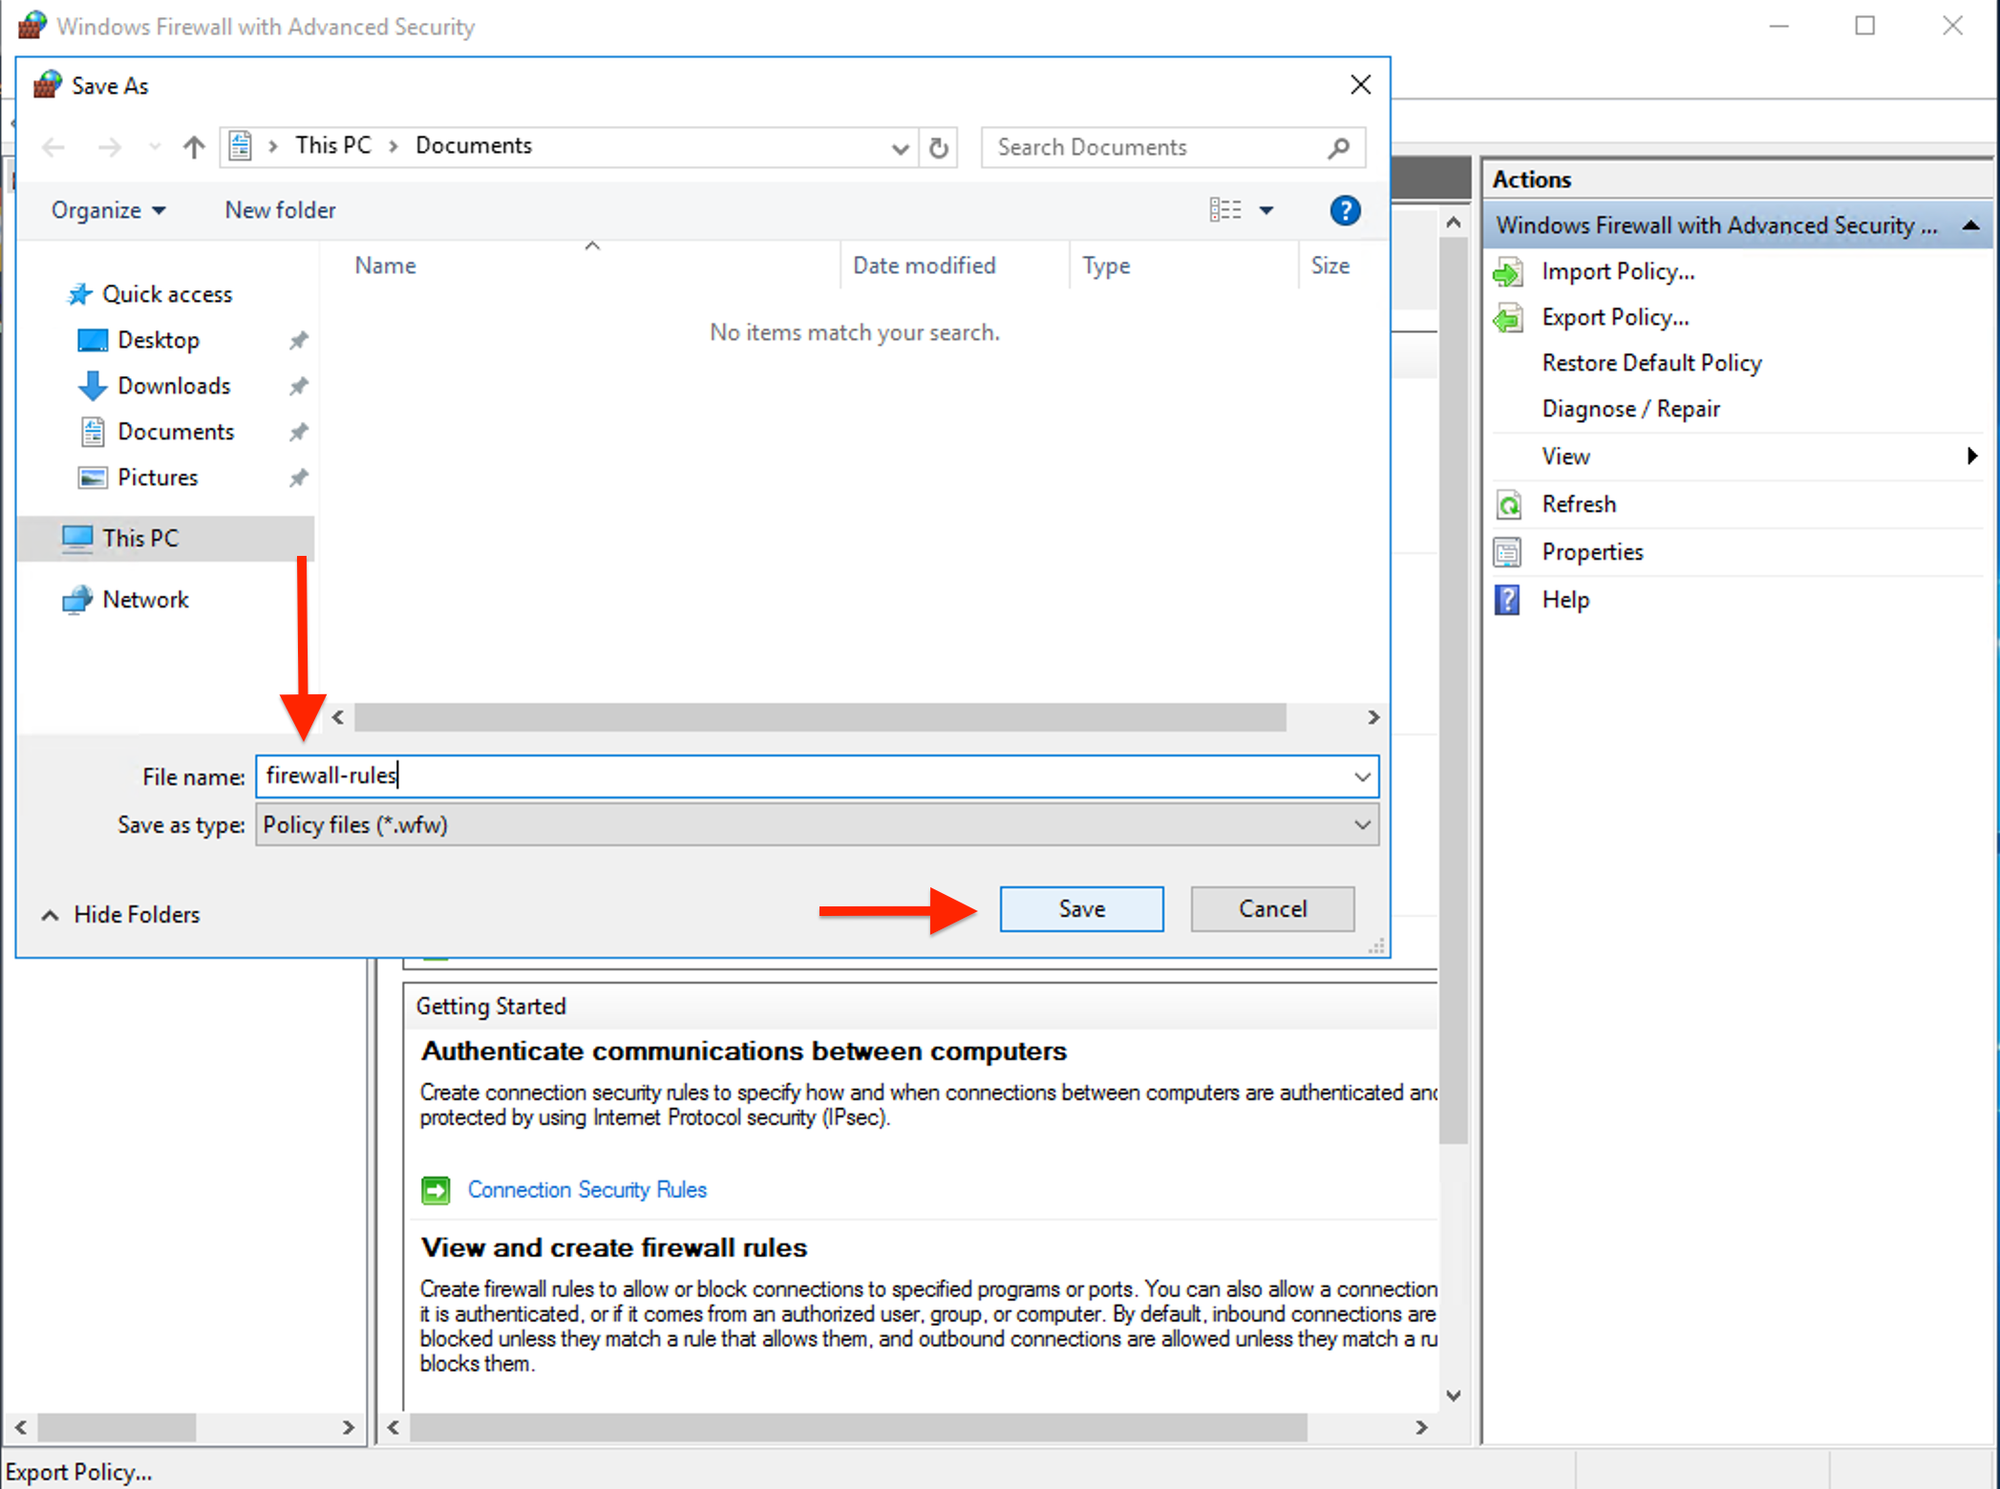
Select your preferred location and desired name for the ".wfw" file where the settings will be saved and click "Save" to complete the export.
Once you are done with the saving rule, A popup will be prompted on your screen mentioning "Policy successfully exported".
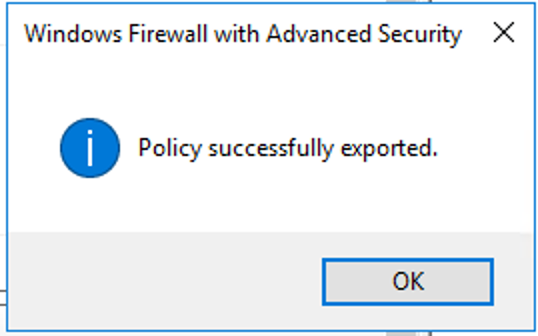
Voila! You've successfully exported the Firewall settings.
Import Windows Firewall Settings:
Open the Windows firewall settings by Pressing "Win + R" type "wf.msc" and hit "Enter" to open the Windows Firewall with the Advanced Security console.

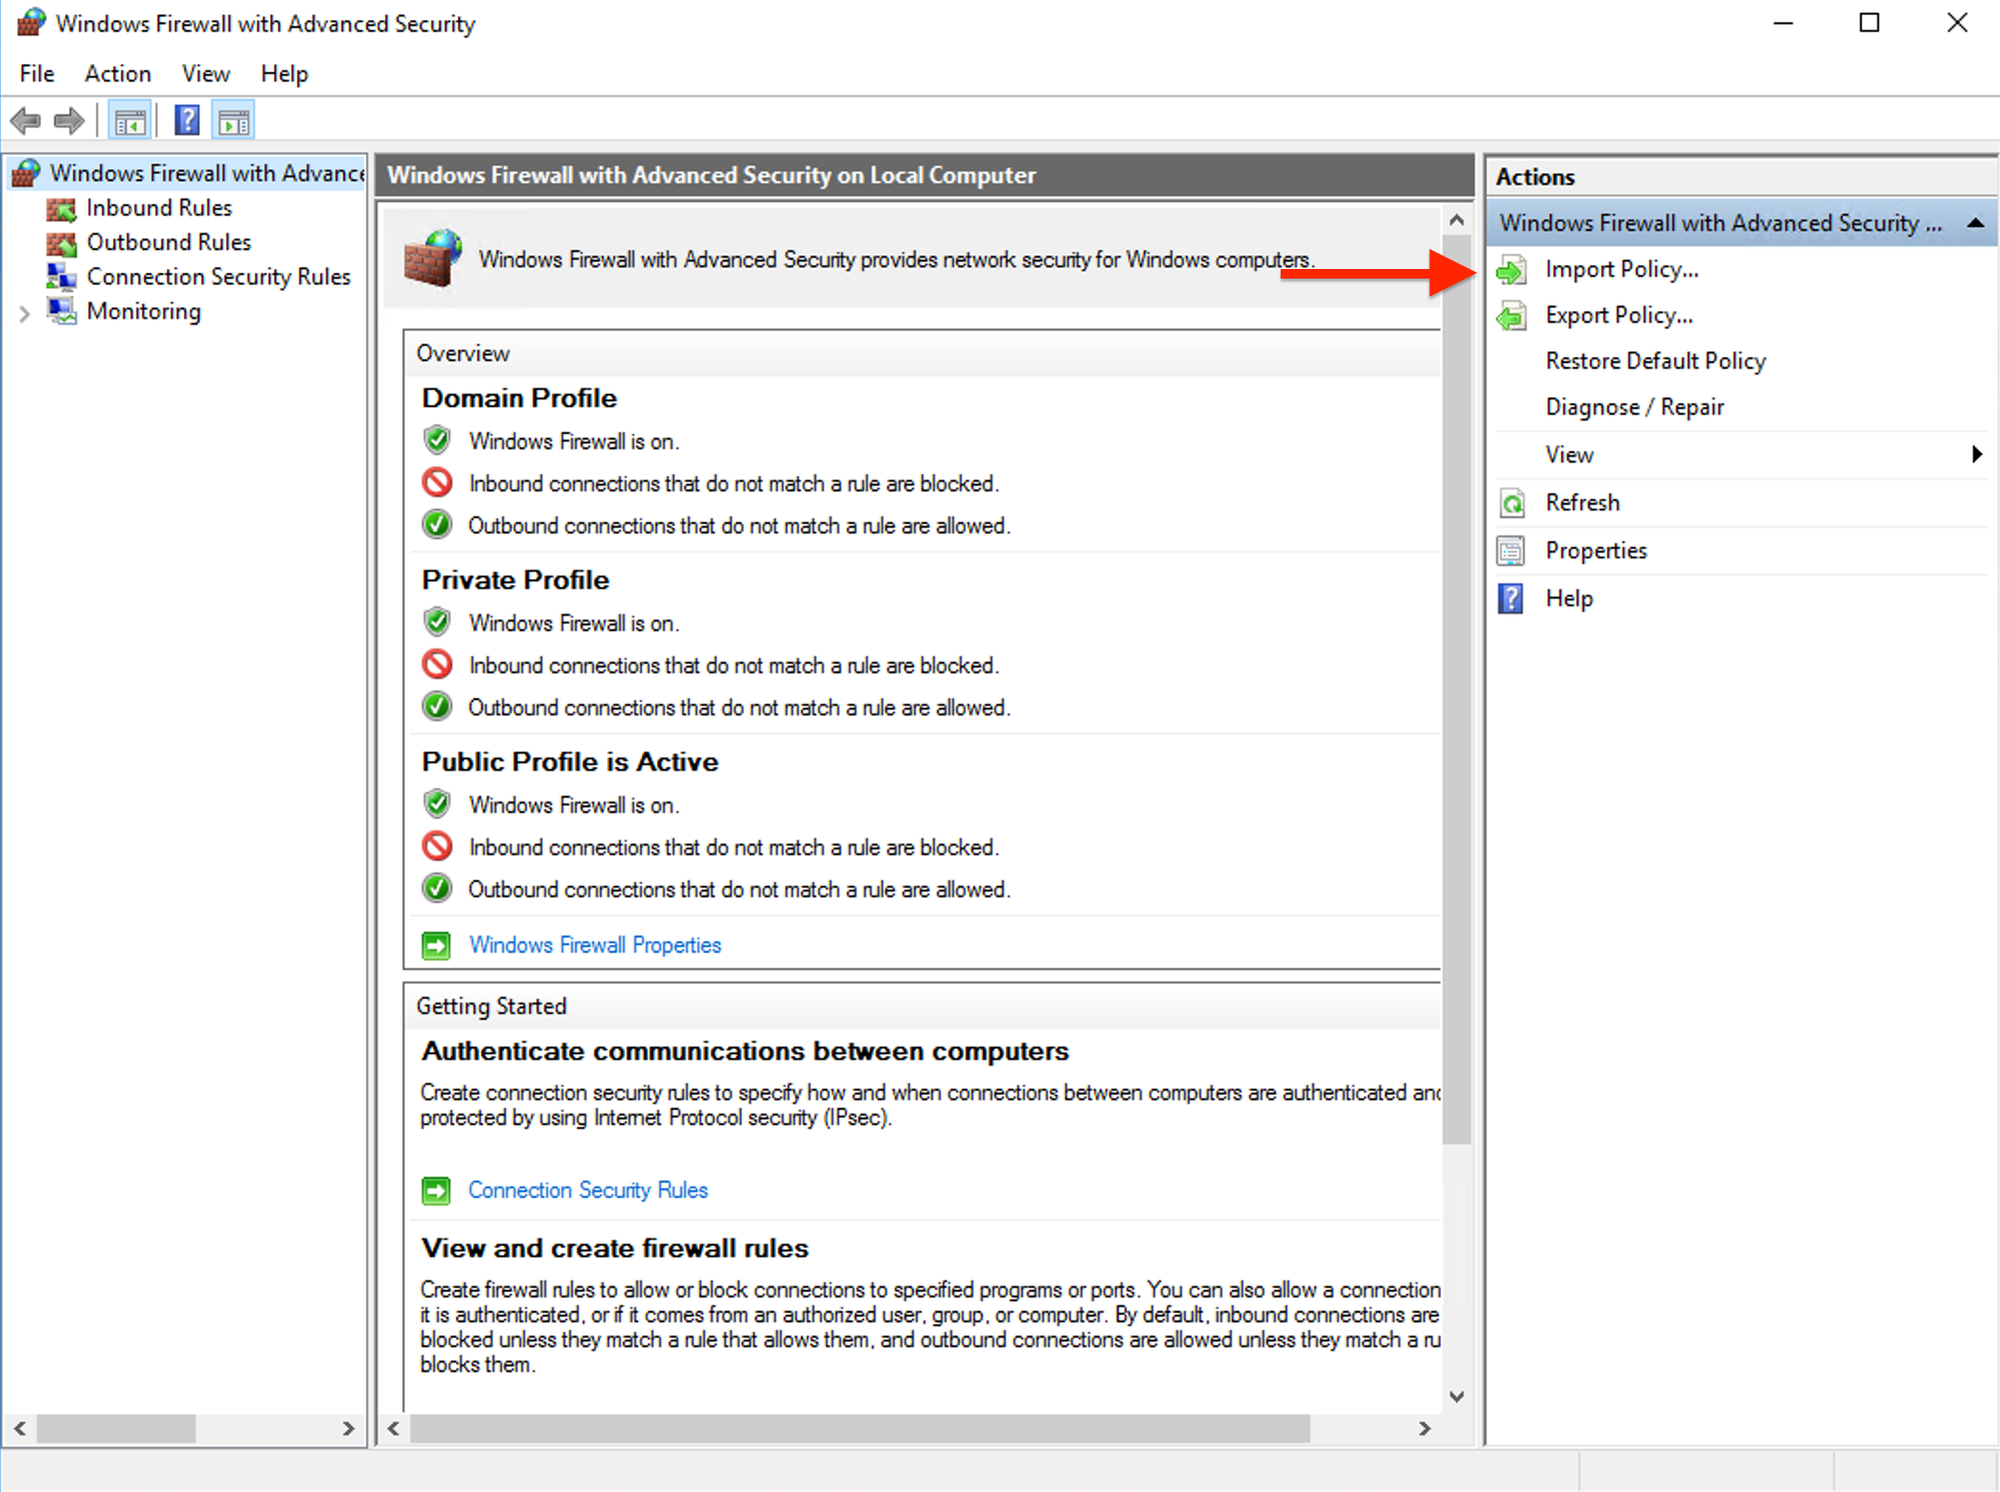
Now, On the left panel click on "Action" then select "Import Policy".
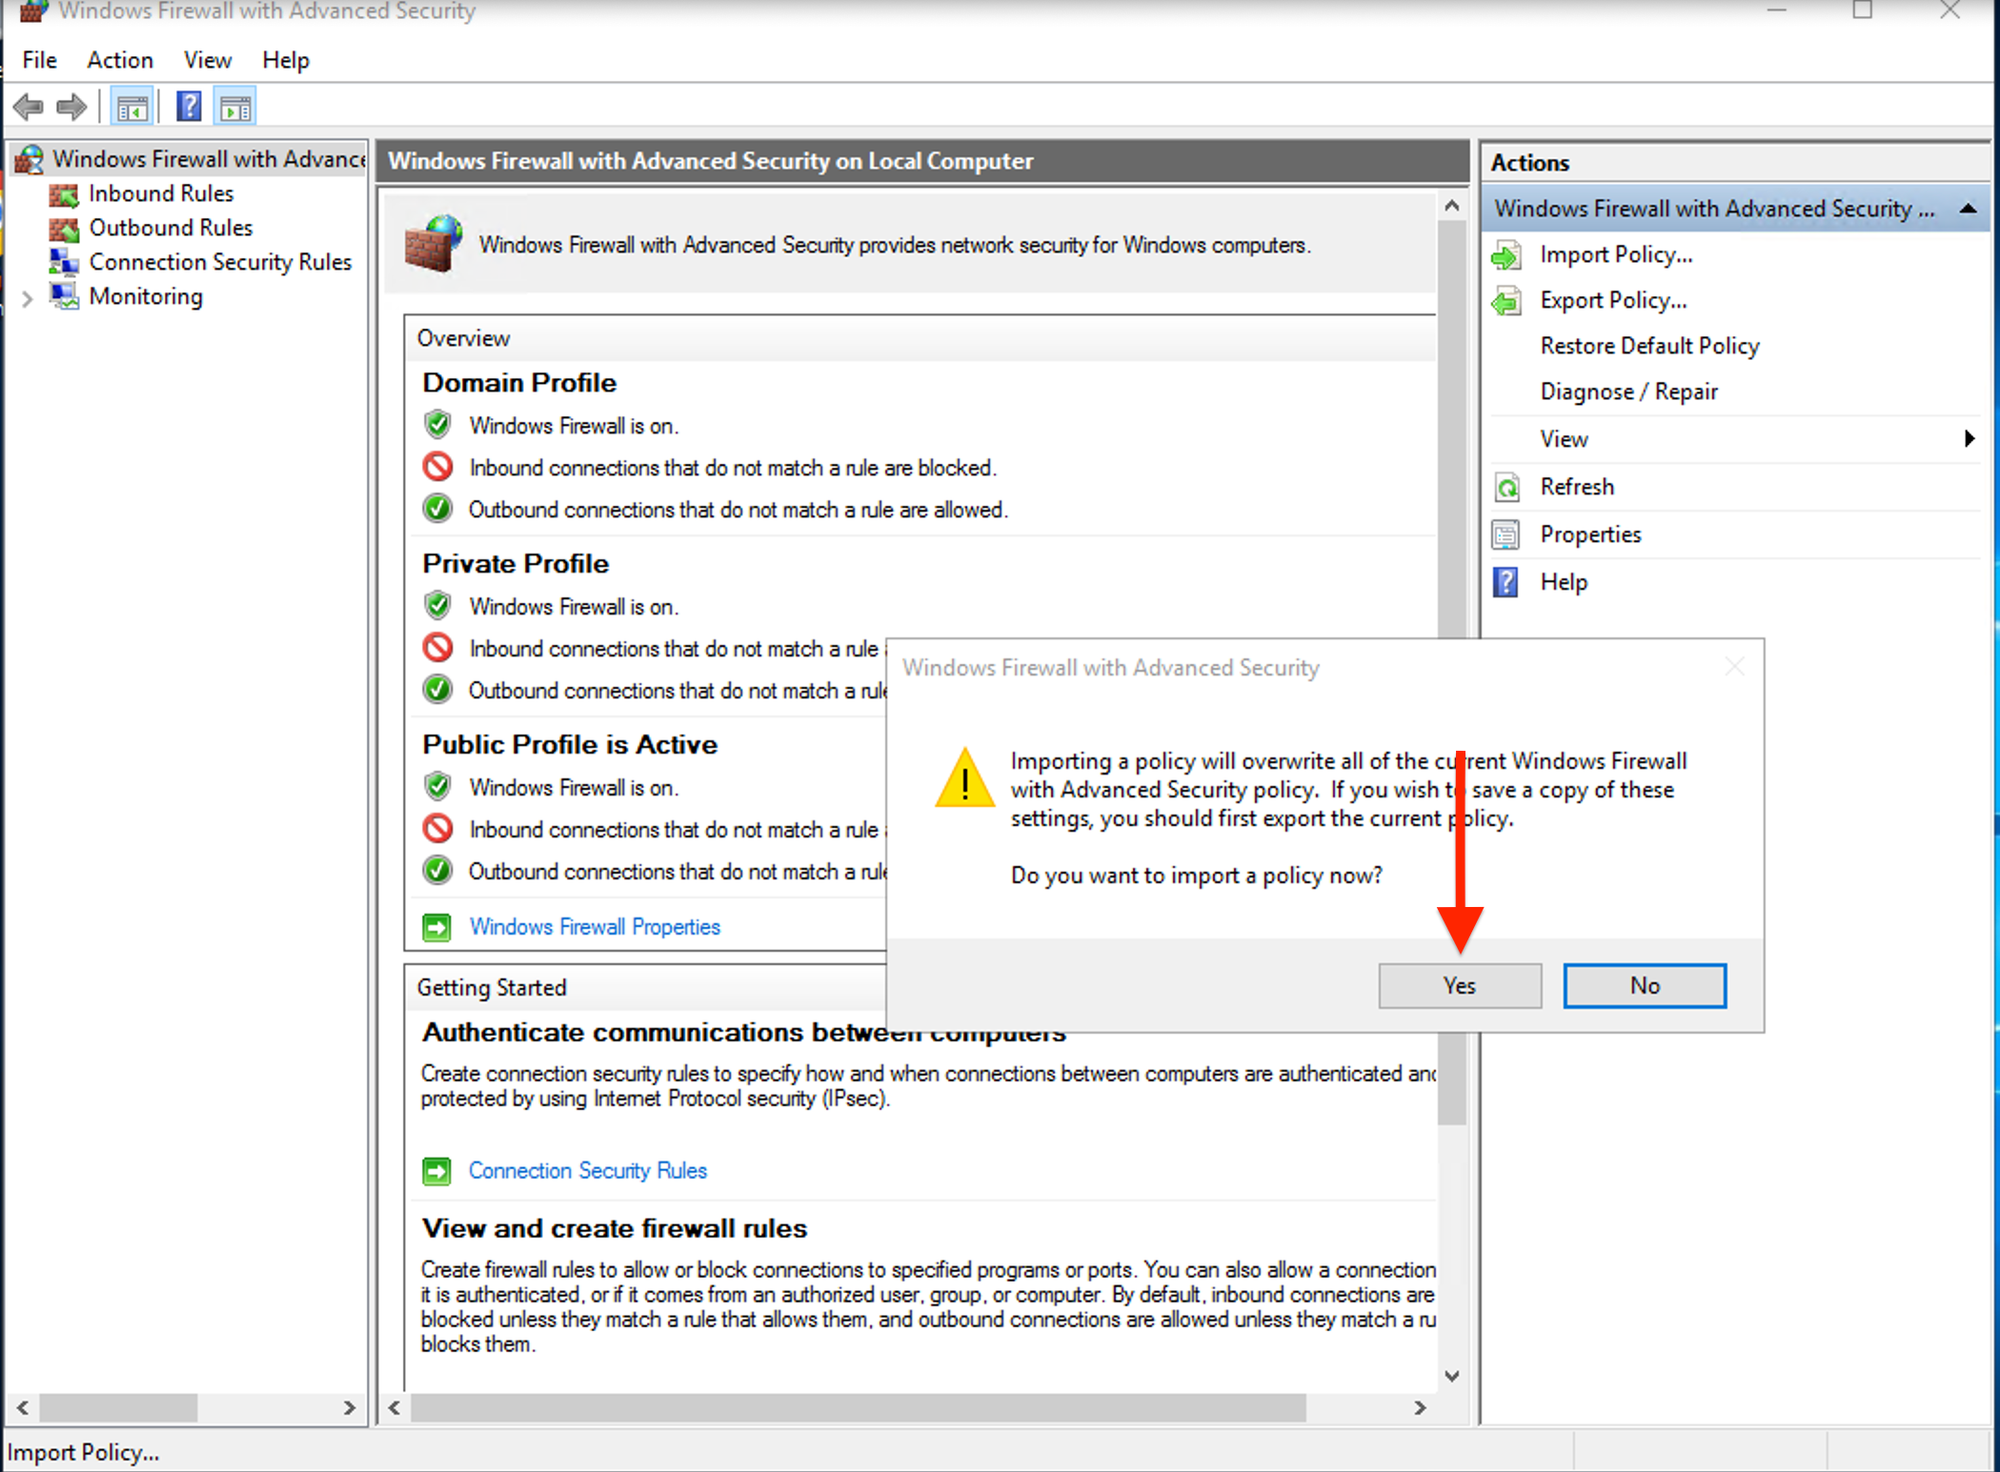
Once you click on the import policy a popup message will be prompted on your screen. It will ask you to overwrite all the current rules. Select the "yes" button to proceed with the import.
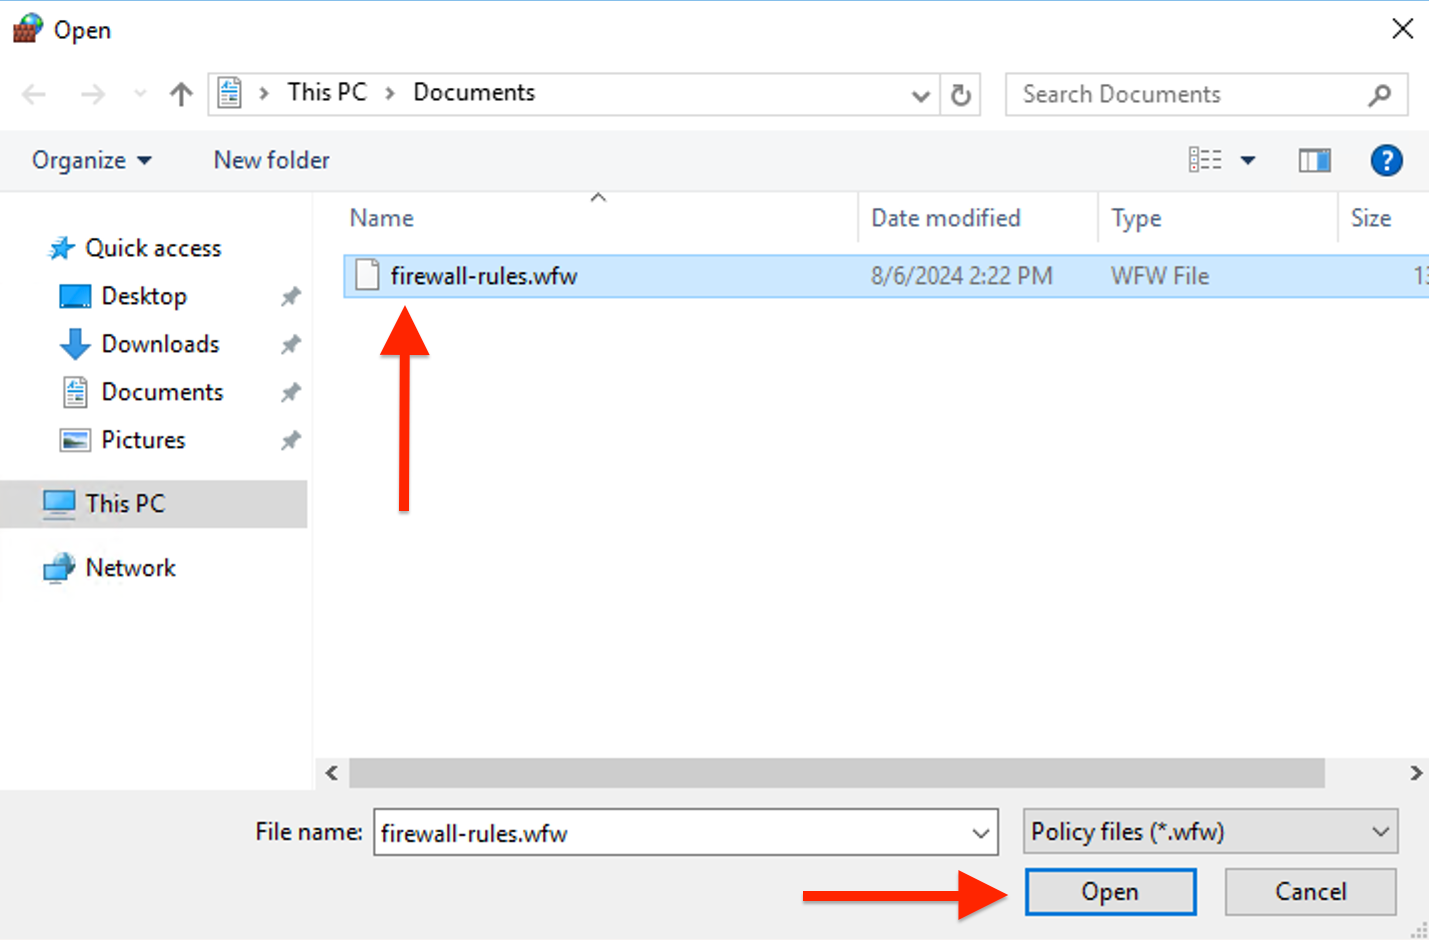
Now select the policy file you want to import and click "Open" to begin the import process.
Great job! Your Windows Firewall settings have been imported successfully.
