
How to Install and Configure Visual Studio Code on Windows VPS/RDP?
Want to set up Visual Studio Code on your Windows VPS or RDP? This quick guide will help you install and configure VS Code efficiently, so you can start coding on your remote server in no time.
Open Remote Desktop Connection Enter the IP address or hostname of your VPS and connect.
Open a Browser on your RDP server.
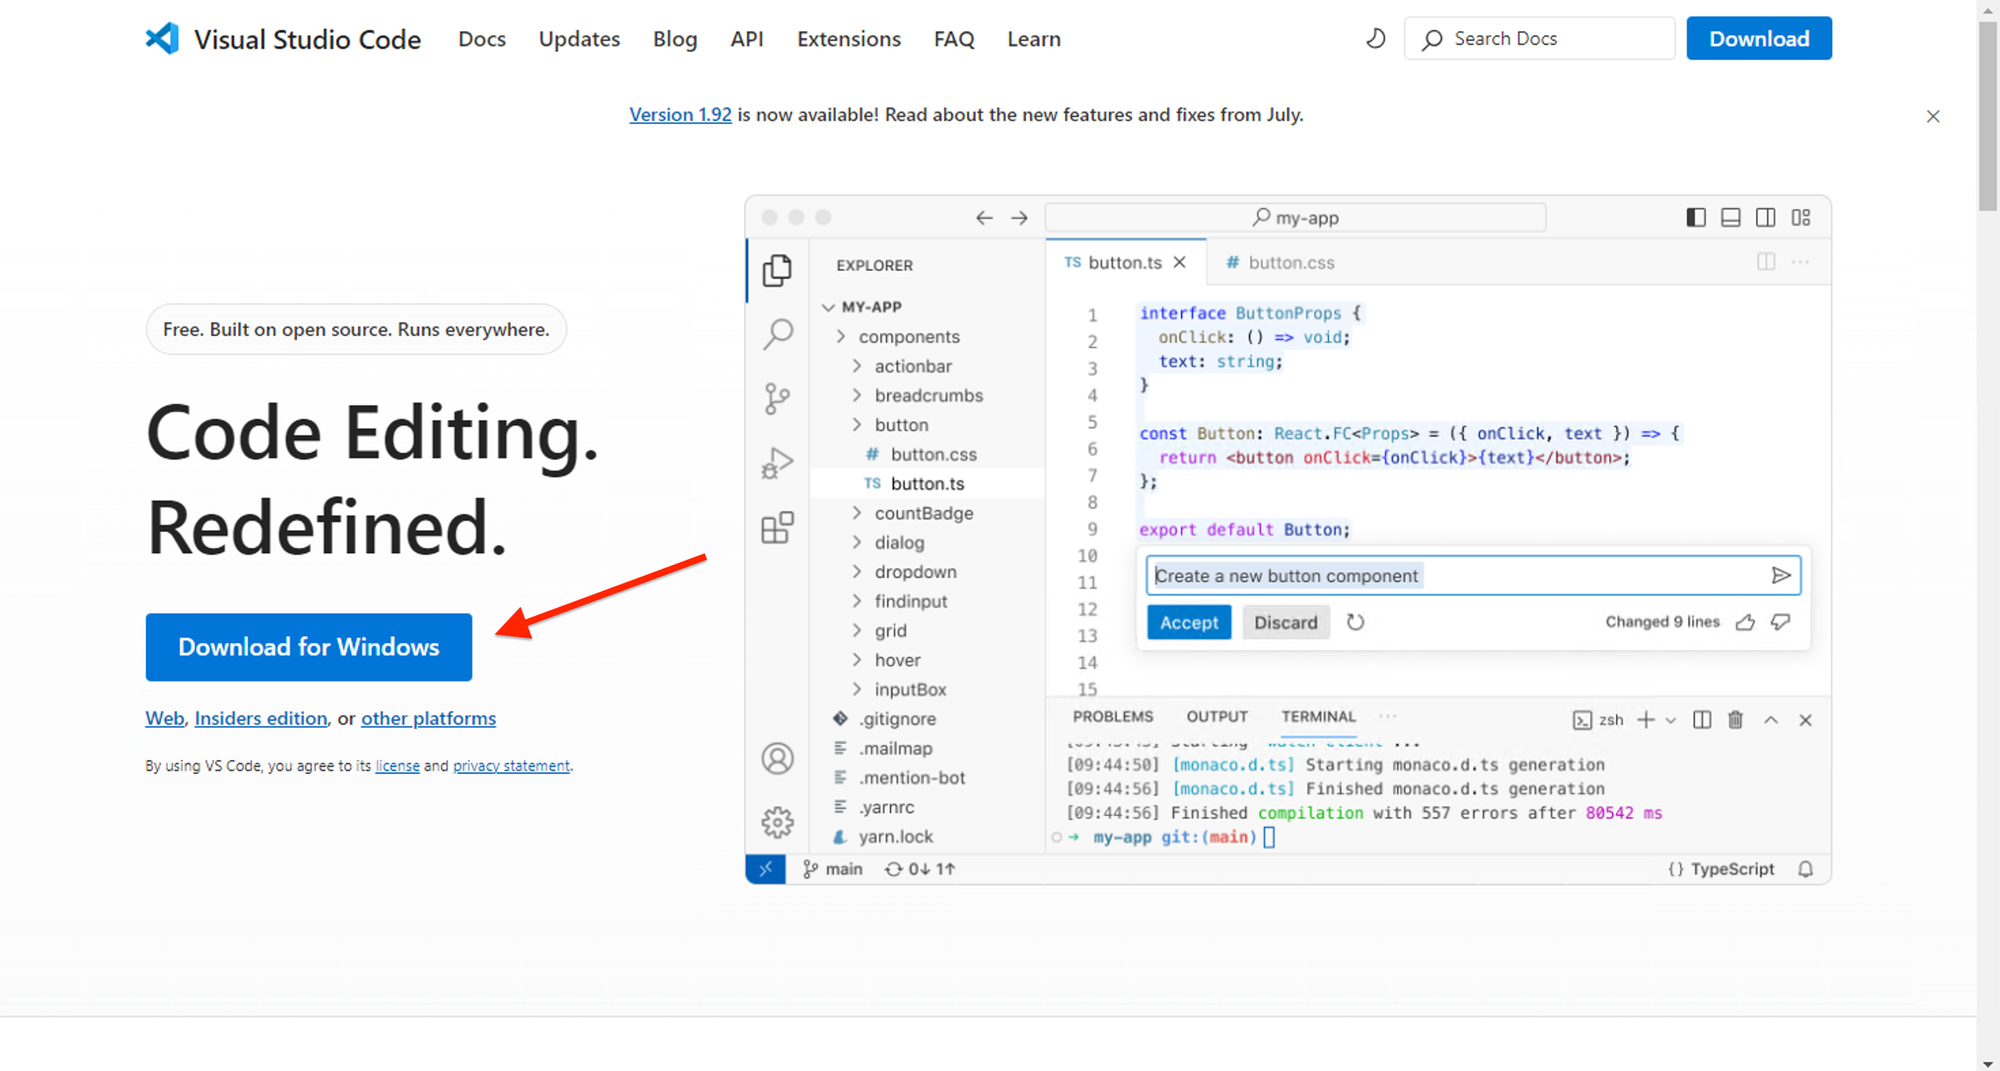
Go to the Visual Studio Code Website's Download pageand click on the “Download for Windows” button.
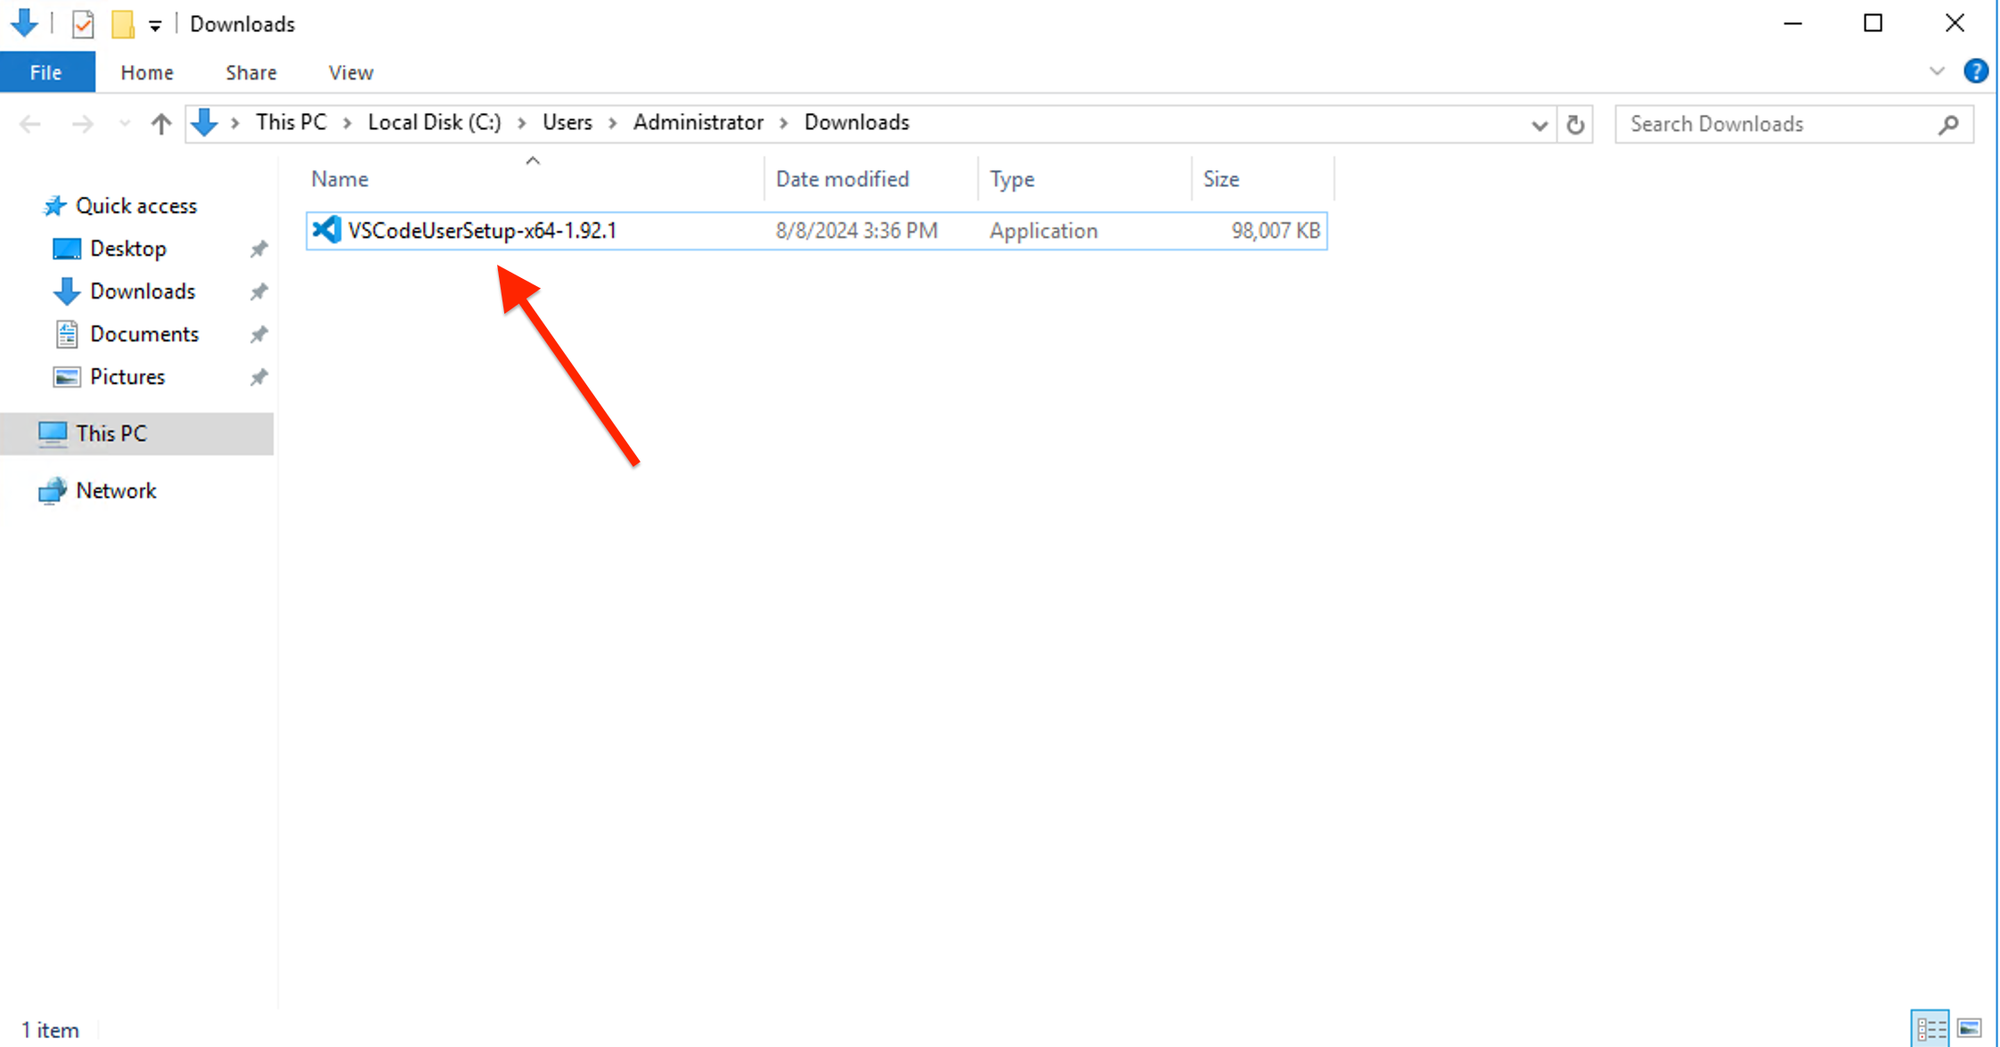
Locate the downloaded installer file (e.g., VSCodeUserSetup-x64-1.92.1) and double-click to start the installation process.
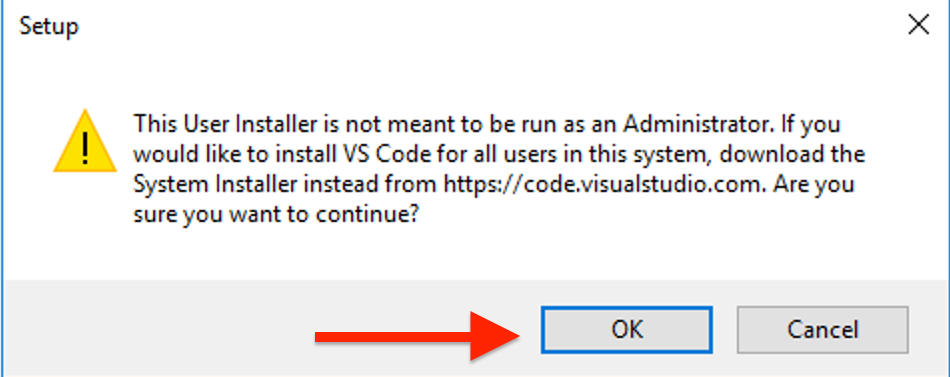
You will get a caution prompt to run the installation for all users click OK and proceed.
In the next window, Accept the terms and click Next.

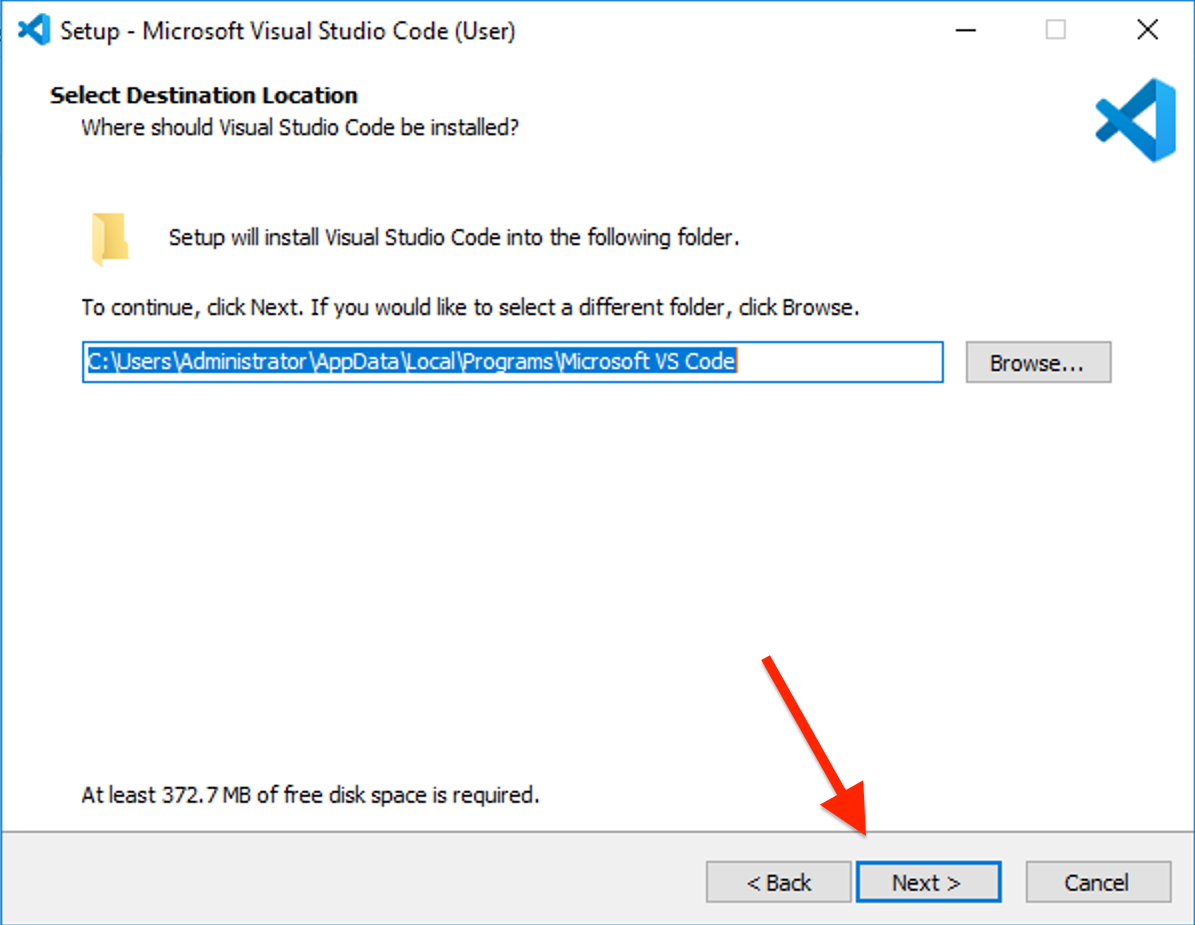
Now, Specify the destination location for your installation and click Next to proceed.
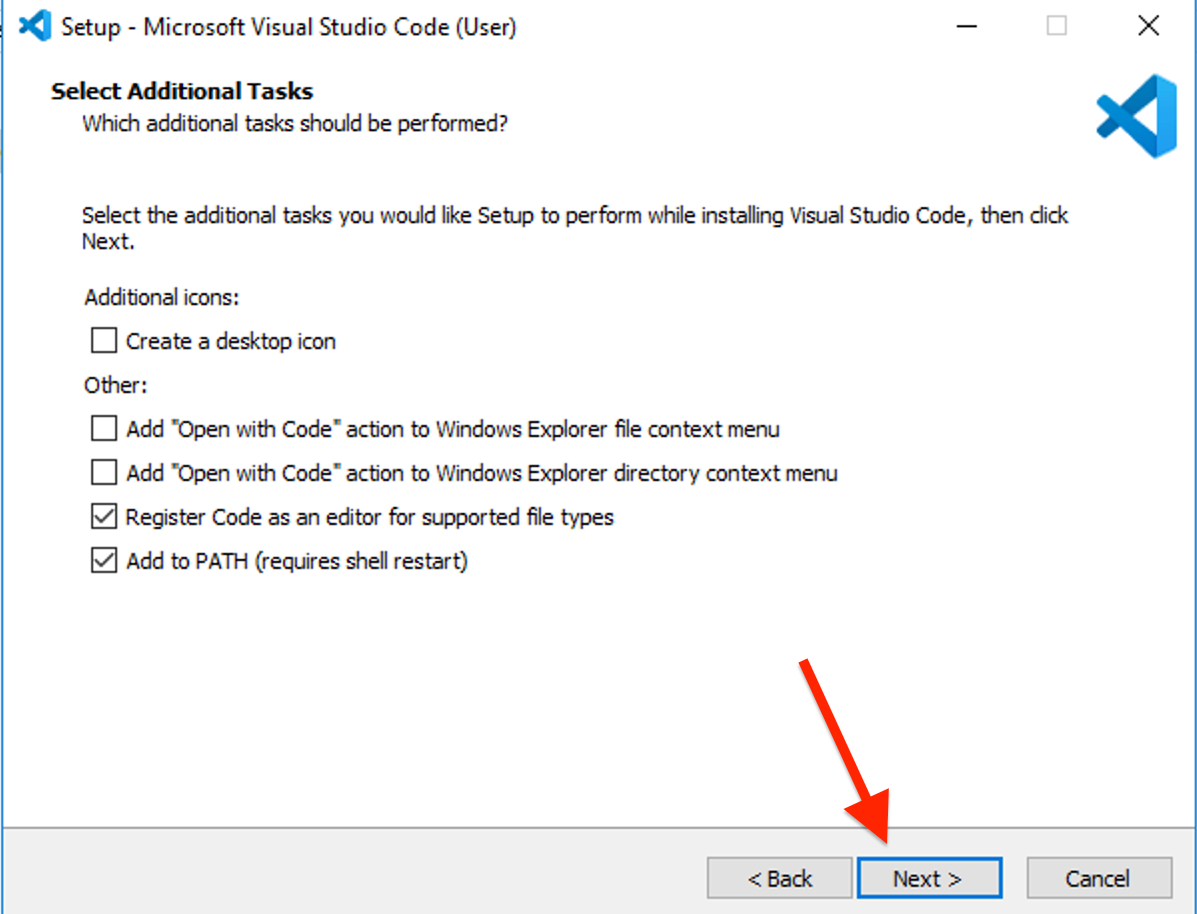
In this window, Select all the additional tasks you want to perform then click Next.
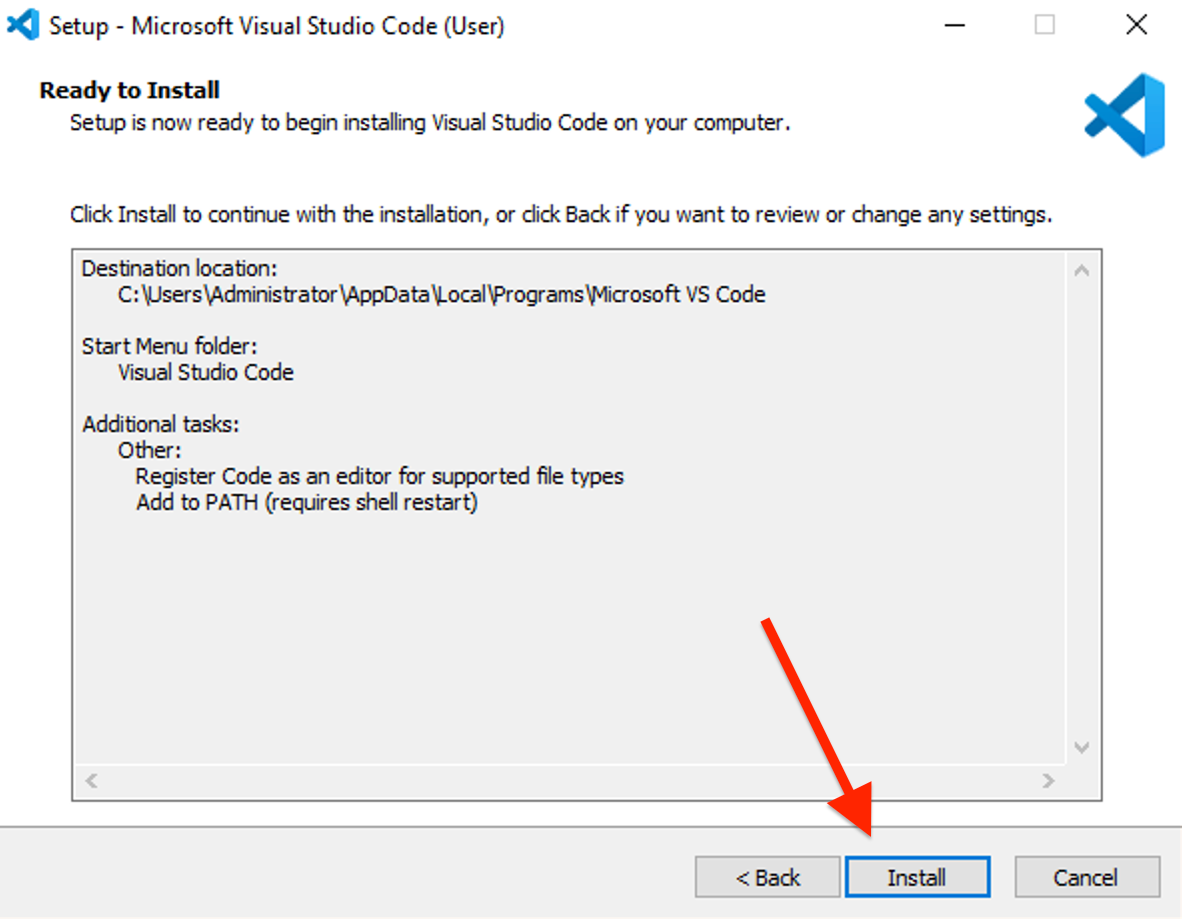
Review all the configurations and click Install.
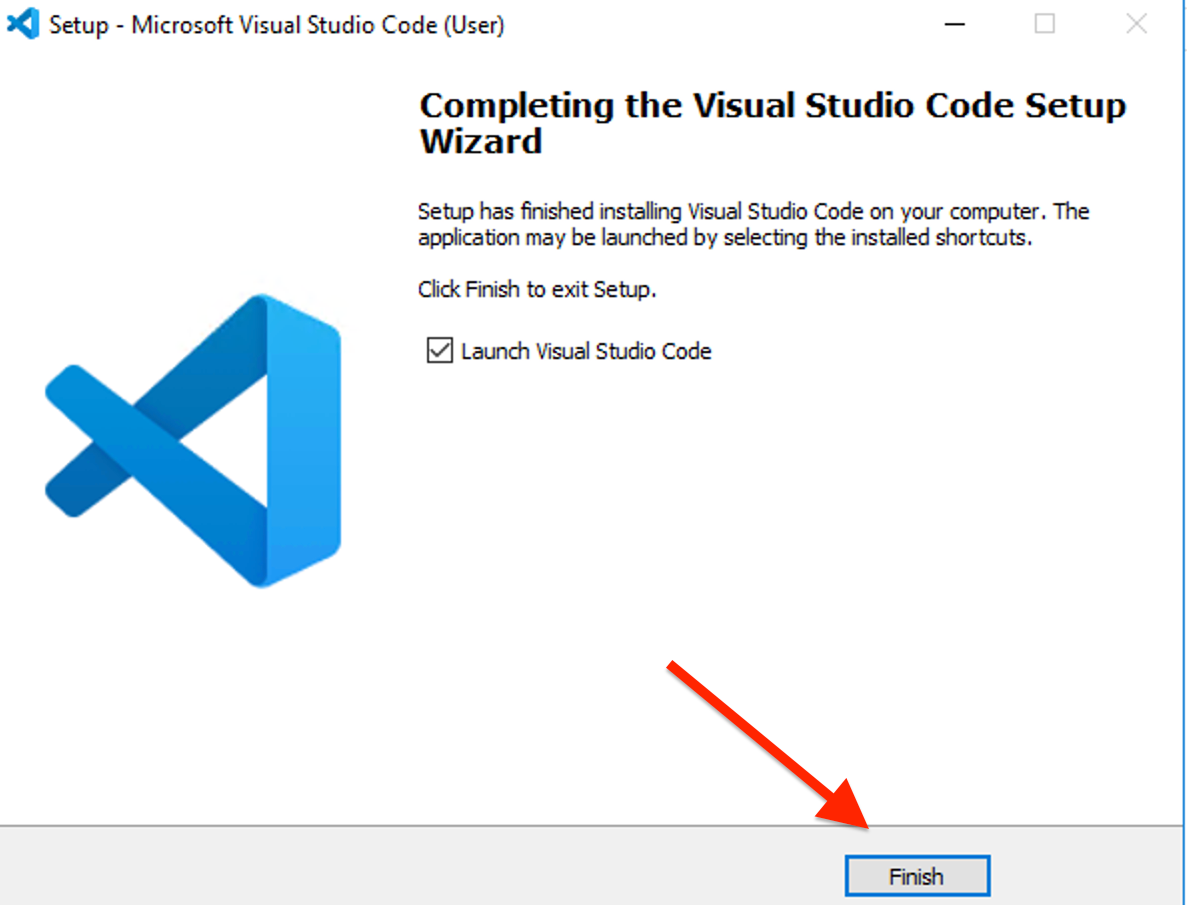
Once the installation is completed click "Finish".
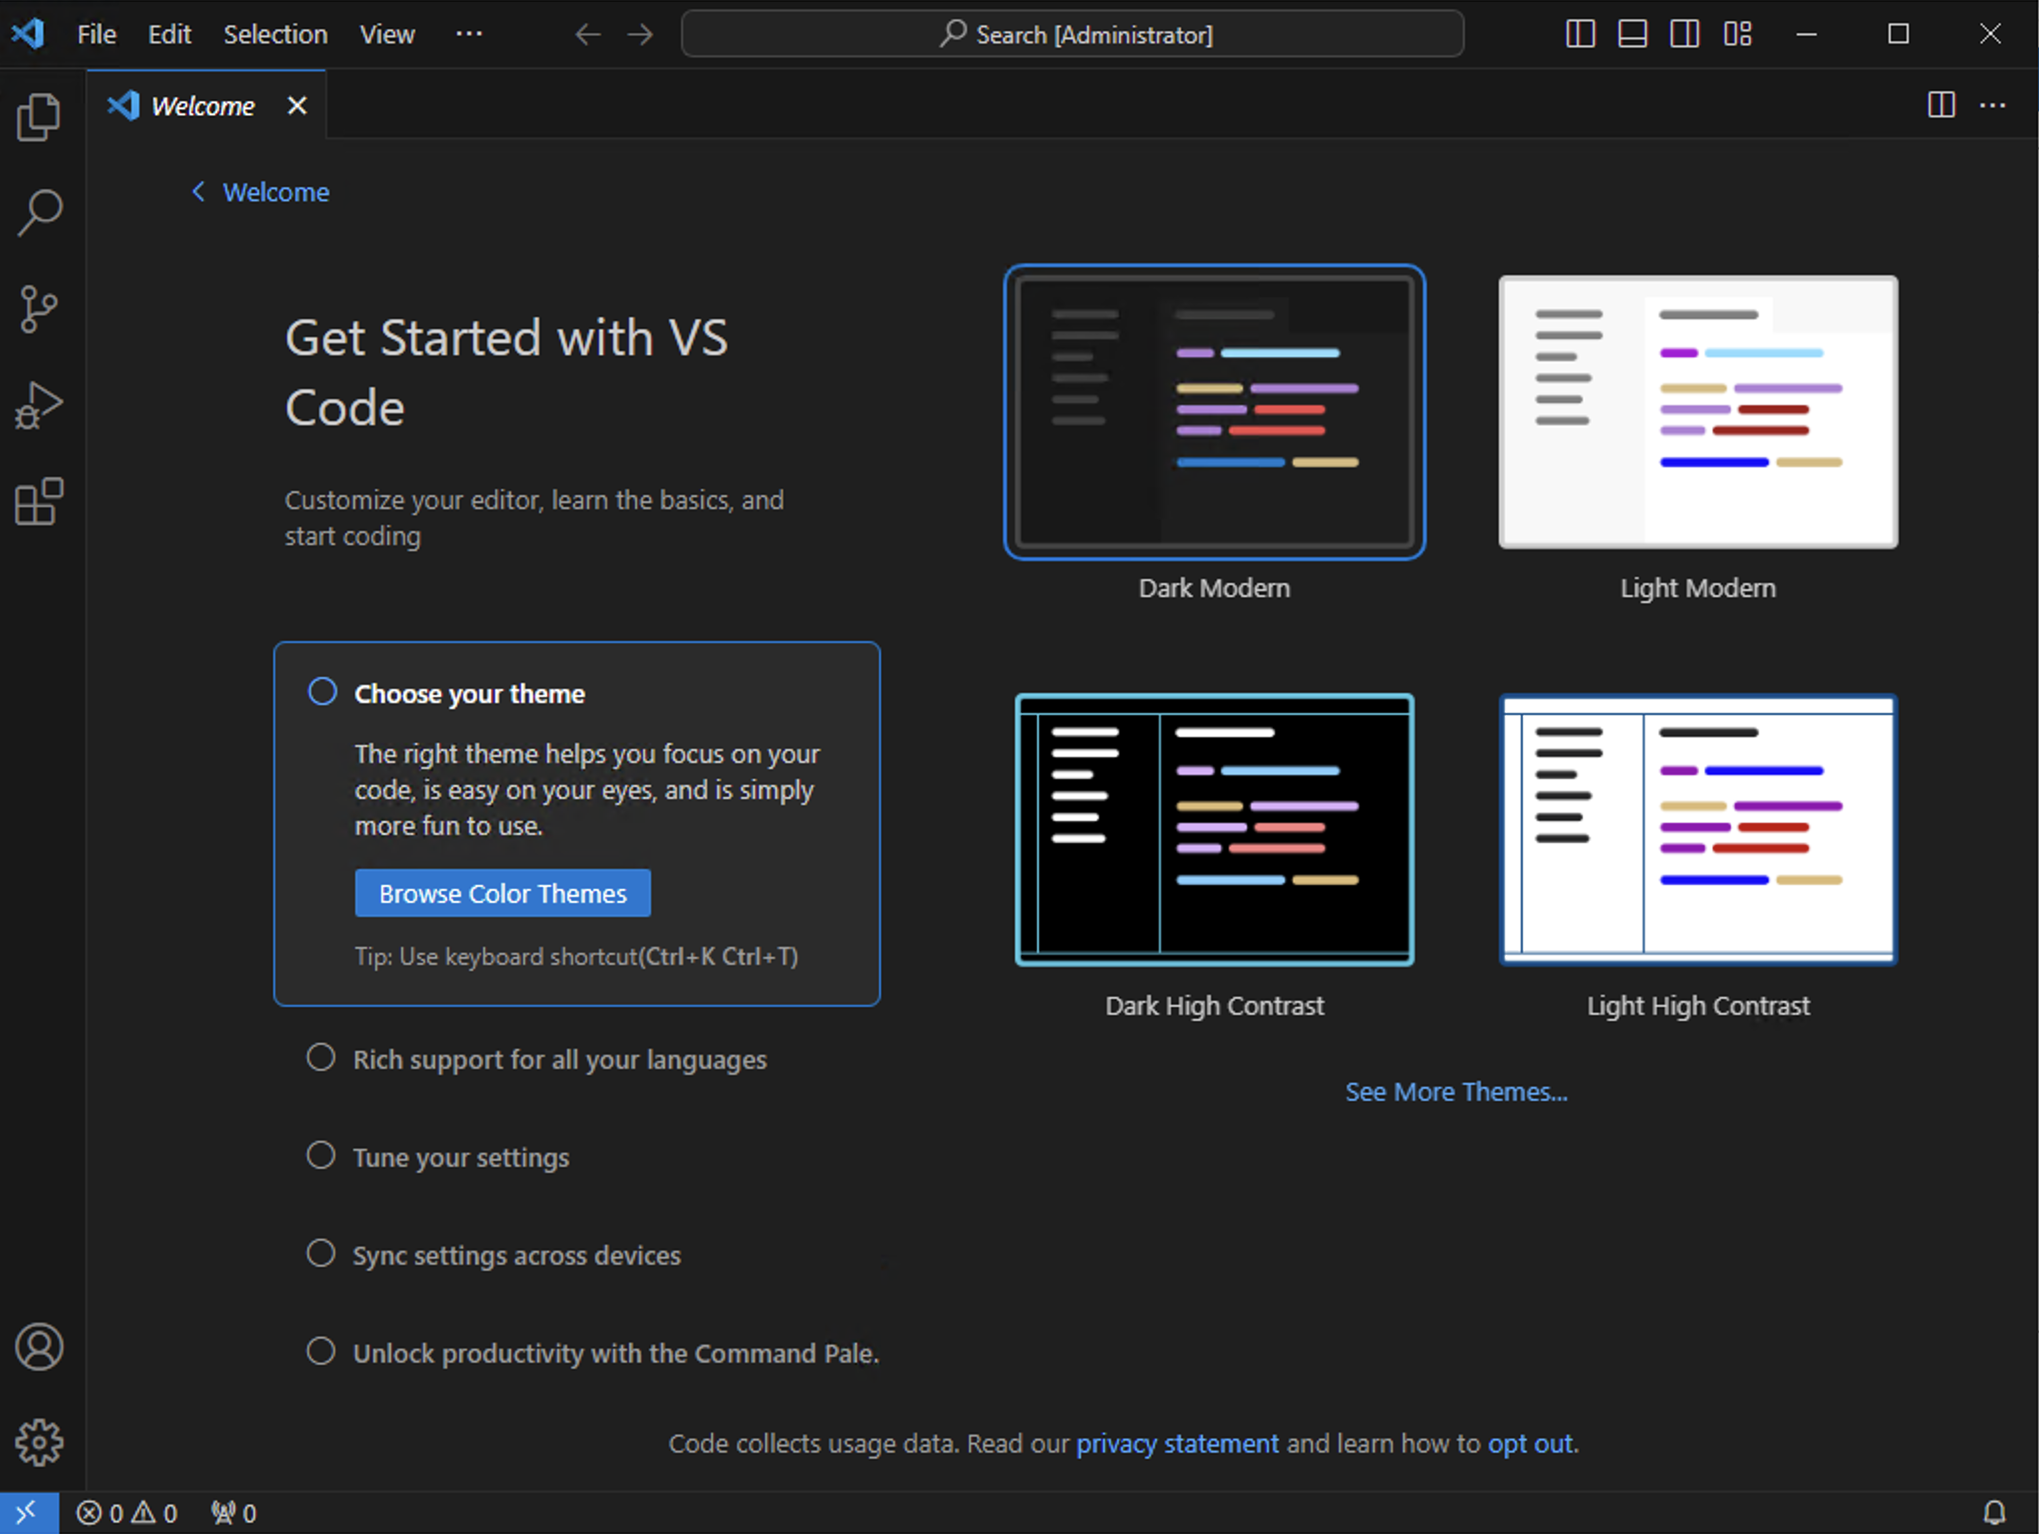
Congratulations! You have successfully installed Visual Studio on your Windows server!
Configure Visual Studio Code:
Launch Visual Studio Code from the Start menu or desktop shortcut.
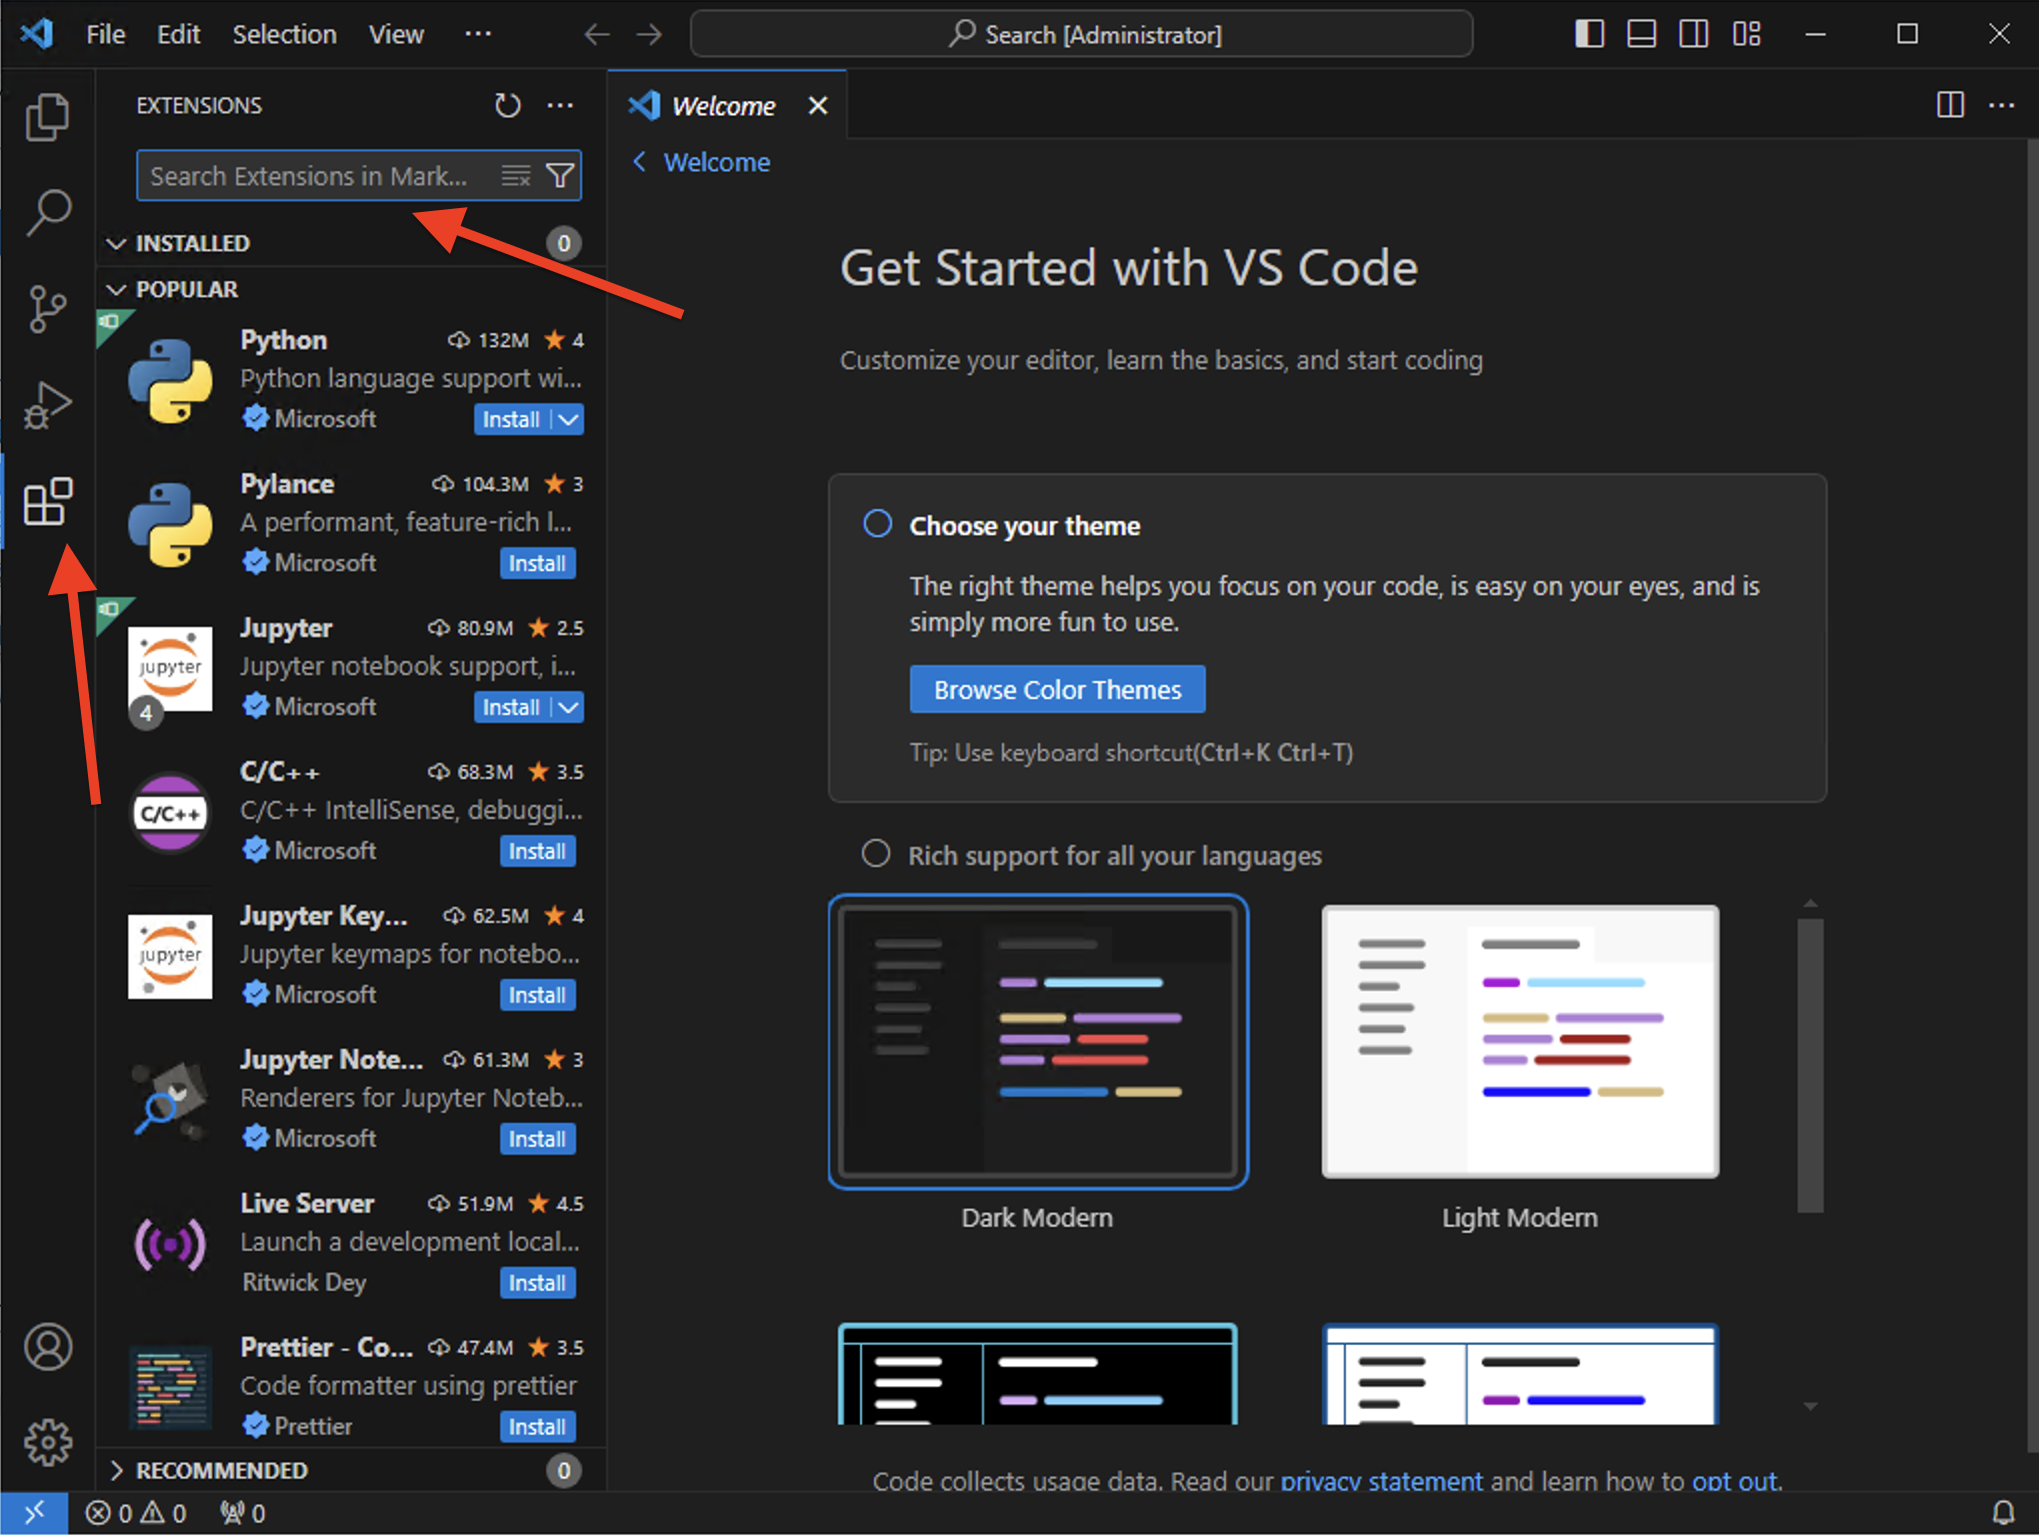
Click on the Extensions view icon in the Activity Bar and search for the extensions you need (e.g., Python, C, C++ etc.).
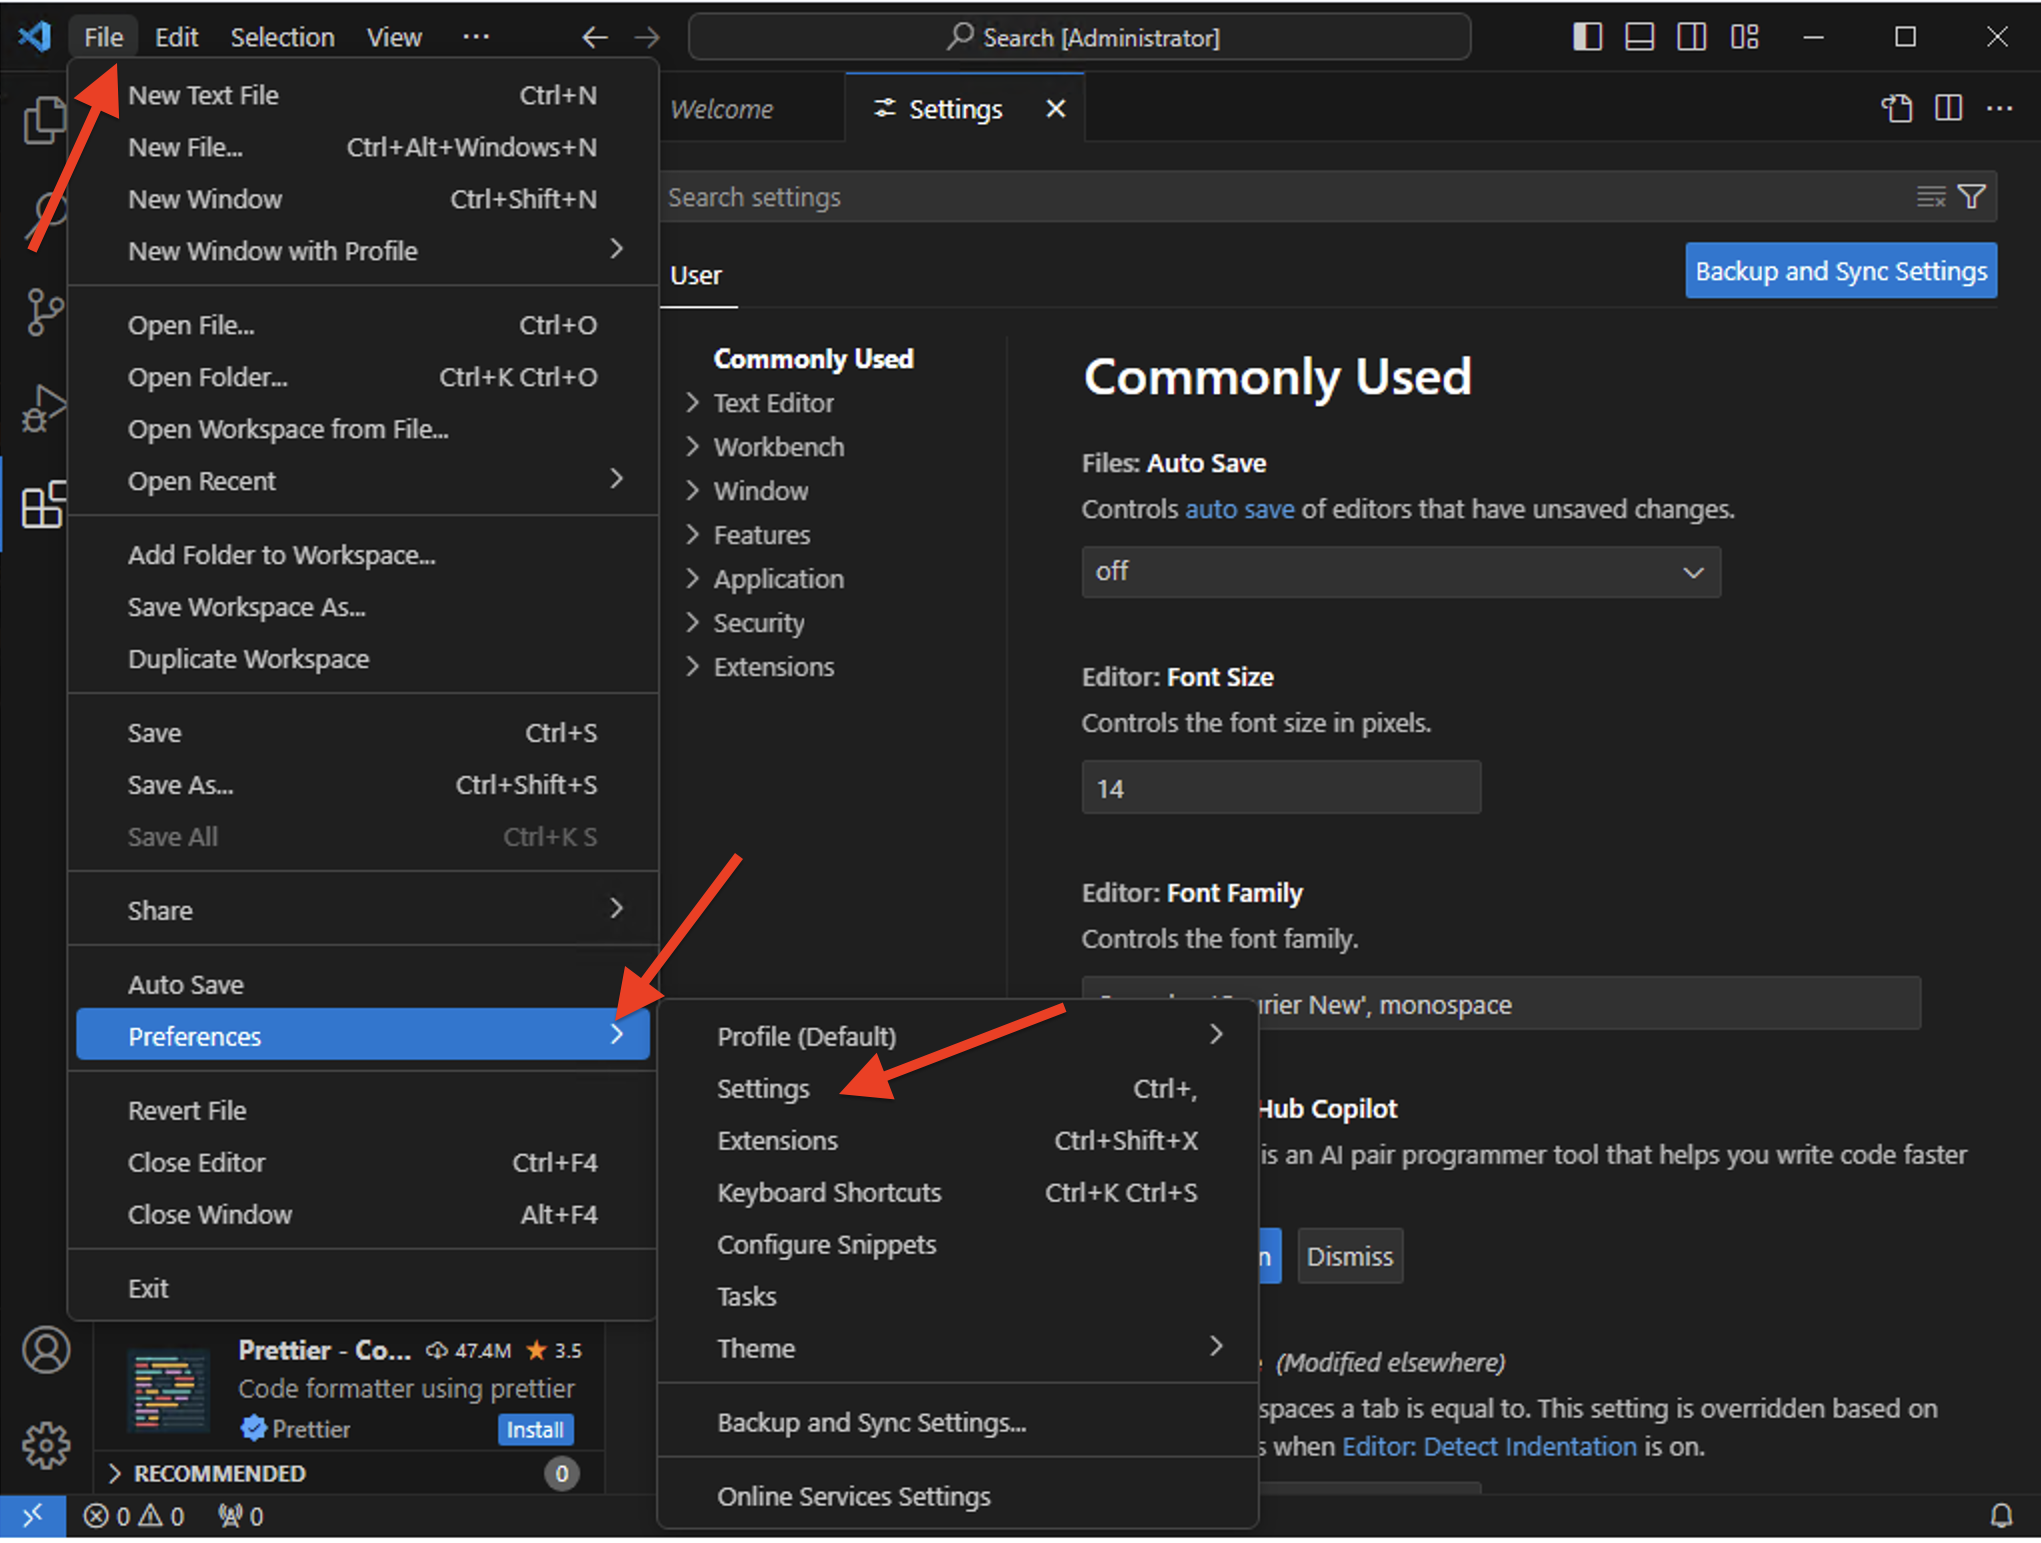
To configure your preferences Go to File > Preferences > Settings to adjust your preferences.
You’re all set! Visual Studio Code is now installed and configured on your Windows VPS or RDP.
